
Hi, my name is Wilson. I am a rising Junior at Lynbrook High School. My two projects were the Laser Turret and a MetroGnome. I learned more about Arduino and how to code in Arduino. I also learned how to solder objects, and to wire objects to a breadboard/PCB board. A few problems I had included connecting some wires together, how to code the Arduinos, and the frustration of snapping wires. BlueStamp was quite the interesting experience. There was a lot of new things I learned across the two week session, like soldering, troubleshooting, coding, and much more. Although there was some frustrating times, overall it was quite fun.

Documentations
Code: https://docs.google.com/document/d/1k01wvnWXFJUUzfOQfPMPqepvIHB3ZhsmOUaKioFtnhg/edit?usp=sharing
Bill of Materials: https://docs.google.com/spreadsheets/d/1j4fTnQbCjpzBGOP0134TO_c4LgNEbK2HrHPWG3HgSuE/edit?usp=sharing
Schematic : https://docs.google.com/document/d/1qAK7fCAU8m_pfQVm3EfmoNYRu3Bzlg67pB3MmBh2Sko/edit
Drawing and Assembly: This website is where I figured out how to assemble the laser parts, and where to start coding. There are example pictures after the instructions.
http://www.makeuseof.com/tag/pew-pew-how-to-build-a-laser-turret-with-an-arduino/
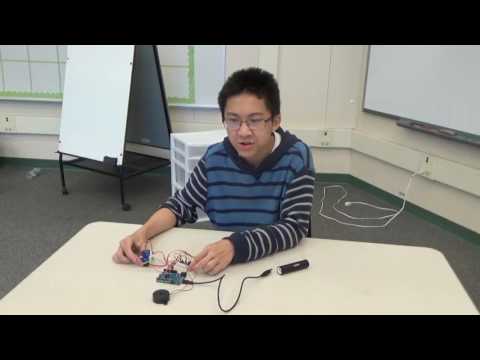
Final Milestone/ Milestone 3
For my third and final milestone, I mainly focused on doing the finishing touches on my project, such as slightly modifying the code, transferring the wires from the breadboard to the PCB board, and switching out the makeshift cardboard for a fancy wooden block.
Main Project Milestone 2
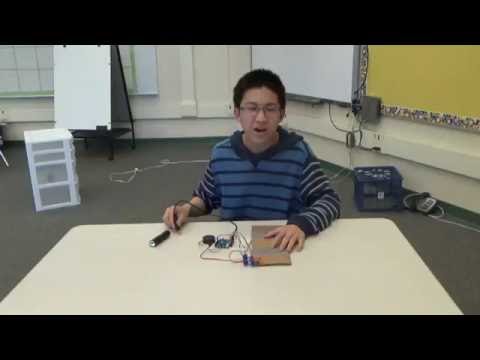
So this is my second milestone. For this milestone, I implemented code into my laser turret. Before this, my turret was just using sample code from the website page. I wrote my custom code, which is below. It is programmed to be either 90-180 degrees vertically every degree rotation, and 40-160 horizontally. However, it also turns 70-90 degrees left/right to mimic a laser beam. The reason the numbers vary is for randomness, to not make it seem linear.
Code: You can find in the link under Documentations.
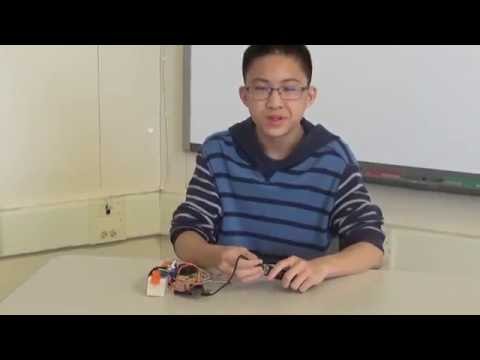
Main Project Milestone 1
I’m Wilson, and I completed my first milestone. So far, I’ve hooked up two servos to each other, and a laser module to one of the servos. I did this my using epoxy to glue a blade and a servo together, and a blade and the laser together. In addition, I hooked up the servos and the laser to the arduino. This was done by putting the wires on the servos into the holes of the arduino, and also using a crap ton of sister wires as extensions. I also used a breadboard, since there was not enough holes to put the wires in. I also hooked up the piezo buzzer up to the arduino, which is the beeping sound you can here in the video. Lastly, I found an alt. Power source in the form of a portable battery charger.
Starter Project
For my starter project, I chose the metro gnome, which is a glorified metronome. This project taught me how to solder, de-solder, and troubleshooting. The microcontroller is programmed to execute the actions of the metronome, with code to increase bpm, display the number, use the batteries, etc. The capacitors are used to store the energy to work the metronome, the resistor is to control the voltage, the diode is used to control the direction of the current, and the display is to display the bpm.The buzzer is to make the sound of the satisfying beep, and the slide switch is to turn the metronome on and off. Lastly, the up and down buttons are used to increase/ decrease the bpm.