
Introduction
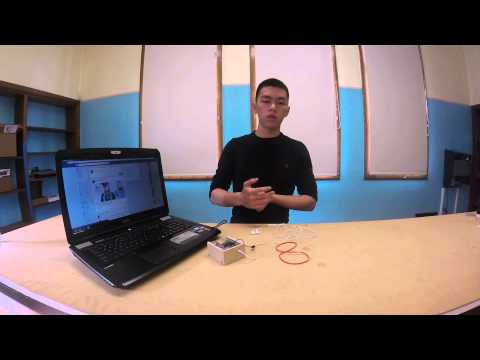
Hi! My name is Tommy. I go to Mills High School and I am a rising senior. I am a second year student in Bluestamp Engineering, and I am glad to be back. I wanted to be a second year student in Bluestamp because I learned a lot about engineering and had fun working on my projects last year, and I wanted to come back and build more cool stuff. This year my starter project is the multimeter, and my main project is the Key. The multimeter is a device that can measure voltage, current, and resistance, and the Key is a security device that can help you log in to hundreds of accounts without having to remembering or typing the usernames and passwords. Keep scrolling to see more details about my project!
Documentation
Code I used in the final video:
https://github.com/tommyli2014/My_Key/tree/master/The_key
Bill of Materials:
Final Key |
||||
| Item | Vendor | Quantity | Price | Link |
| Arduino Pro Micro | Ebay | 1 | $5.77 | Link |
| 6x6x7 mm tact switch | Ebay | 1 | $1.49 | Link |
| Arduino Pro Micro Case | Shape-ways | 1 | $8.00 | Link |
| 24LC512 512 kbit | Ebay | 1 | $4.99 | Link |
| 3mm LED | Any | 1 | ||
| 380 ohm resistor | Any | 1 | ||
| 4k ohm resistor | Any | 2 | ||
| tape or glue for assembly | Any |
The Key(Alternative) |
||||
| Item | Vendor | Quantity | Price | Link |
| Aduino Leonardo | Mouse electronics | 1 | $21.95 | Link |
| EasyVR Shield | Sparkfun | 1 | $49.95 | Link |
Software needed:
The Key:
--Arduino IDE
-EasyVR Commander and Arduino EasyVR library (EasyVR download page)
-QuickSynthesis 5.2.6 (install while installing EasyVR Commander)
The Final Key:
-see Final Key Tech Page (http://finalkey.net/tech)
Project inspired by The Final Key and Arduino Password Typer
The Key
I have been working on my final project for the past three weeks. During these three weeks, I encountered a lot of software issues and had a lot of stressful moments. In fact, I had so many issues while working with the Final Key I actually changed the direction of my project (I will explain why in my second milestone video description). I chose to build the Final Key because no BlueStamp student has ever done it before, so I thought it would be cool to be the first BlueStamp student to create this project and hopefully help future BSE students who want to build a Final Key. Unfortunately, because of the lack of documentation, I was having a very hard time figuring out the software issues. So I contacted the creator of the Final Key and asked him for help (you can find his website and contact info on the Final Key website I linked above). He was very interested that I was also building the Final Key and helpful to me. In fact, I couldn’t figure out a lot of software problems without him.
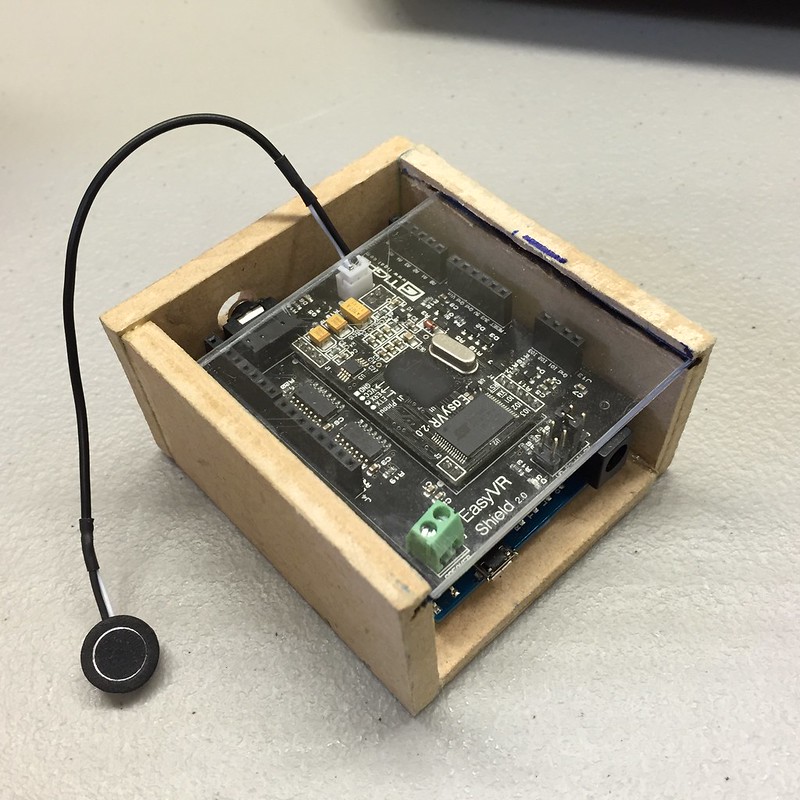
Inspired by the ideas of the Final Key and the BlueStamp instructors’, I made a similar project called The Key by using an Arduino Leonardo and an EasyVR shield (voice recognition shield). I also added in voice control into The Key because I think it’s a good way to choose which account I want to log in to without having to have multiple buttons on the device. After working with the Final Key and the voice control robot from last year, I knew what I was doing and was able to quickly fix many software issues I encountered, so I finished the new project in a week.
Through working with the Final Key, I learned that when I am stuck at solving a problem for too long I should consider thinking outside the box and move on in a new direction because there’s a chance that I might be stuck in a dead end, and I don’t even know. I also learned that software can be a pain sometimes, but it makes you feel accomplished once you solve the problem and see what you made working. In fact, it’s good to encounter problems because after all, solving problems is what engineers do and what helps yourself and other people.
Milestone 3
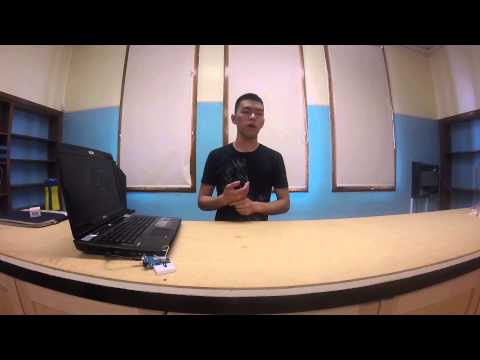
Since my last milestone video, I am now able to show you guys how I use my voice to control the Arduino to log into multiple accounts (no buttons!). I did this based on my experience of working with voice control robot and the Final Key. Unfortunately, the mic I am using in this device is over a year old and not working as well as I want it to because it sometimes would pick up sounds around me instead my voice command, which creates errors and makes the device time out. I will try to fix this issue by having a new mic if I can find a better one that fits the board, which is one of my future modification for the device. I will also build a case for the new Final Key because I feel like it would be more aesthetically pleasing with a case.
Milestone 2

Schematic by frontsightfocus
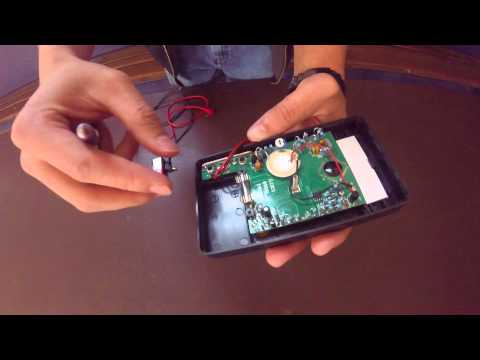
I switched direction a little bit since my last project because I encountered an error while trying to format my Final Key (the Final Key was unable to recognize the master password I set and caused the memory chip to format incorrectly). So I decided to make a similar project using an Arduino Leonardo instead. I chose the Leonardo because it was one of the only three Arduino boards (Leonardo, Due, Micro) that allows me to take control my keyboard without using any add-on libraries or modification to the Arduino board. After I did some simple wiring and coding I was able to use the new Final Key to log on to my steam account simply by pressing a button (I included the schematic and the code I used for this milestone on this page). My next step will be trying to make the device log on to multiple accounts and find a way to choose which account I want to log in by not having to have multiple buttons. The best idea I have right now is using voice control because I have experience working with voice control robot from last year.
Milestone 1
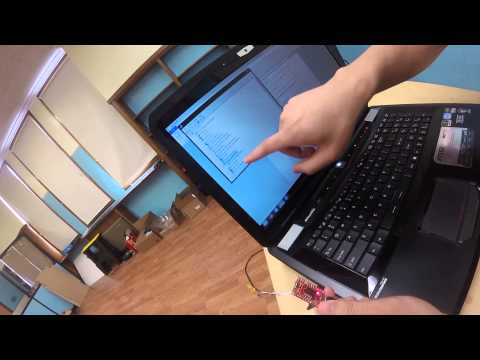
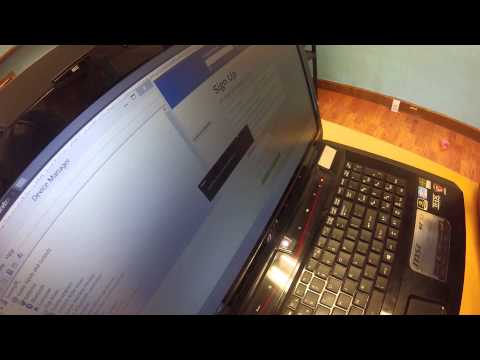
This is my first milestone. I was able to flash the Final Key firmware onto the Arduino Pro Micro using Windows command lines. This allows me to turn the Arduino into a Final_Key (you can see it in the video that the device manager shows the arduino as “Final Key (COM4)” instead of “Arduino”). I originally tried to compile the firmware using Arduino IDE (like most people do); unfortunately, the IDE was not able to compile the firmware due to some libraries issues (it’s recommended to use Linux to flash the Arduino because the hacked Arduino IDE is made for Linux). Then I moved on to using Avrdude and AVR-ISP (in system programming) to upload the binary version of the firmware through Window’s cmd. During the flashing process, I also encountered some errors (again, the firmware was written for Linux), so I had to change my command a lot of times to get it right on my Windows computer. The link below is the output from my cmd and how I tried to fix some of the major errors I encountered (I didn’t show all the errors because some were due to my mistake of mistyping some commands). You can also find the hacked version of Arduino IDE and firmware on the Final Key website I linked at the beginning of this page.
Starter project
My starter project is to build the multimeter. A multimeter is an useful device that can measure voltage, current, and resistance. It contains many electrical components: resistors (reduces current), diodes (allows current to go through one direction only), transistors (amplify or switch electrical signal), capacitors (stores and release energy), and most importantly, the fuse core, which prevents the multimeter from exploding when overheated by blowing itself up and disconnecting the current that’s going across the circuit.
I picked this project because I felt like even though I am a second year student in Bluestamp, I need to retrain most of the skills I learned from last year, such as soldering and learning what each electrical component does. This project provides me the perfect opportunity to get myself ready for my main project (the Final Key) in only a couple of days. I also enjoy doing it because it’s fun to get some hands on engineering experience.
Here’s the multimeter kit I order: Multimeter Soldering Kit.