Introduction
Hello! My name is Mingxun but everyone calls me Tiger, and I am a rising senior at Mills High School. I am interested in engineering and other STEM fields such as science, math and computer science. My goal this summer in BlueStamp Engineering is to gain a good understanding of engineering by learning from my mentors while I build my amazing projects. Now, on my last day of BlueStamp Engineering, I really do believe that I have learned a lot. I learned how to design on Inventor, program on the arduino, wiring on breadboard, and so much more. My starter project is the TV-B-GONE remote and my main project is the Tabletop robot.

My Final Project
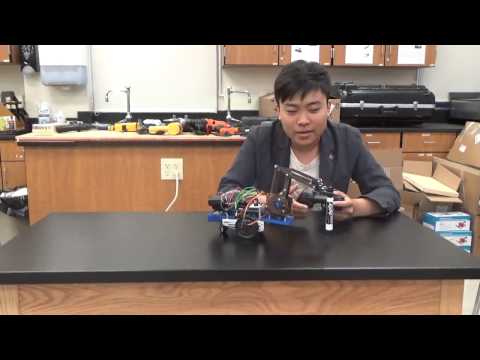
My final project involved laser cutting and assembling the me arm v 0.4, mounting the arm on the robot and controlling both with the PS2 controller. I had to design the supports for the arm on inventor. Taking into account the balance issue of the robot with an arm in the front, I also designed a counter-balance in the back in the form of a battery holder.(win, win) The reason why I wanted to build this robot was because I aspired to create a trash picker robot to help the environment. My arm is capable of holding a marker as shown in the video.
One obstacle I ran into is that the arm base servo was moving on its own. I found out that I can’t just use the servo.write function like I did with my continuous rotation servos. I implemented a new code with global variables, two variables for each servo setting the maximum and minimum angles, and more if statements to control my arm. You can see the code below. Another problem I had was the power issue. Before, the servos were jittering and shaking and the robot was constantly resetting itself. I solved this issue by attaching a 6 volt battery to the robot which allowed me to control the robot smoothly.
I plan to design and 3D print a mount to secure the receiver and the extra battery pack because right now, they are secured by tape. I would prefer a more permanent setup.
Documentation:
Helpful Source: PS2 Information
Inspiration for my Main Project: Tiny Wanderer
BOM: Palo Alto Tiger Bill of Materials
Me Arm V0.4: Me Arm
Me Arm Fixture:Fixture A ipt, Fixture B ipt
Arduino code:PS2 Control with Me Arm, Infared Roaming, Tactile Roaming
My Second Milestone
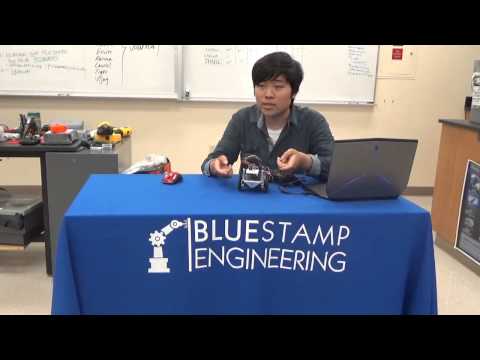
My second milestone is to control the robot with a PS2 controller. Now the robot can be controlled manually and autonomously. The controller is now wirelessly connected to the receiver. The receiver has 6 capabilities: data, command, power, ground, attention and clock. With these capabilities, I am able to control the two servos. For the code, I mainly used if statements and the servo.write function to determine speed for my continuous rotation servos.
To reach this milestone, I actually had a lot of problems. The remote and receiver you see in the video is actually the third remote and receiver I got. The previous two receivers were not capable of receiving data due to a connection issue. Another obstacle I ran into is that my robot would move on its own whenever I attach the servos in the code. I solved this problem by using the servo.write function in the setup to stop the servos. My theory is that the arduino set the speed of the servos at 90 or no movement but many manufacturers don’t keep that standard. My set my left servo at 95 and my right servo at 96 to stop the servos.This is important because I needed the servos to remain still in the beginning. This function can take values from 0 to 180. Zero is full speed in one direction, 180 is full speed in the other direction and ideally 90 is no movement.
My next milestone is to laser cut the me arm v 0.4, design supports for the arm on Inventor and control the arm with the controller.
My First Milestone
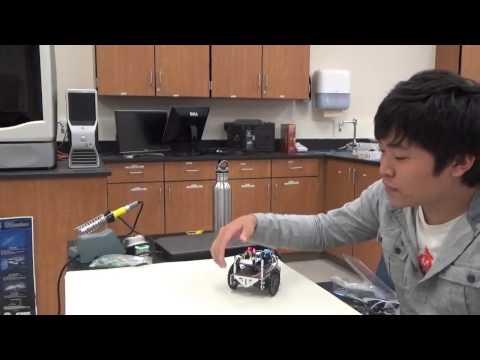
My first milestone is to complete building the robot, attaching the components and writing the code so that the robot can avoid table edges and navigate with tactile sensors. The avoid table edge mode is essentially infrared roaming. The infrared LED’s emit infrared lights and the sensors pick the lights up when they bounce back to determine distance. Once the infrared lights are too far to bounce back, the robot detects a drop off. When the robot detects a ledge on the left side, it turns right and when it detects a ledge on the right side, it turns to the left. If both Infrared lights detect a ledge, it will just back up. One of the major problems with the infrared is that it detects a black surface as a ledge as a result of the Infrared not bouncing back. Another problem with the infrared is that it is not effective in direct sunlight. One problem I had building this was at first I tested the robot on a black surface and it was only going in a circle or going backwards because it was detecting drop offs all around it. With simple adjustments, you can also have an object avoidance robot by changing the code and setting the infrared LED and sensor parallel to the ground. The roaming with whiskers mode has two whiskers and two pin heads on the breadboard. When the whiskers are pushed back and makes contact with the pin heads, the robot will detect an obstacle and react accordingly. One problem I had was that this robot suddenly stopped working one day. I found out that this robot will only work with full or nearly full batteries because my old batteries were still 60 to 70% full.
My next milestone is to wirelessly connect a ps2 controller to the robot so that I can control it manually. After that, I plan to mount an arm to the robot so that it can pick stuff up.
Starter Project: TV-B-Gone Remote
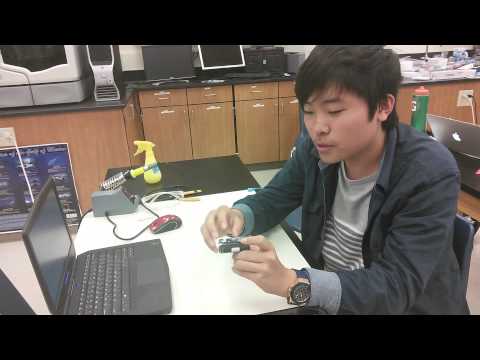
My Starter Project is the TV B gone remote. This remote is fundamentally a universal remote that controls the power of TV’s.
In this project, I learned to solder and desolder when I make a mistake. Furthermore, I learned about each component of the circuit board. All 4 of the LED’s pulse an infrared light invisible to our eyes. The capacitors store energy. The transistors transform weak electrical signals into strong signals since the microcontroller can not provide strong signals. Additionally, the transistors turn the LED’s on and off. The oscillator converts a direct current into an alternating current signal. Basically, it creates the flashing effect. I also learned about how the circuits connect to each other and you can test the components with a multimeter to see if they are connected
The Tv B gone remote works by emitting correctly timed infrared signals much like any regular tv remote. In practice, I noticed that it takes at most 3 seconds to turn off any tv. I had quite a bit of fun turning off TV’s in restaurants and stores. It is truly amazing to see your work make a difference in the world, one less TV at a time.
My next project is the Tabletop robot. Wish me luck.