Raspberry Pi Object Detection/ Smart Security Camera using ML
I created an object detection system that uses raspberry pi and nachine learning. It uses tensorflow which is an open-source machine learning library with python bindings and a mobile net ssd v2 neural network which does object detection and classification. First data on objects are organized, a model is created, and the model is trained to identify objects.
Engineer
Naveen S
Area of Interest
Computer Science/Engineering
School
Washington High School
Grade
Incoming Senior
Final Milestone
For my final milestone I was able to create a smart security camera and use the google coral.
Steps I took:
I used the same libraries and programs I installed. I had to install a newer version of protobuf to compile all my code. I had to essentially create three different scripts. The first script is the camera script that tells the camera to take a picture when it detects motion. The second script is the mail script that tells it to send a security alert with the picture attached. The third script is the main or admin script that binds all the scripts together, processes the picture, and classifies the objects in it.
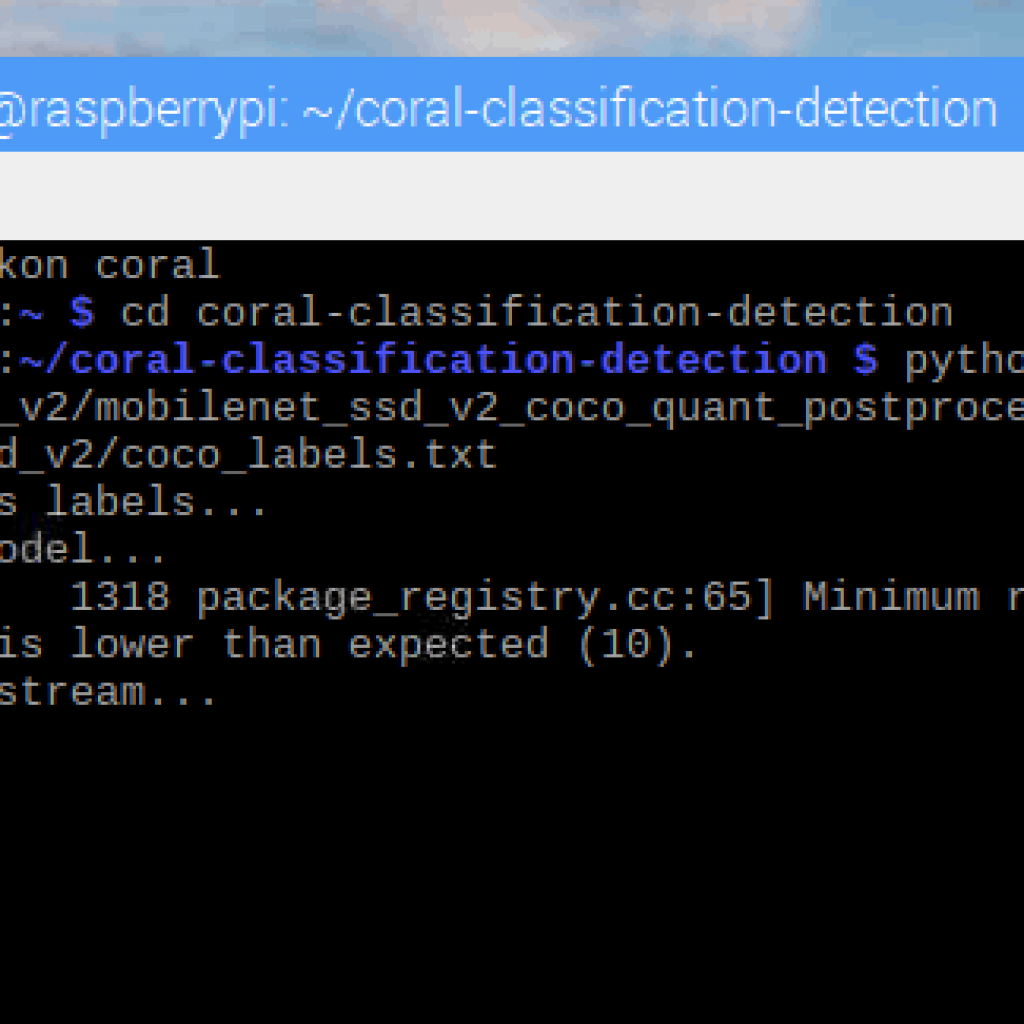
For the google coral I had to use the same methodology that I used when creating the previous object detection script but used programs compatible with the coral usb accelerator.
How it Works:
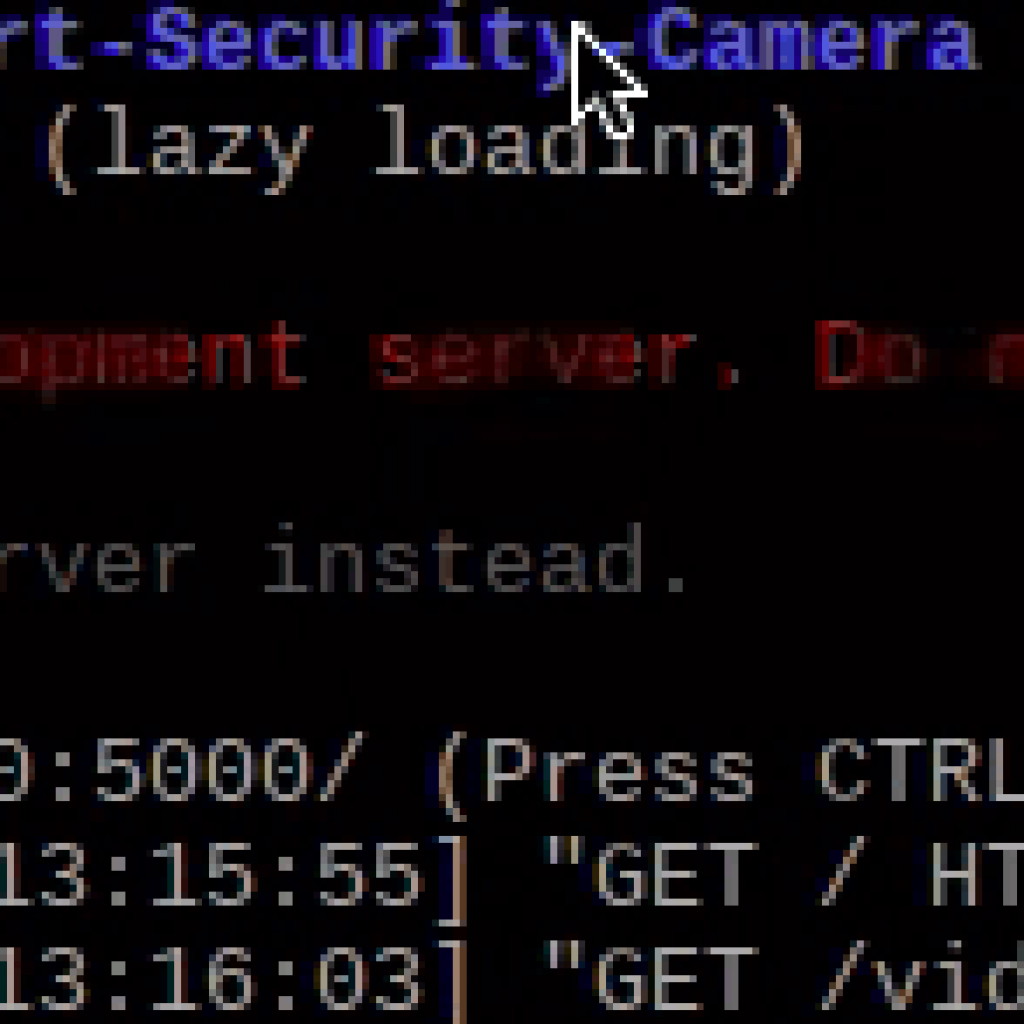
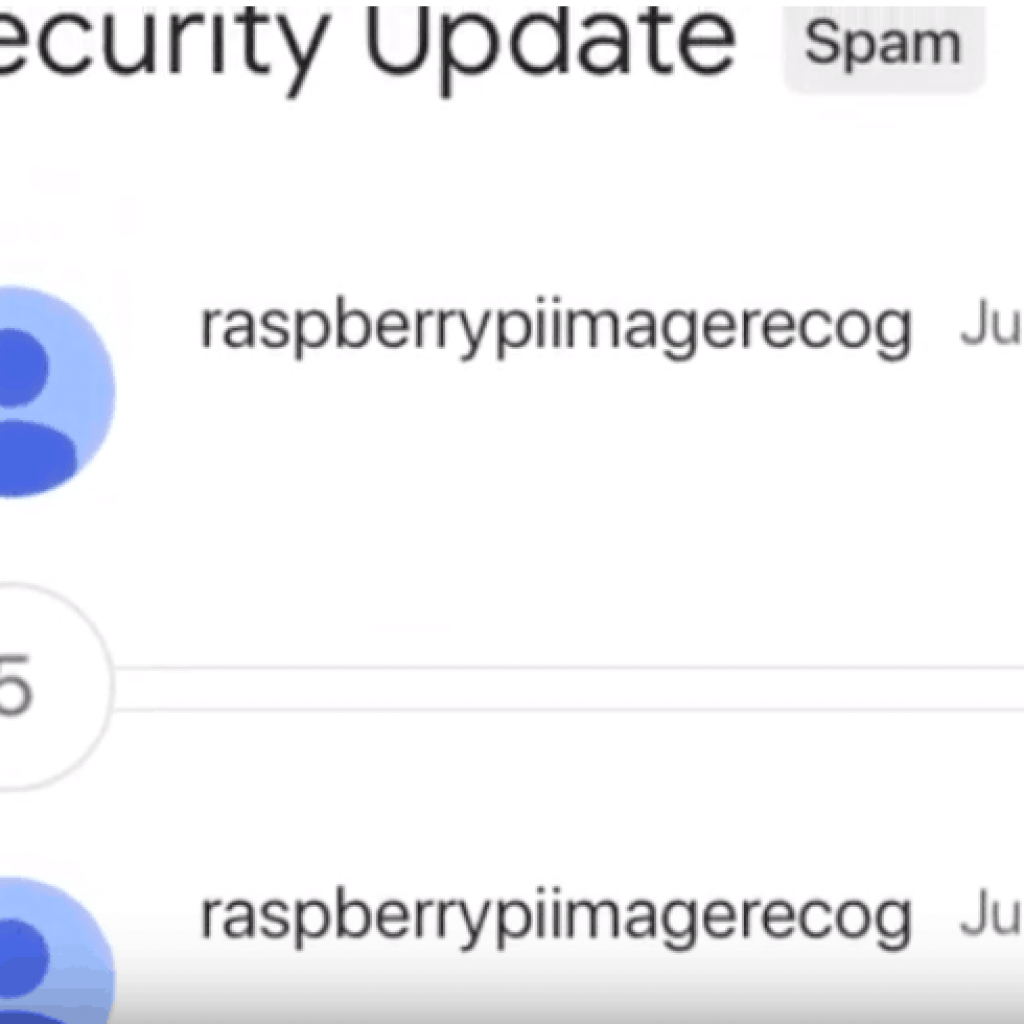
When running the script, the smart security camera is on stand-by ready to detect an object. When the camera detects motion it takes a picture. This information then gets sent to the email module. The email module already has my email inside it. I have already created an email account for the raspberry pi to log into. The raspberry pi logs into the email and sends me an email with an image attachment. Once it sends the email, the camera goes on cooldown for 10 minutes before becoming active again. Users can also access the security camera feed by using a specific url to access the feed on the browser and input their username and password to acess it. This helps make it secure. The google coral has another processor inside it which allows it to run more accurate neural networks. The object detection was now instantaneous and accurate.
Challenges:
The main challenge I had was just trying to get the email module working. I later found out the reason why was because the code I used had python 2 bindings so I had to change some of the code and functions to match python 3 bindings. I also had to go to the email the raspberry pi logs into and change a security setting to allow other devices to automatically sign into the email.
Future Modifications:
I plan on creating a system that checks people in and out as they enter and exit a room, just like the amazon go store.

Third Milestone
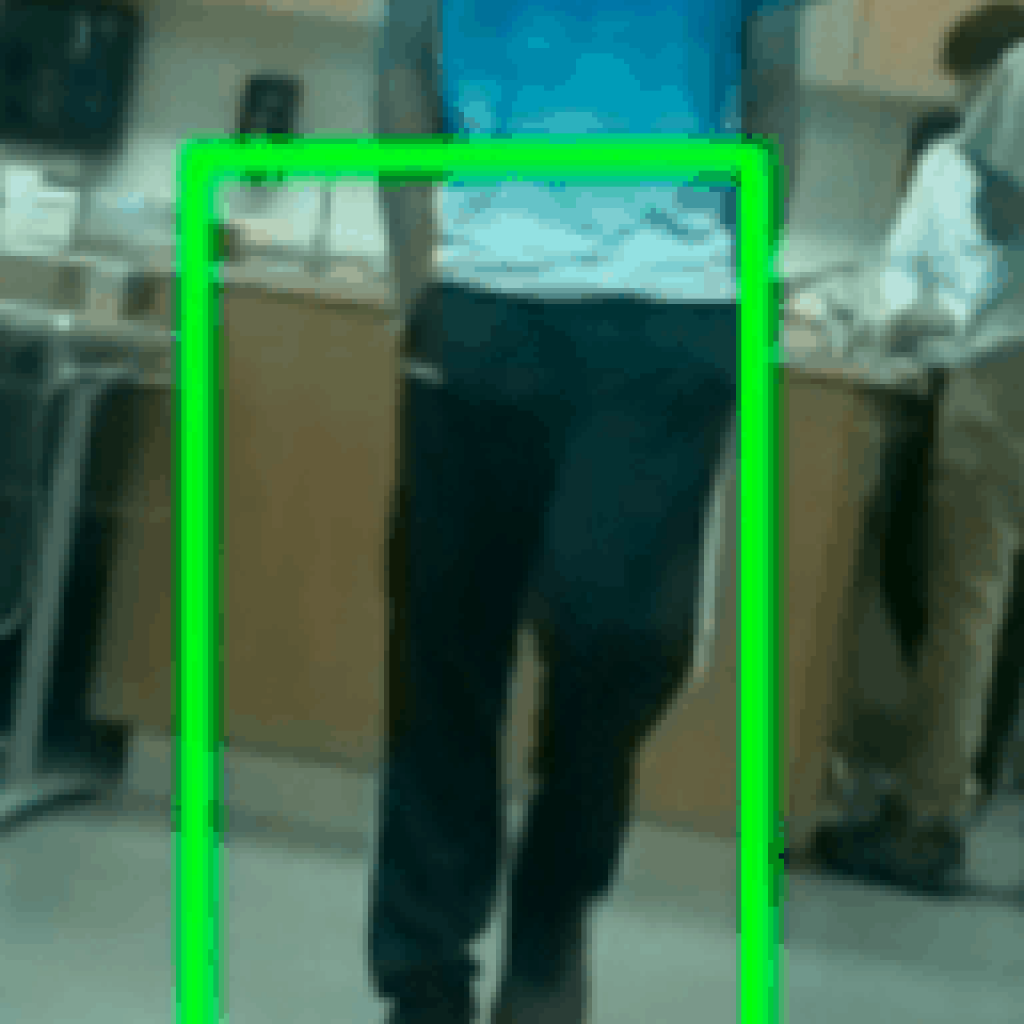
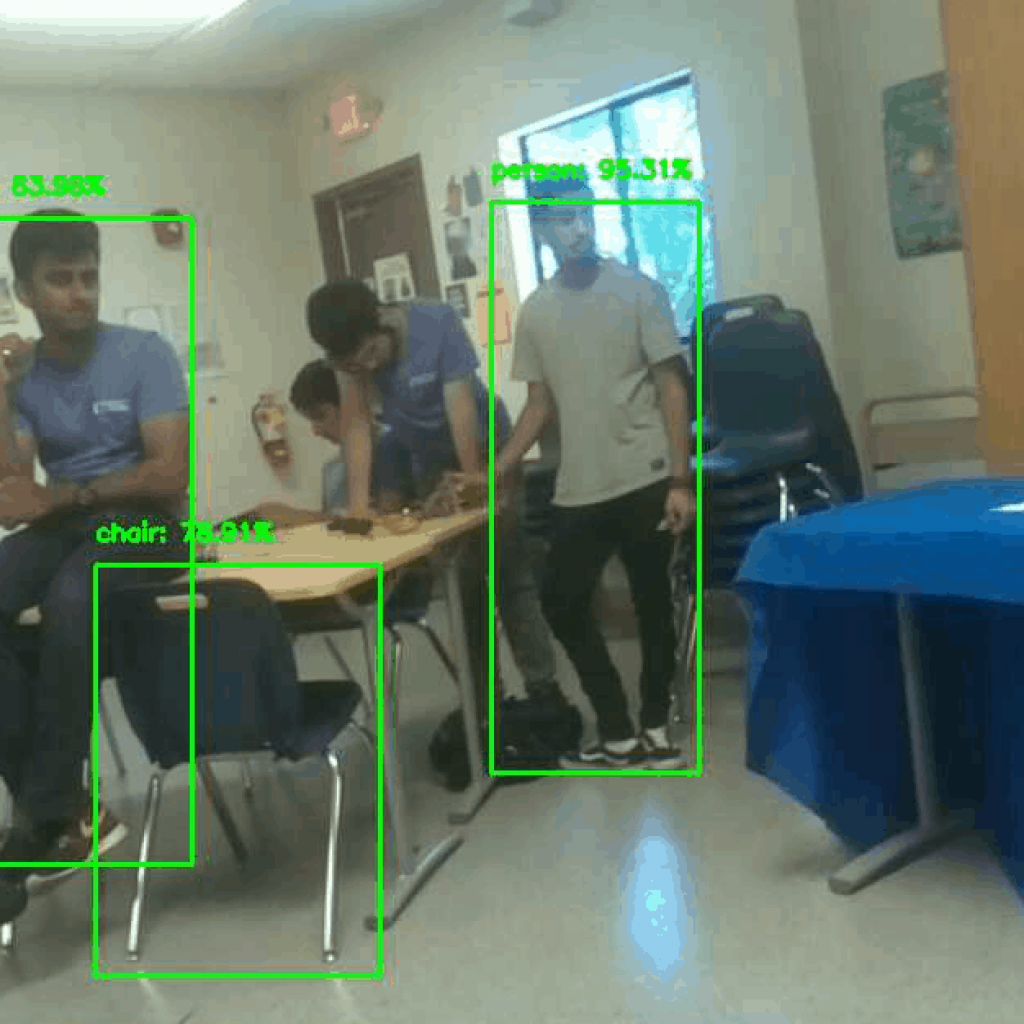
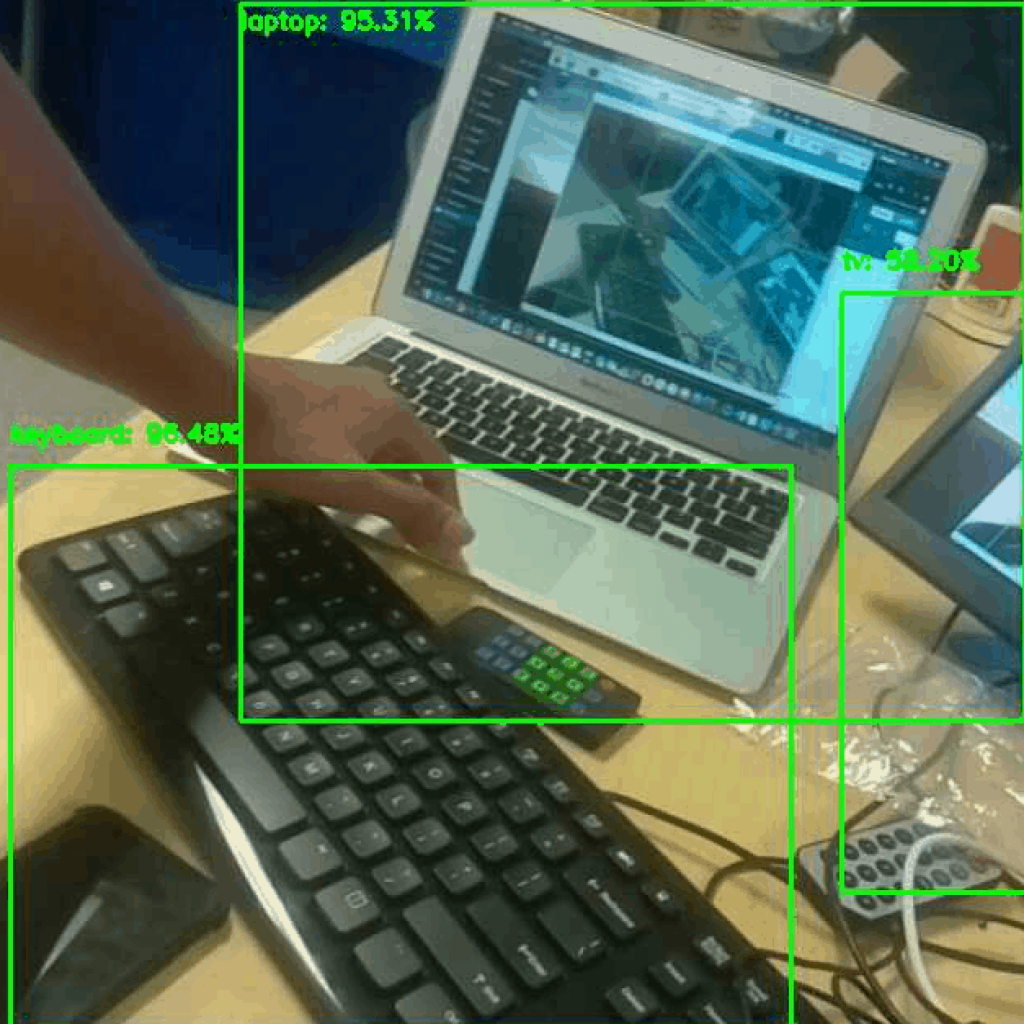
I reached my third milestone. I was able to get my raspberry pi to identify objects in a live video
Steps I Took:
Because this milestone was completely different from the first one, I had to do a lot more research on the type of neural networks, models, and algorithms to use. Some of the preparations that were needed were already completed as I used those same features for my previous milestone. I did however have to install open-cv. Open-cv is a library of machine learning modules for computer vision. I then had to install Protobuf which allows me to compile and install all the downloaded programs and scripts. I finally had to install the mobile net ssd v2 neural network.
How it works:
The object detection works differently than the object classification. While object classification only processes one frame, the object detection is continuosly processing frames and identifying. The program uses neural networks and models to constantly detect and classify objects. When the program detects an object, it places a bounding box on that object, labels it with its name and probability.
Components:
- mobilenet neural net
- tensorflow
- python
Future Plans:
For my final milestone I plan on creating a smart security camera and accelerating the performance of object detection using the google coral.
Second Milestone
I was able to finish my second milestone. My second milestone was installing tensorflow and the image classifier and getting the system to actually start identifying images.
Steps I took:
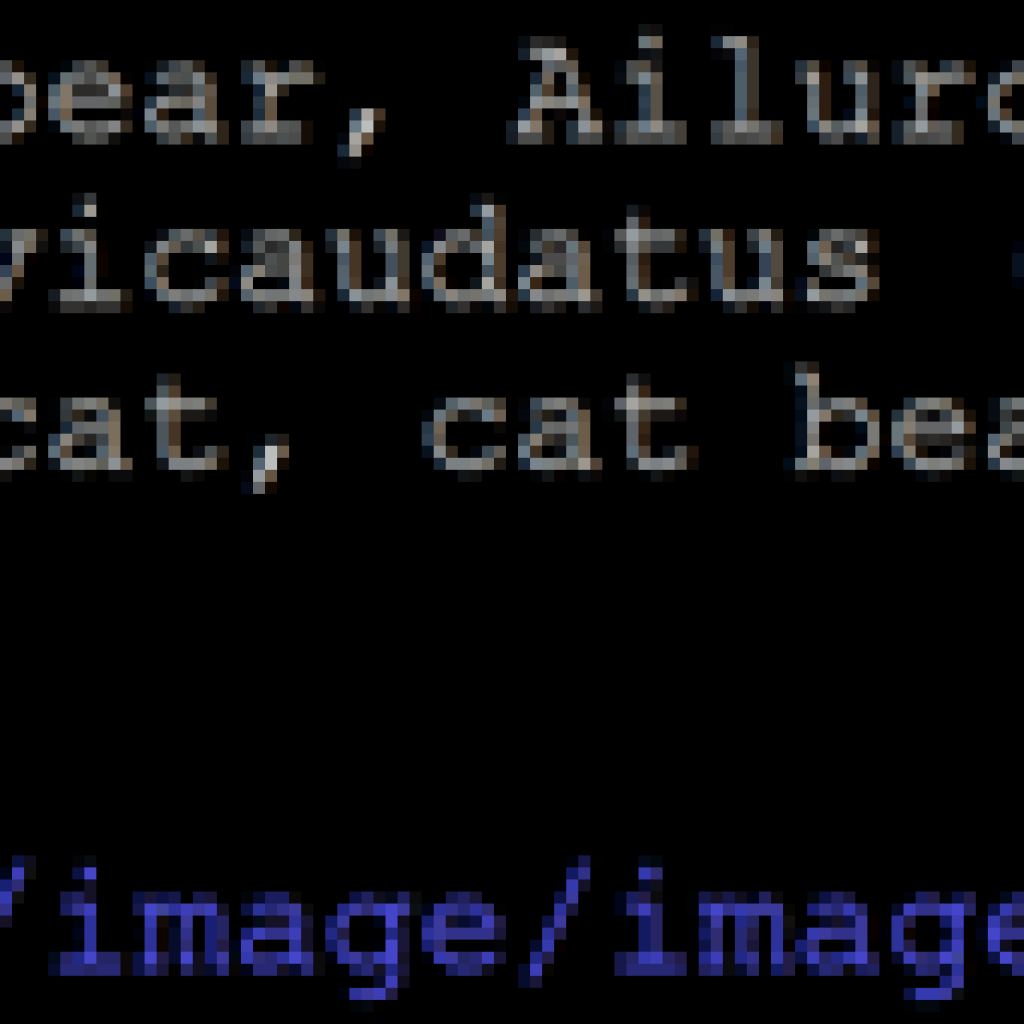
I first installed python version 3. I then installed the Atlas library and the Tensorflow. This was all the set-up. After that, I installed the image classifier and tested tensorflow. I cloned a sample model from github to use here. I was able to download the image classifier from github. I downloaded multiple images to test, including a picture of a panda bear which is shown on the right.
Components:
- python 3
- image classifer
- atlas library
- github models
- tensorflow
- image of panda bear
How It works:
When an image is inputted into the image classifer, it runs through an algorithm in tensorflow. By comparing the image to a series of data sets, it is able to predict what the image is. It also tries to classify it with other objects but picks the one with the highest probability. It is mildly accurate and also takes a while to run through its algorithm.
Challenges:
My major difficulty was just simply trying to run the program and troubleshooting. I also had a problem of trying to install tensorflow. Every time I issue the command to download tensorflow, the pi will download it but stop at a random percentage and say some error. After trying for numerous amounts of times and playing around with the command, I was finally able to make it download.
Future Plans:
Using this experience I look forward to creating real-time object detection.

First Milestone
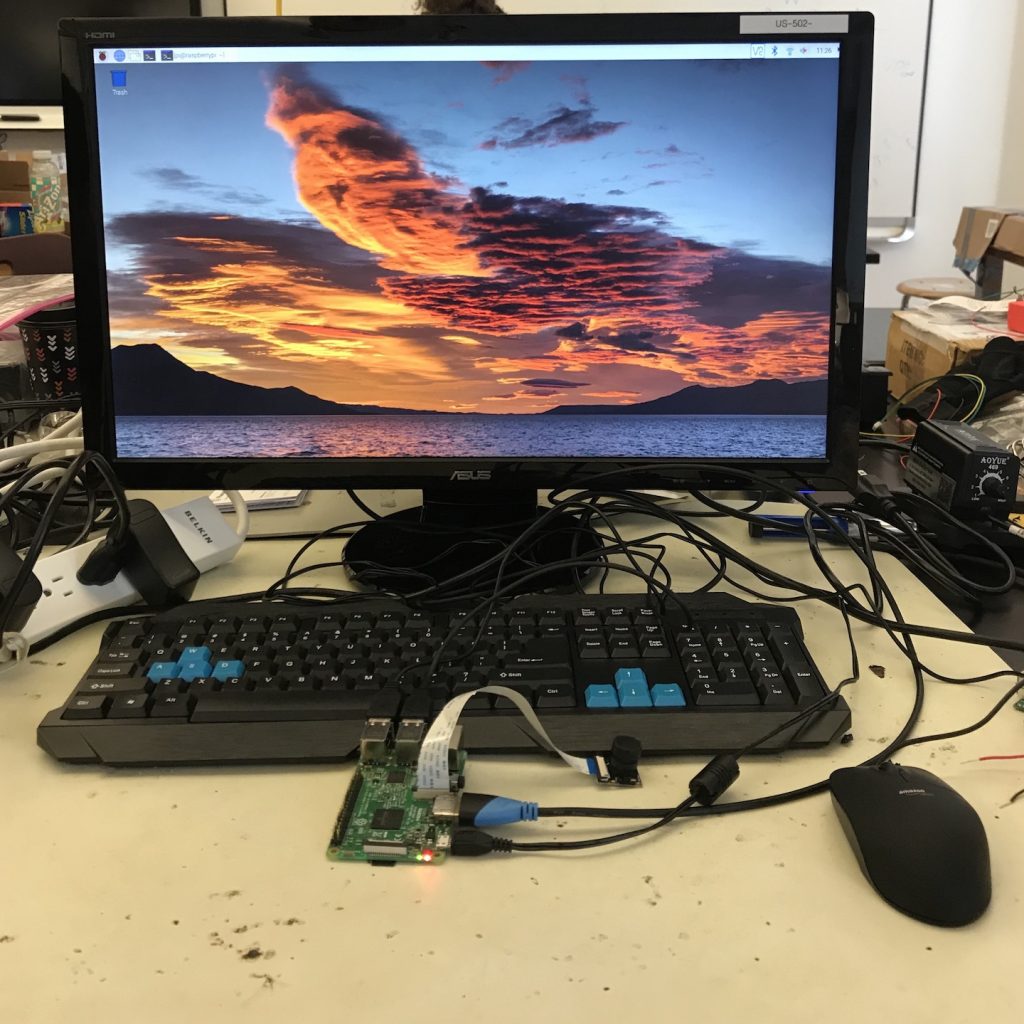
I was able to set up my raspberry pi and camera and kick off my projects. I am able to take a picture and save it to my library.
Steps I took:
I had to install the program by inserting an sd card into my laptop and downloading noobs. After downloading noobs onto my sd card, I inserted the micro sd into my raspberry pi and connected the pi to my monitor, keyboard, and mouse. Once the monitor sensed the signal, it automatically installed raspbian from the micro sd card. After this, I configured the settings. Once all of this was completed, I opened the terminal and began programming. I opened the settings and enabled the camera. After doing that I created a new folder and searched online for the documentation used to make the camera to take a picture. After this, I went back to my folder and was able to open the image.
Components:
- sd card
- micro sd card
- raspberry pi
- power source
- monitor
- keyboard and mouse
- hdmi cable
- raspberry pi camera
How it works:
The raspberry pi takes a picture when I issue the command ” sudo raspi-still -o image.jpg”. Once it takes a picture, it saves it to the desktop. Once I click on my deskptop folder I can view the image I took. Using a slight variation of the command, I can also take and save videos. This is very important as I will be implementing this in my object detection.
Challenges:
Didn’t encounter much challenges this was pretty easy to do but an important milestone.
Future Plans:
I hope to use what I learnt from this milestone to create an image classifcation engine.
TV-B-Gone Remote

My starter project was the TV-B-Gone Remote. The TV-B-Gone remote turns off any screen that has an infrared sensor to tell it turn off. I chose this project because my main project does not require any hardware and I wanted to gain some hardware experience from this program.
I first had to go through sortering training with an instructor and learn how to sorter. Once I completed the training, I got started on my project. I first looked at all the instructions and ascertained the scope of the work. I then placed all the components into the relative positions, twisted the ends of the lead wire to ensure they stay on the circuit and then sortered. I did this in shifts. After sortering all the components I had to use wire clippers to trim all the excess wires. I then attached it to the box.
Components:
- circuit board
- IR leds
- button press
- jumper wires
- double A batteries
- capacitors
- resistors
- transistors
- processing chip
How it Works:
The chip contains all the program for the circuit to work. The resistors “resist” or limit current so that the circuit does not overheat and get fried. The transistors help amplify electric power. The capacitors help store electric charge and release whenever needed. The button presser activates the circuit. When the button presser activates, the IR Leds send out an infrared wave that tells infrared sensors to turn screens off.
Challenges:
The main challenge I had was just sortering. My hands were very shaky so I couldn’t precisely sorter the components. I also sortered a lot of the components incorrectly and had to desorter and resorter which took a lot of time and effort.
Future Plans:
I plan on now starting my main project and working on my object detection.
wow naveen great job, look forward to working with you in apple next year