
Table of Contents
Starter Project | First Milestone | Schematic and Bill of Materials | Second Milestone | Final Milestone | Final Project
Hello there, my name is Matthew and I am a rising sophomore at San Francisco University High School. My starter project was a theremin and my intensive project is a custom bluetooth game controller. Coming to Bluestamp, my main focus was on mechanical engineering. My previous engineering experience lies within the Lego Mindstorms, a much more mechanically and computer science based product. I competed in the First Lego League (FLL) robotics competition two years in a row, where my assignment was robot building. After going through the Bluestamp program, I still feel the same about mechanical engineering and will try to continue in the future, but while creating the controller circuit, electrical engineering piqued my interest.
Final Project
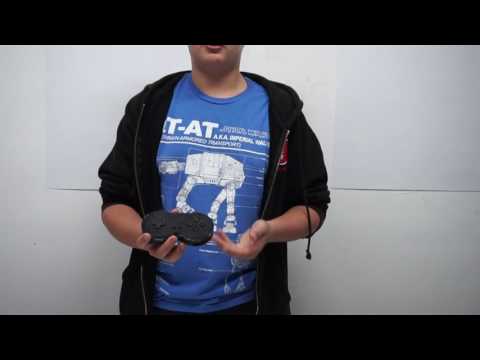

The final product of my intensive project is a bluetooth game controller that uses keyboard inputs to play video games. The controller has the same button layout as a Super Nintendo (SNES) controller. The current case is a complete redesign from the original case that looked like and had a button layout much more similar to the Nintendo (NES) controller. The base project was created by following instructions from Adafruit. The controller went through a complete facelift to reach this point: I cut the proto-board in two, added four more buttons, remodeled the case in Solidworks, and 3d printed it in black PLA. After finishing the circuitry and main design of the controller, I created a game using Pygame that would control a stick figure’s movement around the screen.
The largest problem during the creation of the physical controller was that the original case design was too small. All of the components and the tolerances were too small for the older 3d printers with lower resolution, meaning that the sides weren’t strong enough to have any pressure put on them and the buttons didn’t fit inside the case lid without filing. This prompted me to redesign the controller to make sure that everything fit and that the controller had more internal strength.
 |
 |
|||
| Original Case Design – In the shape of an NES controller | Final Case Design – In the shape of an SNES controller |
Even before creating the game, I had problems with Pygame. The first problem was that IDLE (a Python interface) wouldn’t even load on my Macbook. To solve this I recreated the file path for Python so I could run a more recent version of Python through Apple’s Terminal interface. After solving this obstacle, I discovered that Pygame wouldn’t successfully open on my laptop either, but this was a more crucial part and there was no substitute. After a few days of just learning Python, I had figured out a solution to Pygame not working. This solution was to use the loaner laptop, which did have to be loaded with Python and Pygame.
Final Milestone Documentation
For the third and final milestone of my intensive project, I designed and created basic platforming game in Pygame. Pygame allows for games to be created in Python by adding elements of other programing languages to speed up core operations. To learn Pygame I used the Program Arcade Games resource.
The largest problem with Pygame was getting a basic program working with my Macbook Pro. This made it impossible to test the code of my game. To get around this I used the loaner laptop to program with as well as using it to test the main game. Another problem that slowed down progress was that program I was using to write the code wouldn’t find any syntax errors, but the program I was using to run the game wouldn’t run the code due to syntax errors. I solved this by changing all of the indents from tabs to four spaces. This is a problem because Python, unlike other programing languages, is very specific about its indents, which tell the computer when to run each line of code and which lines are part of definitions of functions. Functions allow for complicated operations to run multiple times without writing the code multiple times.
The game uses the arrow keys to control a stick figure’s movement around a screen. The stick figure was created by drawing five lines and one circle.
Download Game File Here: Game
Second Milestone Documentation
The second milestone of my intensive project was to design and assemble a second version of the case. I designed the case in Solidworks. I first printed the bottom so I could assemble the controller inside of the case and then take the new measurements for the top of the case. When the first case top finished printing, I realized that the gap between the proto-board and the top was too small, making it so the buttons wouldn’t fit inside the case.
After printing the test case I realized that the “A” and “B” buttons were soldered in the wrong positions, so I split the proto-board in two in order to use the well constructed d-pad by itself, which turned out to be too short to be pressed from outside the case. I then added new “Start” and “Select” buttons, fixed the “A” and “B” buttons, and added “X” and “Y” buttons. The controller was working for a few days, but during final assembly, the wiring connecting the right button on the D-Pad was pulled into a position where it was contacting the ground rail for another button, causing for the button to always be closed, effectively making it unusable. I found this problem by using the multimeter to test the connections to see where I had accidentally connected two adjacent pins. To solve this problem I re-soldered the wire in the proper position.
 |
 |
 |
| Bottom of the case | Front of final case | Rear of final case |
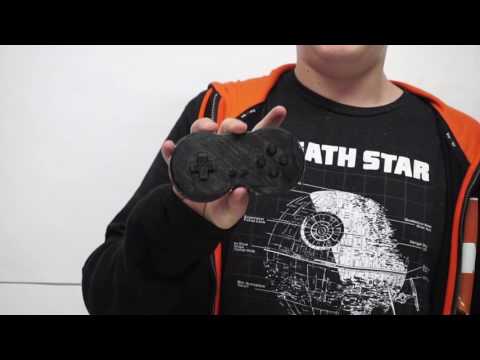
The finished controller was printed in black PLA and ended up using nine small buttons for the D-pad, “start select” buttons, and the shoulder buttons, as well as four larger buttons for the “A”, “B”, “X”, “Y” buttons. I sealed the case using hot glue so I could easily open the case up again to work on the internal components.
Download STL files for the controller here: Matthew-Controller
First Milestone Documentation
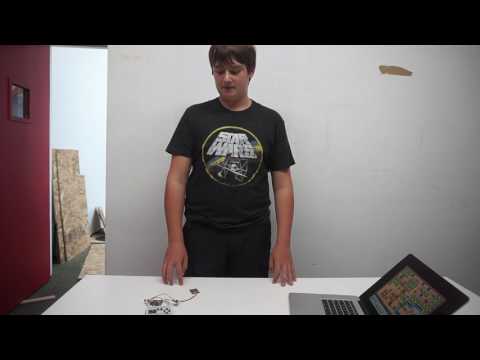
The first milestone of my intensive project, a Custom Video Game Controller, was to finish the main button circuit as well as to get the power and charging circuit working. After fixing my mistake of soldering the wires to the wrong side of the PCB and after realizing that I hadn’t soldered the ground rail to one of the buttons, the controller worked as planned. I performed the first full test with both a keyboard tester as well as an classic video game emulator. After these tests, I ran the controller through a latency test. The delay between the computer registering the press and the press is one 15th of a second, which is relatively good for a controller of this price.
The controller is made up of an Adafruit Bluefruit EZ-Key, a 500mAh lipo battery, and 13 different buttons: 12 for the controls and one for the pairing button.
For my modifications before I add the case, I will add four more buttons to make the controller more like an SNES controller than an NES one. This new design will make the controller more ergonomic as well as give it more space for the internal components and make the whole structure stronger. To complete this I will need to modify the existing CAD file and create a shoulder button CAD file.
Top of page
Schematic and Bill of Materials

Download Schematic and Bill of Materials Here: Schematic and Bill of Materials
Theremin Starter Project
The Theremin starter project is an electronic instrument that uses an aerial and the proximity of the user’s hand to said aerial to determine the pitch of the note played. A traditional theremin also has a volume aerial to pair. A theremin uses player’s hand and the pitch aerial as the two capacitive plates, which determines the output voltage which is converted to sound by the speaker. The project’s main goal was to teach the basics of soldering and to demonstrate the uses of key electrical components. The project uses four LEDs to show the pitch being played. There are also two buttons included in the kit that are used to switch between discrete and continuous modes. Continuous mode plays a single variable tone while discrete mode plays eight individual notes in one octave. In discrete mode the buttons are used to change the octave of the played tones. The project also contains two 10 microfarad capacitors and one 100 nanofarad capacitor to power the two microcontrollers and the single speaker. After completing the project and finding out that the only way to turn the device off was to remove the battery, I added my own two position switch.