Arduino Hiking Tool
My project is an Arduino based project aimed as a hiking tool. It includes a temperature sensor and altimeter so you know if your at the peak. It also includes a GPS module with a directions so you know where to go.
ENGINEER
Martin Oka
AREA OF INTEREST
Electrical engineer
School
The Calhoun School
Grade
Incoming Junior
Final milestone
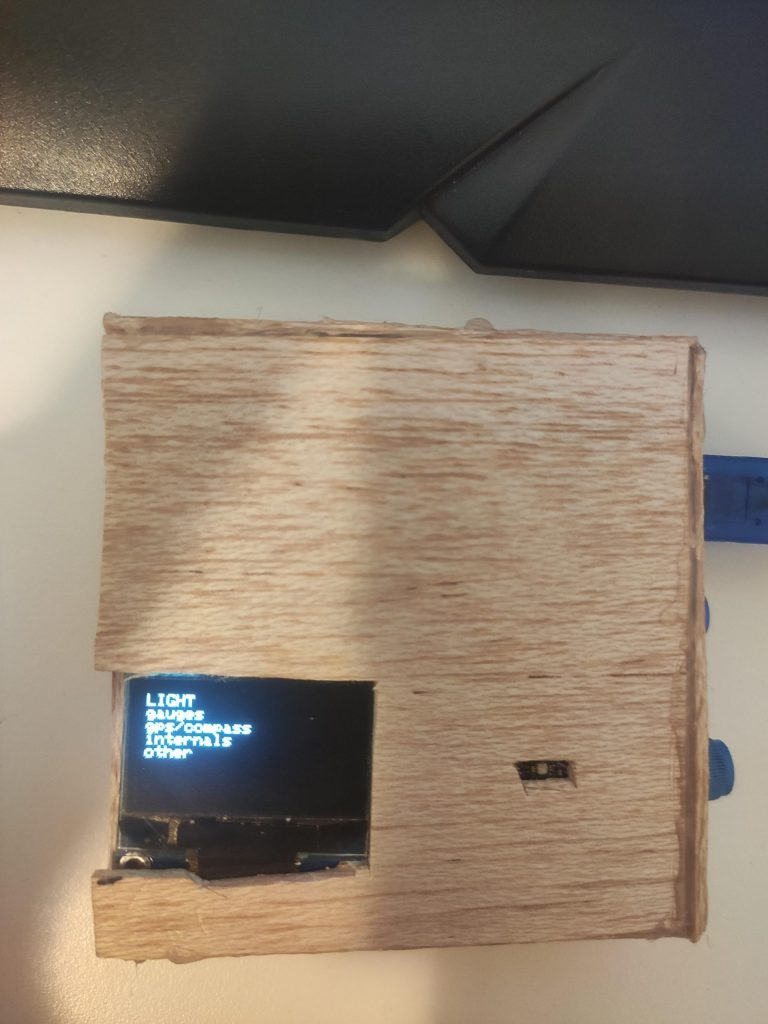
In my final milestone I first compressed my code so it could be integrated into the smaller nano. Then I soldered everything together so i could fit it into a small box. Then I made cutouts where the sensors should go, but sadly as I was connecting the last led I accidentally short circuited it and had to restart the painstaking 3 hour process again. Some other things that I changed were the UI for what was previously known as “MAPS” because of the size limitation of both the nano and the uno, I have opted to go for a less size intensive program. It works by pre-loading a point on the computer to the nano and from there it tells you your lon/lat and your heading as well as if you should be heading N,W,S or E. This has the added advantage of having the ability to store multiple locations on the one nano. This could be especially useful when you are hiking and want to know where the next trail head is or next campsite. With this being in an enclosed box it has the benifit of being highly transportable and can be turned on by most common V supplies.
Second Milestone
My second milestone is where included a GPS and have successfully integrated it into my UI. Other than the GPS I have also added two lights, one a very nice warm led light and another a flood light with a removable lens. I got the warm led from an old speaker and I got the flood light from a flashlight. During the process of integrating the GPS into my UI I encountered many different problems. For instance the first library that I was using (tiny gps) did not have any documentation so It was almost impossible to integrate it into my UI. The second library that I was using (TINYGPS++) was marketed towards the DUE with a 64 bit processor with more flash memory while I was troubleshooting with a uno although later I would switch to a nano. The third and final library that I was using (TINYGPS13), had all of its documentation on its website making the integration a lot less complicated.
First Milestone
My first milestone is where i have successfully completed the UI for my project and integrated my first sensor into it. This sensor includes an altimeter, temperature gauge and pressure sensor. With my UI built and my first sensor integrated i added a button and a Potentiometer scroll through my UI and a button to select the options. All of this would not have been completed without my 128 by 64 oled display where the UI was implemented.