
Hi, my name is Marland and I am a rising senior at San Mateo High School. For my starter project, I made a Minty Boost portable phone charger and for my main project, I made an RC tank controlled with a PS2 controller inspired by this website.
Here it is:

This is my Bill of Materials
Reflection
During my time at this program, I had lots of fun working on my own project while learning about Arduino. As someone who has never programmed before, this project was an engaging introduction to coding. Throughout this project, I ran into many difficulties. The most time consuming problem was with the code, which I spent a week on. I was trying code from all over the place but it turned out to be a pretty straight forward issue with few changes and I ended up learning a lot of what my code does. Another issue during this project was things breaking which taught me to troubleshoot and find the source of the problem. Originally, I was mainly interested in the mechanical side of engineering but at this program I have developed more interest in electrical engineering and computer science.
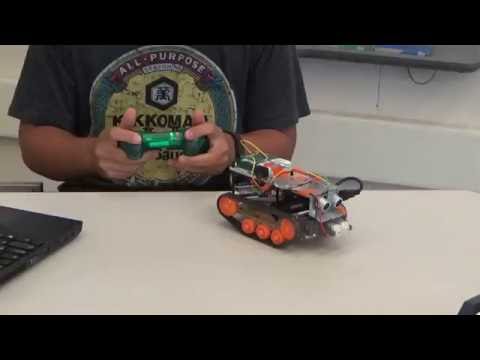
Final Video
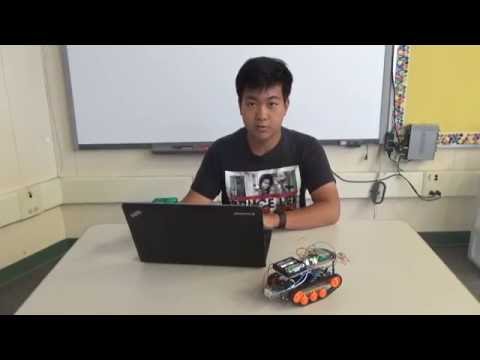
For my final video, the goal was to have a sensor in the front The code I found was for the ultrasonic sensor which makes it read distance and prints it into the serial moniter. All that I had to do was to insert a portion of the sensor code into my code from milestone 2 so the tank would go backwards if the sensor senses anything under a certain distance.
Accomplishing this milestone was pretty strait forward but it was still a good learning experience. Modifying this code was my first experience with an if else statement. I also learned more about what certain parts of my code do such as the lines that determine speed and direction.
This is my schematic

Here is my final code:
This is my Bill of Materials
2nd Milestone
My second milestone is to be able to control the tank with a wireless PS2 controller. The tank can now go forwards, backwards, and turn left and right wirelessly. While working on this milestone, the code portion was the toughest part for me. Hooking up the wires were simple enough though. For the code, I started off by putting in code from other peoples’ previous projects into my Arduino but all their code and never worked for me, they had different parts or their code was too long. After wasting more time than I should have, I looked at the code from the one on the instructable and learned what the numbers meant on my new Arduino . Some were the pins in which the PS2 receiver connect to and some were the pins on the Arduino which were supposed to correspond to speed, direction, and brake. I changed some of those numbers in the code to fit my wiring and information I found and it finally worked. That was the last time I blindly shove code into my Arduino.
This is my code
1st Milestone
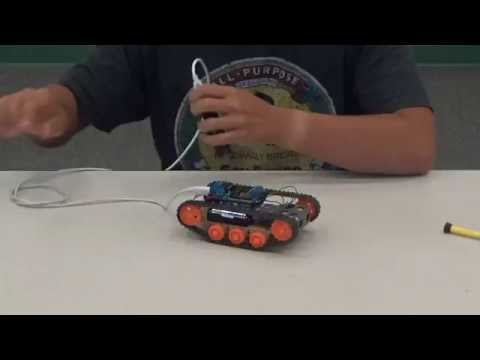
My first milestone is to get the tank moving autonomously. The goal was to use the arduino and motor shield to have the tank be able to go forwards and backwards and also turn left and right. I was able to achieve the goal by slightly changing the code I found. For this tank to work, the code in the Arduino controls the motors to turn either forwards or backwards.
Right now, the AA battery pack is not enough to power the tank sufficiently. I used an additional portable charger so that the tank would run fast enough. The tank will use 2 power sources for all future improvements so that it will run well.
During the first milestone, I learned how to control motors and how to put code into Arduino to make the tank perform tasks. I have had zero previous experiences with any coding so this was pretty interesting to me.
Starter Project: Minty Boost
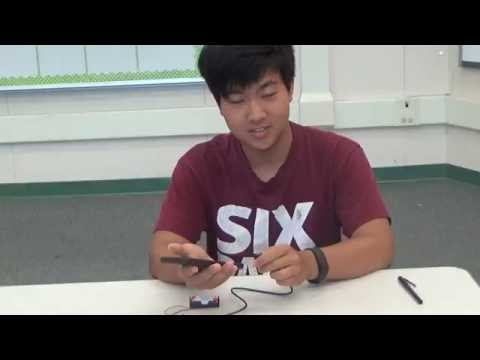
For my starter project, I made a portable phone charger powered by two AA batteries, the Mintyboost. The device charges your phone while being compact enough to fit inside a mint tin.
Doing this project guided me through soldering my first components onto a board. I also learned the purpose of inductors, capacitors, diodes, resistors, and boost converter chips. The soldering portion of the project was pretty straightforward for me, I just had to make sure to not ruin the circuit by flipping any polarized components and to not accidentally melt together any solder on the back. For me, the most difficult part of this project was researching and learning about what each of the components did. I thought it was cool to see how different components worked in order to charge a phone.
The video explains what each of the components do.