Raspberry Pi Game Emulator

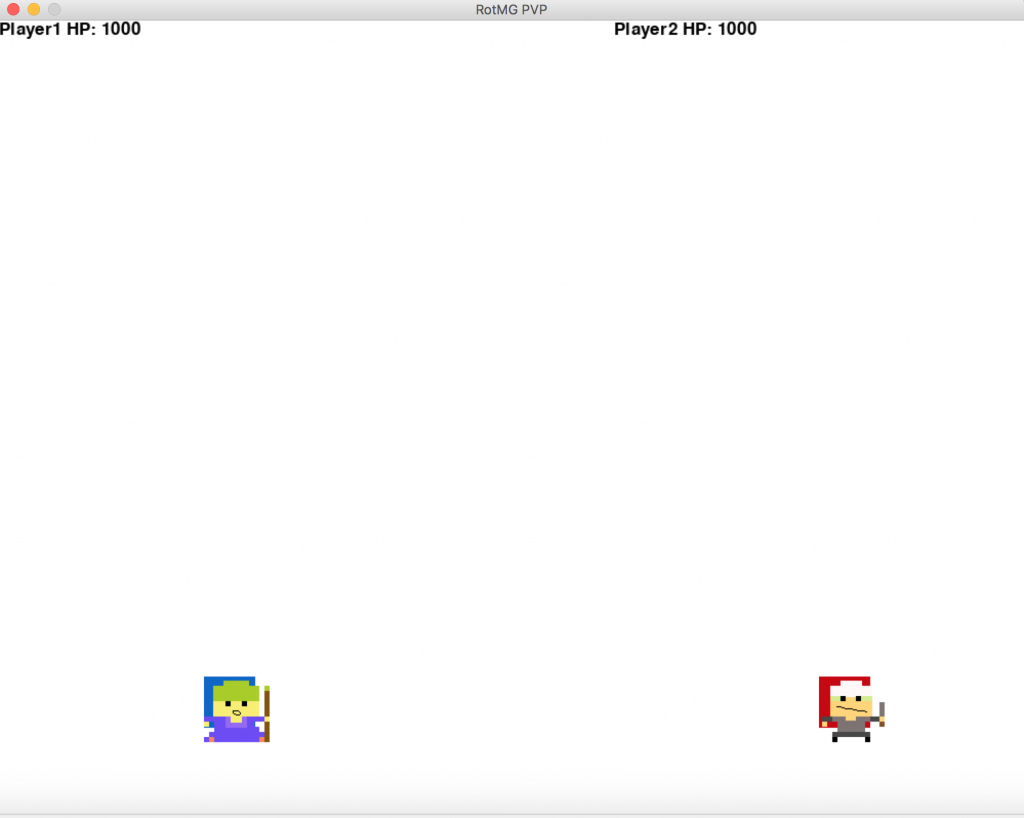
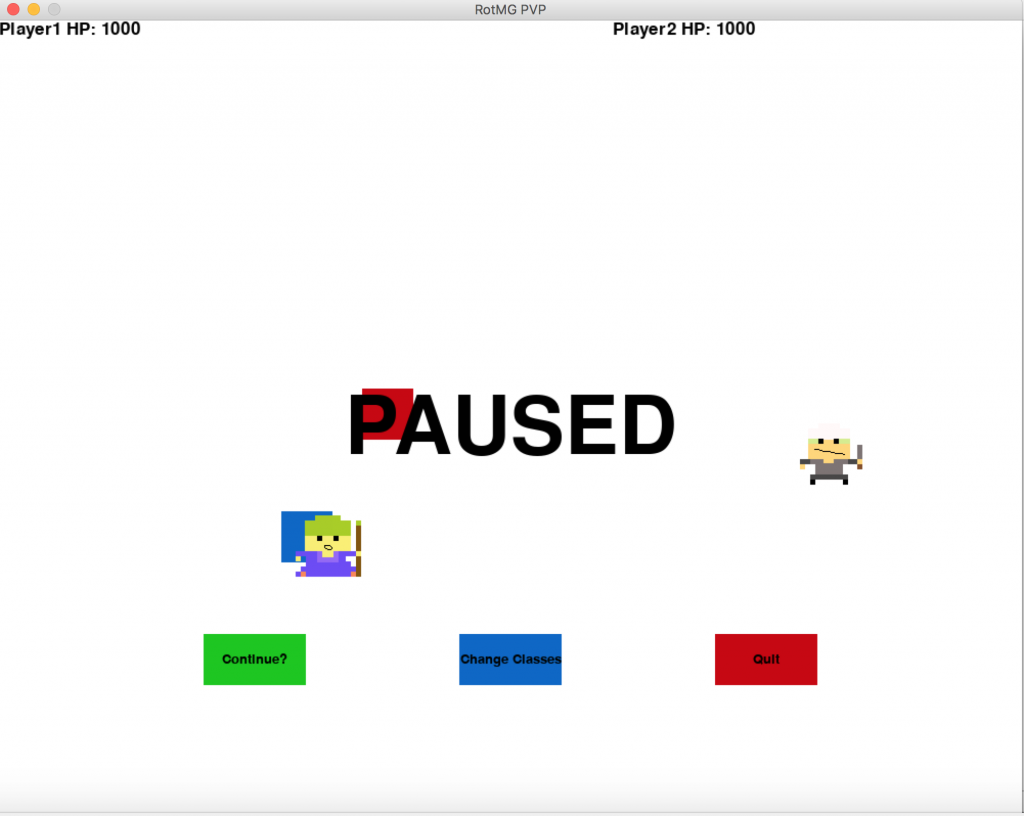
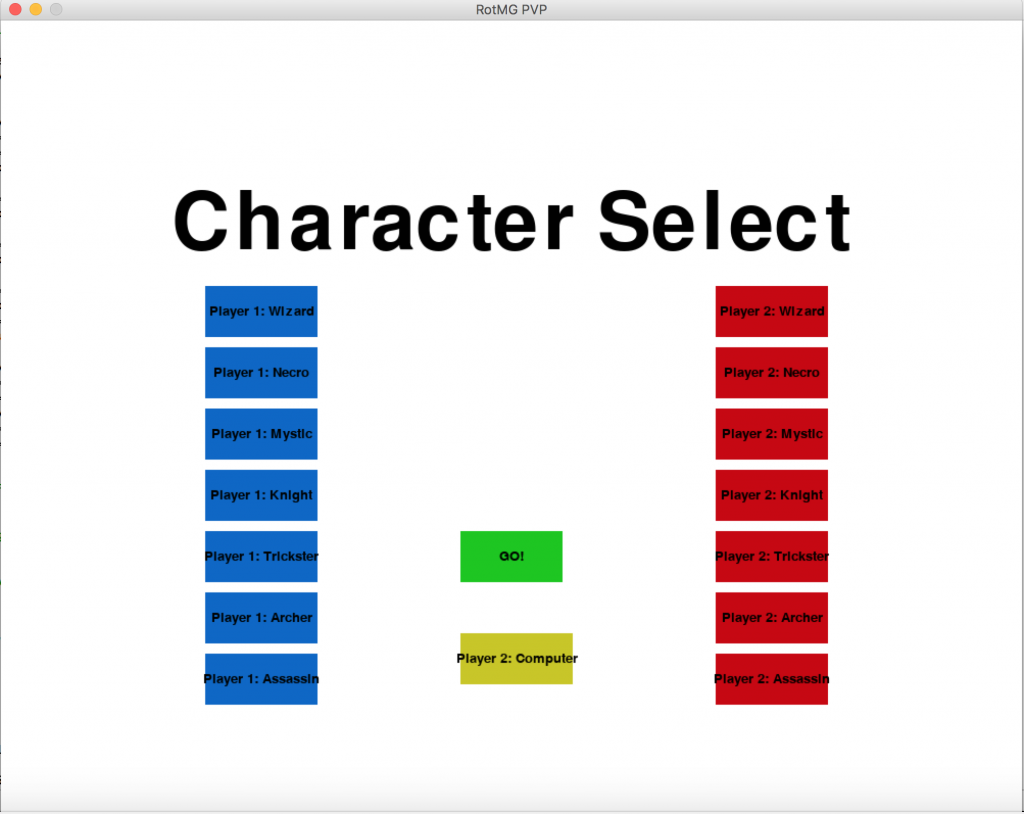
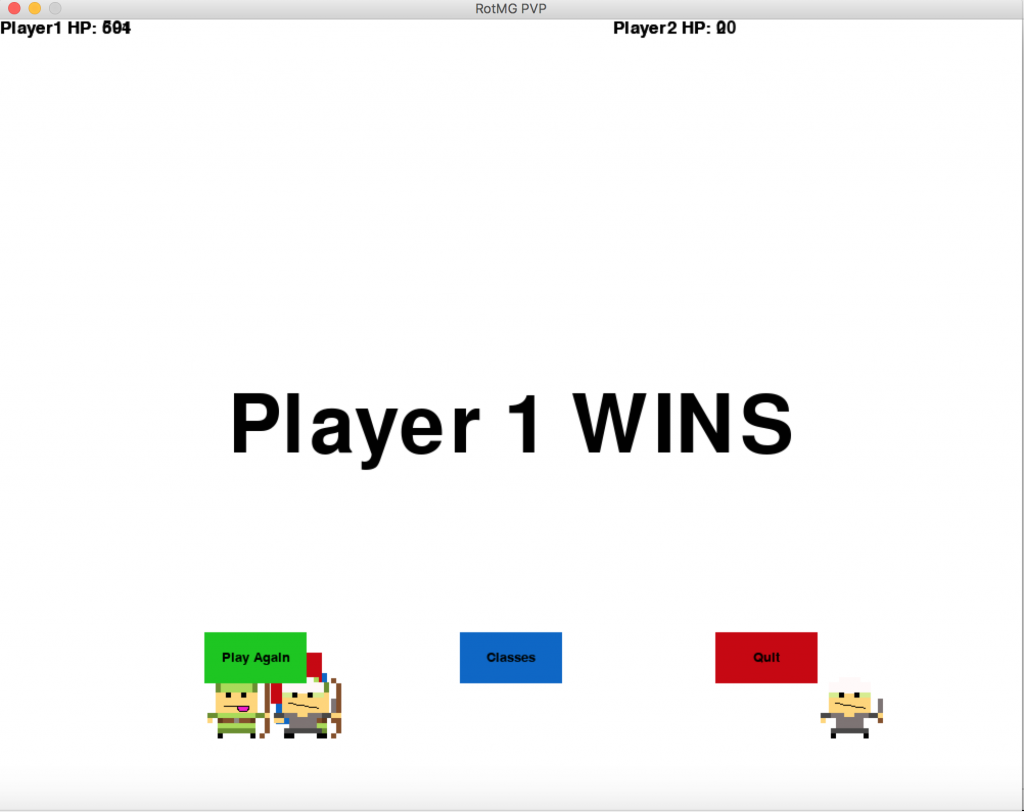
I am building a retro game emulator using the Retropie framework on Raspberry Pi. The emulator allows for the user to play thousands of game just by downloading the game files from the internet. I am also going to program my own game for raspberry pi using the pygame module for python.

Engineer

Manas Srivastava

Area of Interest

Computer Science

School

Wilcox High

Grade

Incoming Junior

Third Milestone

My final milestone was creating an AI for the player to play against. Currently, it checks for the positions of the player’s projectile and its own position to move accordingly. This AI also avoids the walls, so playing against it can be a challenge. I hope to improve it by tracking the player’s position and making it move its projectile to the player’s coordinates. From a visual standpoint,I would like to add a background and change the projectiles from objects to sprites to improve clarity.

Second Milestone

My second milestone was creating my own game in python using the pygame module. I made a 2 player game in which each player controls a character and has to reduce each other’s health to 0. Initially I had hardcoded the 2 characters, but found out that this was extremely inefficient. After some help from the instructors, I used classes in python in order to make 7 unique characters from which the players could choose from. Classes are like blueprints for my characters which made it considerably easier to make unique abilities. After implementing this, it only took me 15 minutes to make each character, along with the time it took to sprite them.

First Milestone

My first milestone was completing the retropie emulator using the raspberry pi. A raspberry pi is basically a computer that connects to a monitor, and then you can do all sorts of things with it. One common use of the raspberry pi is the emulator. It works by downloading the game files of retro games called ROMS. ROMS stand for read only memory, which means that it can’t be changed. One thing I struggled with was getting the games to save. Every time the pi was restarted, all the game data was lost. I eventually found out that I had to save the game through the in-game menus and the emulator itself in order for the game to save.

Simon Says Game

My Starter Project was the Simon Says Game. The player is shown a series of flashing lights and has to press the corresponding buttons in the correct order. There are 10 progressively harder rounds and if the player completes all these rounds they win. This project used an Arduino along with a potentiometer, LEDs, resistors, and buttons. The Arduino is a microcontroller, which means it is considerably less powerful than a Raspberry Pi, which is a microprocesser. The potentiometer changes the amount of voltage that flows into the circuit, changing the brightness of the LEDs and loudness of the buzzer.

STEM Summer Camps Coding & Robotics Classes For Kids San Francisco Coding & Robotics Classes For Kids New York Coding & Robotics Classes For Kids Denver Coding & Robotics Classes For Kids Palo Alto STEM Summer Camps For Kids in New York STEM Summer Camps For Kids in Palo Alto STEM Summer Camps For Kids San Francisco STEM Classes For Kids in New York STEM Classes For Kids in Palo Alto STEM Classes For Kids in San Francisco Code Classes For Kids Code Classes For Kids in New York Code Classes For Kids in Palo Alto Code Classes For Kids in San Francisco STEM Summer Camps For Kids

Sources:
https://learn.sparkfun.com/tutorials/sparkfun-inventors-kit-experiment-guide—v40/circuit-2c-simon-says-game-
https://www.pcworld.com/article/3190347/how-to-build-a-raspberry-pi-retrogaming-emulation-console.html

Leave a Comment

Start typing and press Enter to search

Bluestamp Engineering