Object Avoidance Autonomous Car
A car that can make smart decisions and decide which direction to turn while taking minimal stops and also avoiding walls and objects in front of it.
Engineer School
Kevin Gunn High School
Area of Interest Grade
Computer science/AI 10
Demo night presentation and reflection
Reflection
Throughout my time here at BlueStamp, I have truly learned a lot about not only engineering but also plenty of other life skills and attitude I will continue to bring along with me as I leave BlueStamp. I have learned to persevere and to face every challenge with one hundred percent effort and to constantly have this attitude while working on something. I would not have gained all of these skills if it weren’t for BlueStamp and I will continue to pursue my love for engineering and AI. My time here at BlueStamp was wonderful and I would recommend this program to anyone who has a remote interest in the STEM field.
Final Milestone
Today I completed my final milestone! I was able to make my car fully autonomous and it is able to make “smart” decisions instead of just turning clockwise whenever an object was detected. Now, when my car detects an object in front of it, my 2 sensors on both the left and right sides will send their ultrasonic sound to sense if anything is there. once the distances are received, the car will turn either right or left, depending on which sensors picked up the furthest distance.
Along the way, I faced many issues including the fact that my sensors were not working in unison. 2 sensors would always be working however, there would always be one sensor not getting any readings. I saw that I did not have any delays between my loops which causes an interference with the 2 sensors on the right and left the side. However, once I added a 50-millisecond delay between the ultrasonic sensor loop, my car functioned perfectly.
For future plans and possible modifications, I plan to add more sensors to the front of the car to widen the angle of detection. Also, I want to be able to add a ps2 receiver along with the Ps2 controller to allow my car to be remote-controlled.
3rd Milestone
For my next milestone, I plan to add 2 extra sensors and also the ps2 controller to make my car remote-controlled.
Today I completed my third milestone! I was able to code my car to avoid objects by using a loop and conditions that would make the car turn if the sensors sensed something 30 cm away.
Originally, I wanted to have three sensors and to allow the car to be fully autonomous and it would be able to turn in the direction that would make it able to avoid obstacles. However, while trying to solve this problem, I realized that no matter what I did with my car or my code, one of my wheels were not turning. I chose to use one sensor to make sure that the turning mechanism was working in the first place so that the car could both detect something and avoid it with the turning mechanism.
Along the way, I learned that the ultrasonic sensors, when placed too close to each other, will interfere with each other. When I learned this, I had to rearrange my breadboard so the sensors that were next to each other were either facing different directions or more spaced apart. This allowed me to get 3 sensors to input values at once.
2nd Milestone
For my next milestone, I hope to add an algorithm to allow the car to turn right then switching to left if the distance remains under 30 cm
Today I completed my second milestone!
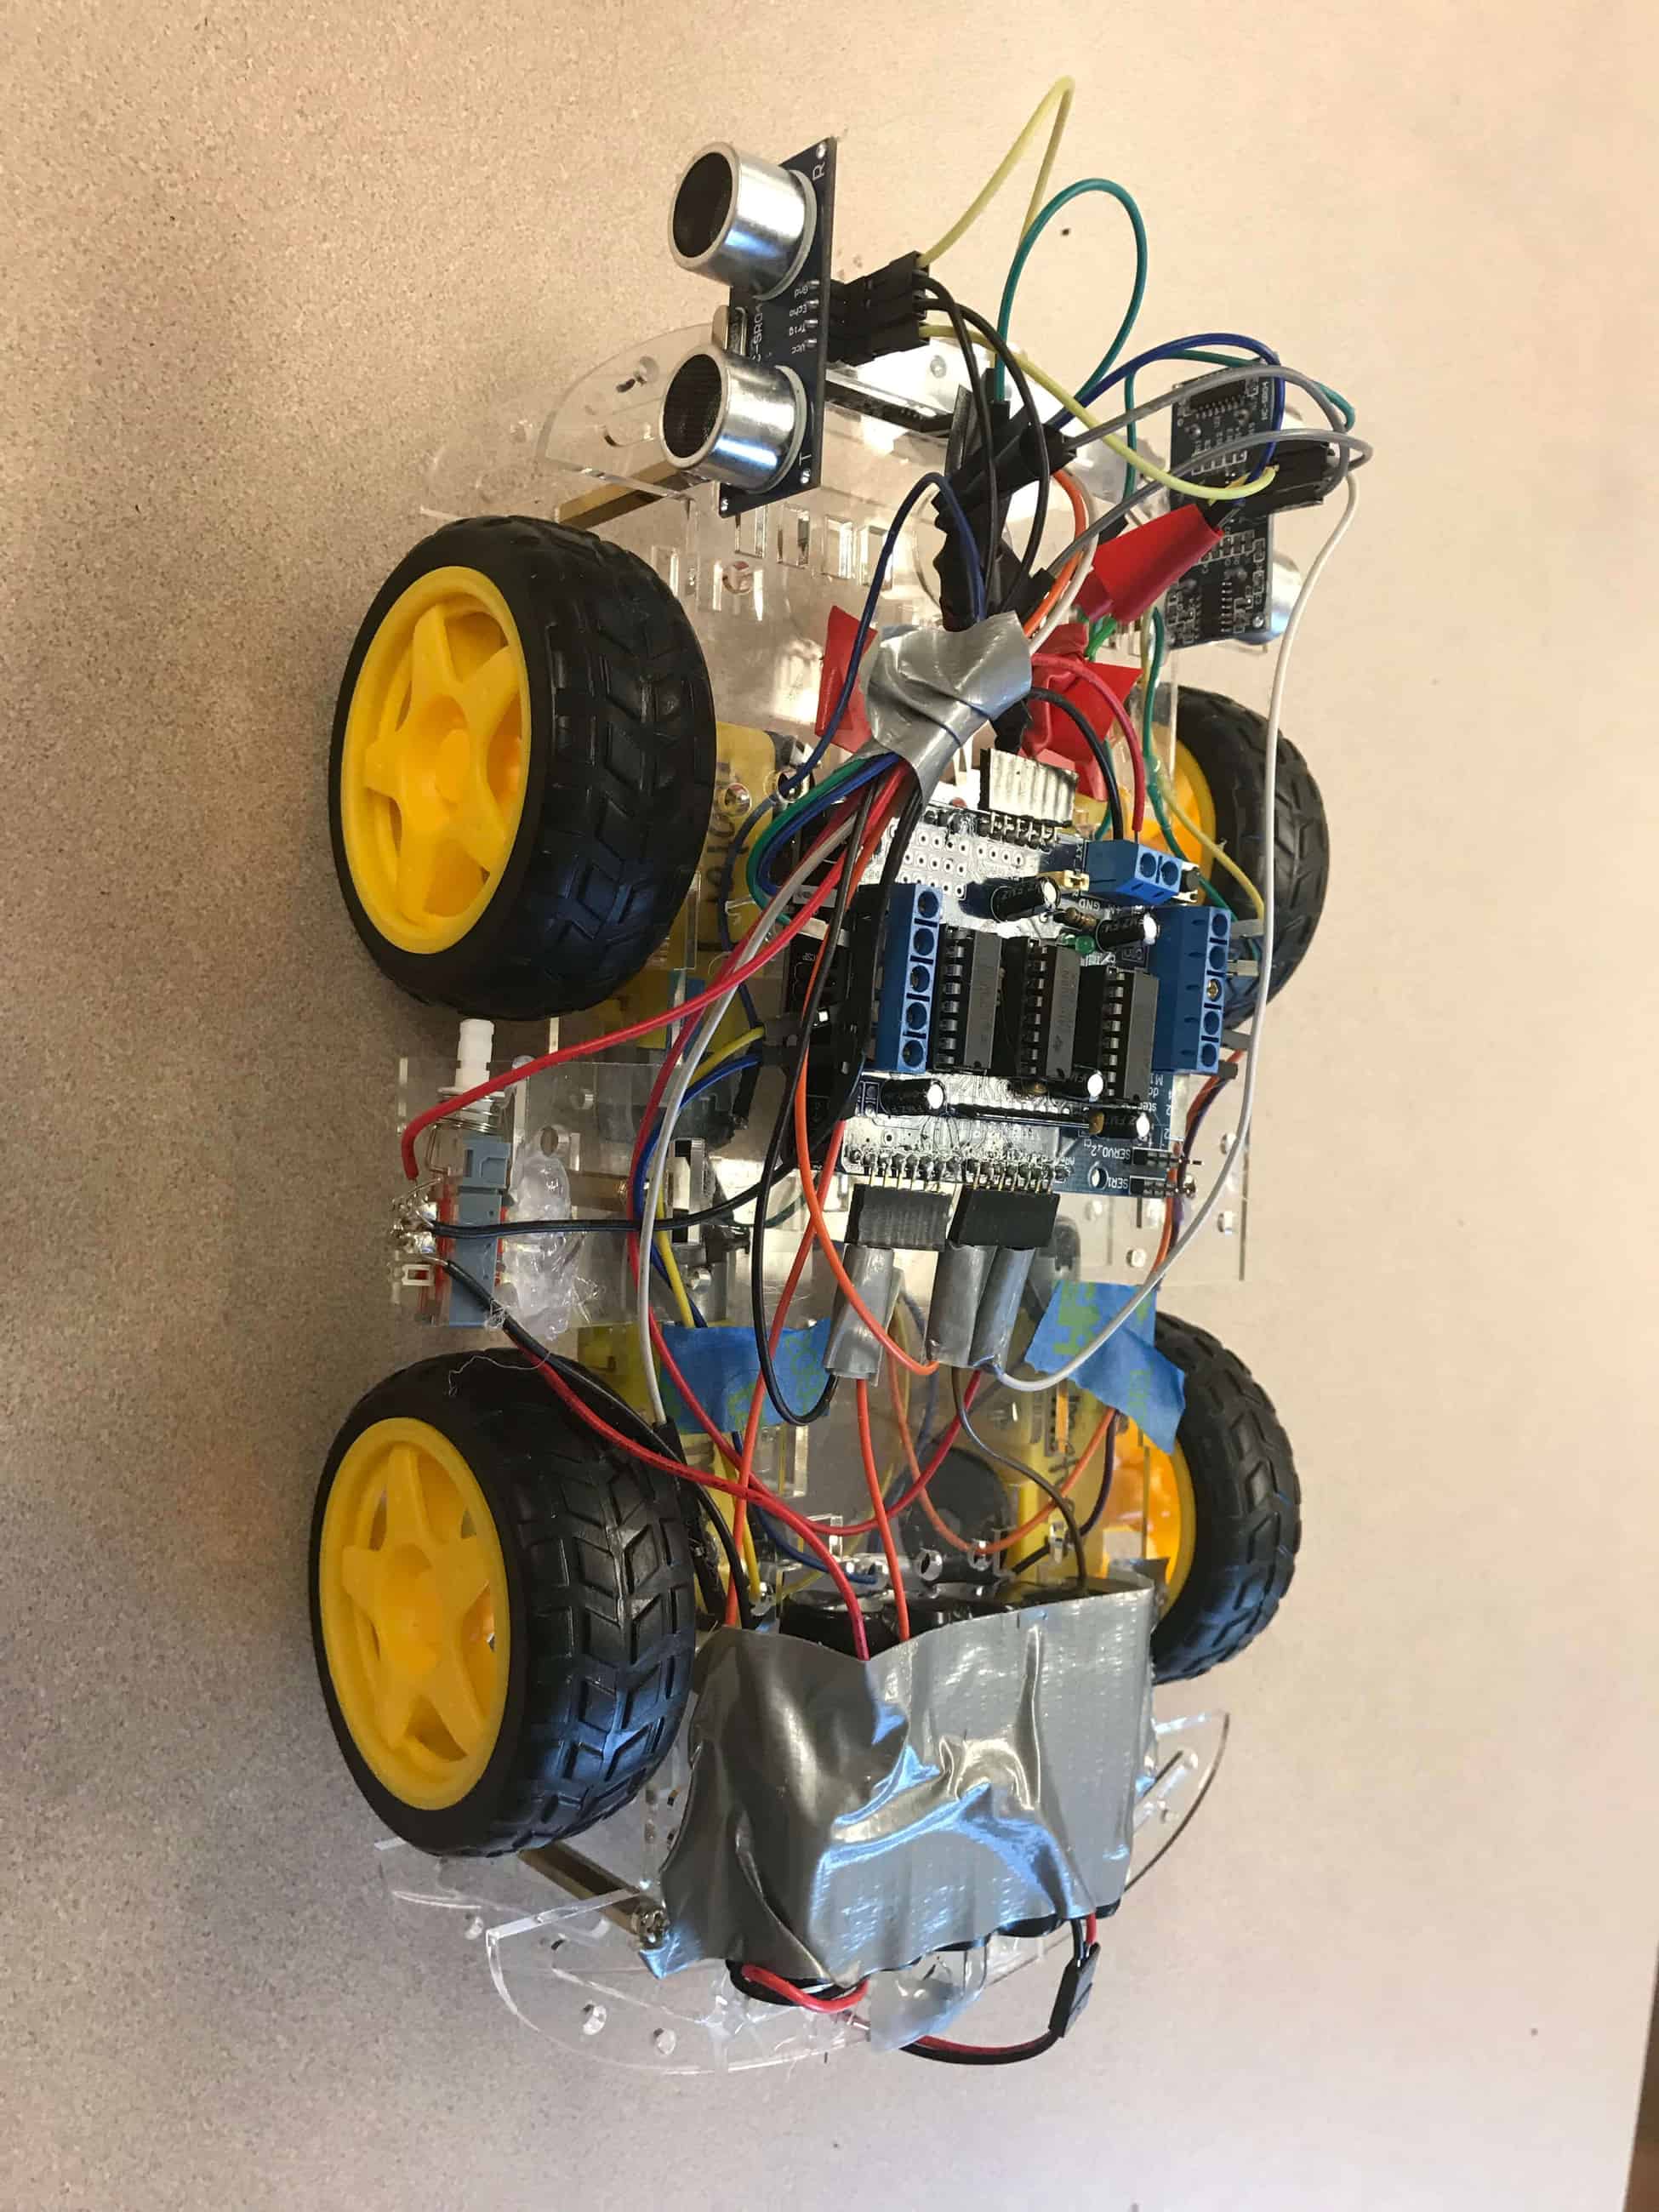
My second milestone was to attach my motor shield to the battery and also to build the entire chassis and attach all the motors. I added a 6V battery pack to supply the current for the Arduino and the four DC motors. Additionally, I added my ultrasonic sensor to the front of the car. Although the range of my sensor is quite limited, in a future milestone I plan to add more sensors to add a wider angle of detection.
As of right now, my car is able to detect an object 30 cm away from it and stop. Originally, my car was stopping too close to the object because of the delay. The set delay I used for my car was .5 seconds which was too long because the car would move during the delay so the car would truly stop about 20 cm away instead of 30cm. However, by shortening the delay to around .1 seconds, the car functions and stops roughly around 30 cm away from objects in front of it. This is crucial as it makes the car stop an adequate distance away so it can turn.