Record Cutter Project
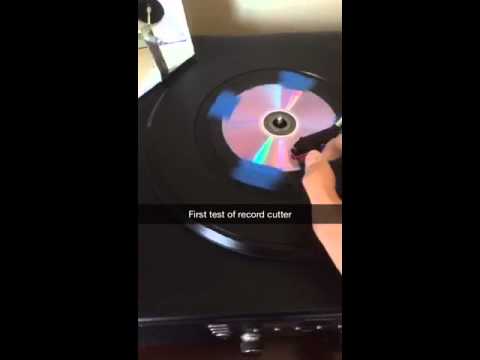
My flagship project for this session is a record cutting lathe. The concept is to transfer vibrations from MP3 playback onto a stylus, and use the stylus to cut miniscule grooves into a CD (or similar round plastic) to be played back on a record player.
6-20 First Milestone reached
Today I was successful in using the cutting head prototype to engrave a CD spinning on a turntable. The result was a few seconds of recognizable music playback when the needle of the record player found the grooves. Several problems arose during this first test. First of all, the shakiness of my hands caused the grooves to be poorly spaced or overlapping. The rotating assembly and slide bar, soon to be completed, solves this problem. The second problem I encountered was inconsistent groove depth. Some of this can be attributed to my hands, but I have found that my cutting head has too much mass. The result of too much mass on the cutting head is treble suppression, as the weight of the cutting head itself causes the stylus to cut too deep to register softer vibrations. Furthermore, the excess weight prohibits the stylus to work at its most effective angle, which is 75 degrees, respectively. The initial recordings required an approximate 50 degree cutting angle, which further inhibits engraving of higher frequencies. That’s not all- as I predicted, the excess mass of the speakers caused the turntable to slow down during recording, causing a noticeable inconsistency in playback sounds. My proposed solution is simple; use smaller, lighter speakers and scale down my original cutting head, using the same stylus mounting system that currently works as designed.
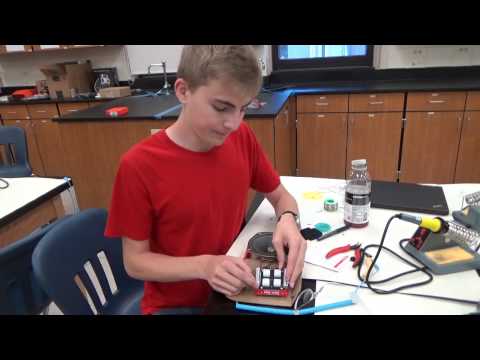
Starter Project: ‘Simon Says’ Game
I built this ‘Simon Says’ game as my starter project. The concept of the game is to follow the flashing lights under the 4 buttons and enter in the pattern the same way it was played. The kit came with a printed board, a resistor, microcontroller, 2 capacitors, buttons, LEDs, a speaker, and switches. I soldered all the components in the designated places on the circuit board. The power, from 2 AA batteries, flows through the resistor and into the microcontroller. From the controller chip, it flows from different pegs into the capacitors, then into the LEDs, displaying the pattern. Then, when the circuit is connected by pressing a button, the power flows back into the controller, which then issues a response through the ‘out’ pins. Unfortunately, the speaker that came with the kit was unsatisfactory, so I soldered a 25 watt car speaker to the connections instead to provide adequate sound for the device.