Hi everyone! My name is Jissell and I am a rising senior at Lynbrook High School. My starter project was the SparkFun Simon Says Game and my Intensive project was the Multi Colored Led display that can simulate a fireplace. In my time at Bluestamp Engineering, I developed a lot of new skills and learned so much. I really loved working on my project because I got to learn the basics of programming with hands on experience as well as create a project that was really interesting. Being on an accelerated course made the program a lot more difficult. However, I was amazed at how quickly I was able to jump in and create a project I was proud of. This program really made me excited for my future in engineering and for all of the projects out there. I hope to improve my skills by myself and with guidance for the rest of the summer and the school year.
Final Project:
I was finally able to get my Ultrasonic sensor to work with the fire code. First of all, it took me a while to go through and understand what each function did. In this code there were three main functions, generateLine, shiftUp, and drawFrame. With help I was able to understand what these three functions did and how they related to the code. I also had to understand more about how the ultrasonic sensor worked and how the trig and echo components worked together to find the distance of objects. In order to get the effects that I wanted, I had to change the code significantly.
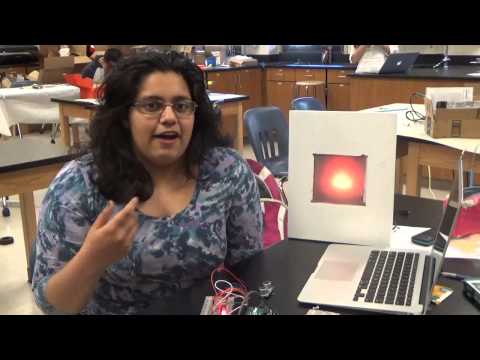
To get the code to work, I first had to create 2 more arrays for the new image. I made one array for valueMask and another array for hueMask and named them valueMask1 and hueMask1. I then created a new function called drawFrame1 which uses the valueMask1, and hueMask1 in it. I then added code for the sensor in the void setup and void loop. This made it so that when an individual is far away, the fire is a dimmer, more subdued orange color. However when a person comes into the range of 30 cm, the fire becomes brighter. Through this project, I was able to see just how important the details in code were. Even though I had many of the necessary components in my code, I had them in the wrong order and my sensor would not work along with my Rainbowduino. Once I took the time to go through my code, I could see where my mistakes were and got a better understanding of programming. I wrote some more code as well that can be found in my Github account that uses the sensors as well as code that does not use the sensor.
There were a lot of issues with using the Rainbowduino and sensor together. For example, there were often a lot of breaks and pauses in my animations due to the issue that there was a lot of code to take in. I tried my best to solve these issues and I was able to improve the code and make the pauses shorter and faster. However, I was unable to make them go away completely. In the future, I might try powering the sensor and Rainbowduino with an Arduino Uno.
Here are the links to my Final Build Plan, BOM, My Github and youtube video
Final Project Youtube Video:
Milestone 2: Finishing the Wooden box, Learning how to code an Arduino Uno, and also Getting a distance Sensor to work.
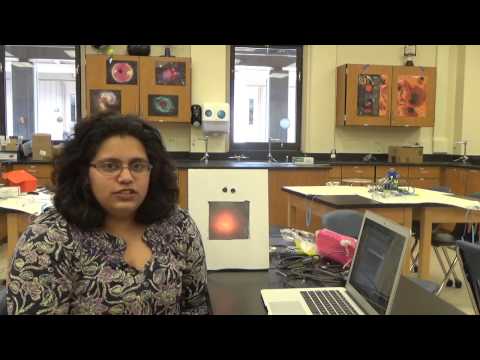
First of all, I was able to complete my box itself. To do this I had to use a dremel and drill for the first time and cut through the wooden box and drill holes which was a very thrilling experience to say the least. Initially, I had a difficult time controlling it, but eventually I learned how to use the machine effectively. This resulted in having slightly uneven lines and messy corners, however I was still happy with the job. I also constructed my diffuser screen which is made from styrofoam board and tracing paper to diffuse the light from the LED’s to make a soft glow and give it a candle effect.
I also learned how to use the Arduino Uno board. I was able to create computer programs that could blink multiple LED’s as well as fade them. I learned a lot more about programming while using this board as the Arduino Uno is a really common board, making it easier to understand the basics of programming with it. With this board I was able to get the HC-SR04 sensor to work, allowing me to understand this piece of hardware better.
The third part of my milestone was using a sensor and understanding how the sensor worked. I have had a lot of trouble with the sensor for the past few days. I was able to get it up and running on the Uno, however on the Rainbowduino there were a lot of issues. Because all of the digital pins were taken up by the matrix, there was very little room for my sensor. I then had to solder on jumper wires to get the sensor connected. I was able to get the sensor working with a very basic code on the Rainbowduino, however the sensor still did not work very well. After a lot of testing, we were able to find that just initializing the rainbowduino chip slows down the sensor, leaving a lot of lag time and having random breaks in between.
Here is my video briefly explaining everything.
Milestone 1: Getting my Rainbowduino to work and Getting familiar with Arduino software
I am very new to the world of computer science and this was my first experience programming a device. In order for the Rainbowduino chip to be recognized by my computer, I had to download the FTDI USB driver. I also needed to download the Rainbowduino Library and the Colorduino library provided by the Arduino company in order to make even the most basic programs work. I struggled a lot with this step as often times code from the libraries would not verify or upload onto my Rainbowduino. However, I found a simple fix to the issue by unplugging and resetting my chip multiple times. Within a few days I started to understand the Arduino program better and learned a lot about the basics of coding. I also blew out one of my LED’s in my LED matrix when I placed it in a breadboard without a resistor in place. This taught me the value of using resistors properly.
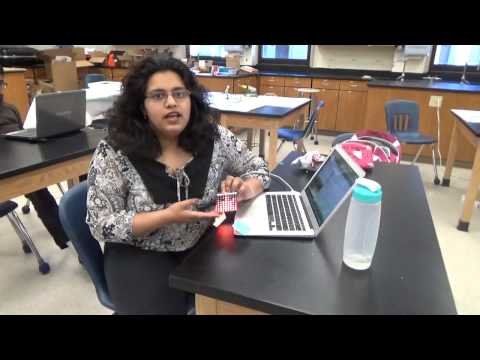
My next goal for this milestone was to create my own basic code from scratch. I used the ASCII values from the Arduino website and was able to create a program that spells my name out in various colors. I quickly learned that some of the ASCII values did not work in my code and I was able to solve the issue with experimentation. I learned that with the Rainbowduino chip, The code for the letter is determined by the position of the letter in the alphabet. For example, A has a code of 1000001 and B has a code of 1000002 and so on until Z with a code of 1000026. I also learned how to change the position and color of my letters by changing the x and y positions and using different hex values
Starter Project
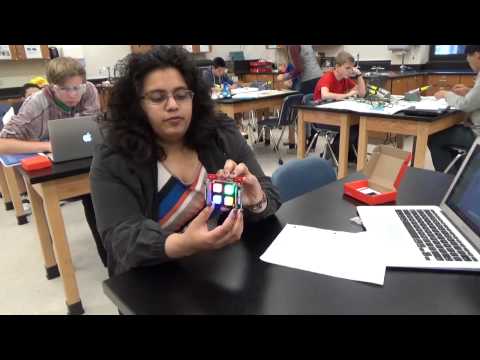
My Starter project was a great way to learn the basics of soldering as well as learning more about specific parts and the variability of certain parts. The Simon Says uses the ATMega micro-controller to create variation in gameplay. The led lights flash in random order and the player must hit the button in the specific order to win. When a button is pressed, the circuit opens and closes, creating a flash of light every time the circuit is closed. My resistor helps ensure that the game does not short circuit and my capacitors help store energy to create the flash of light we see. My Simon Says game also contains a buzzer which goes of every time a button is pressed. This game uses 2 double A batteries as its power source.
At first my Simon Says game was not working; however, with the help of instructors I was able to fix my issues without having to desolder my project. This taught me how to go step by step before jumping to conclusions.