Smart Mirror

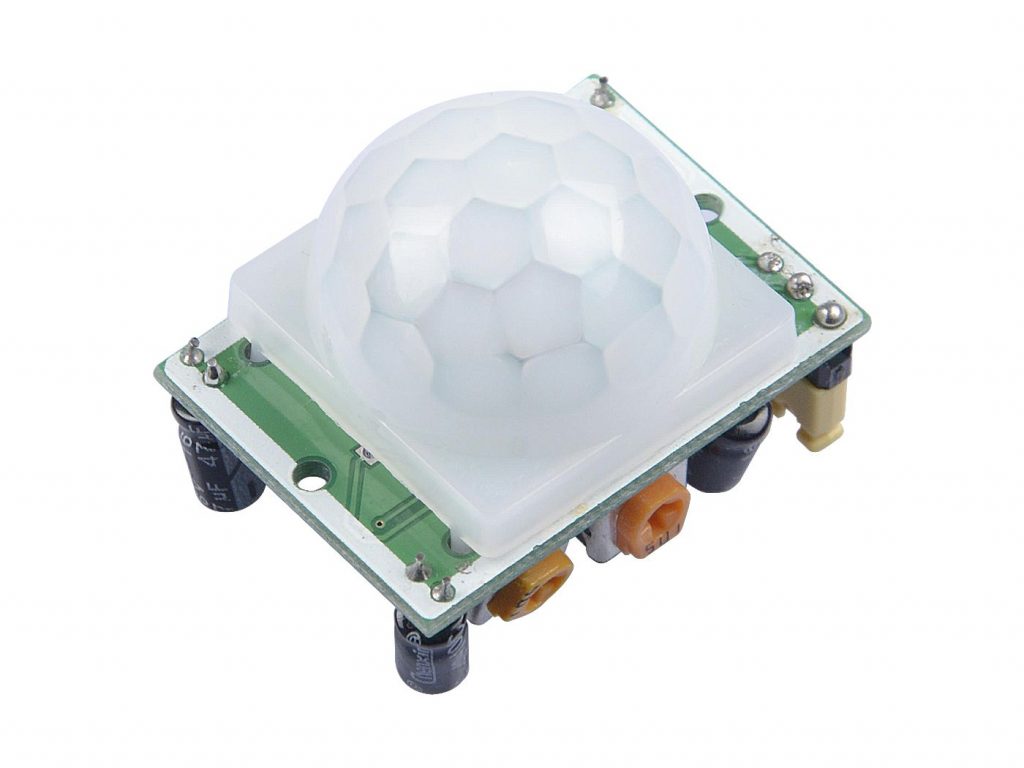
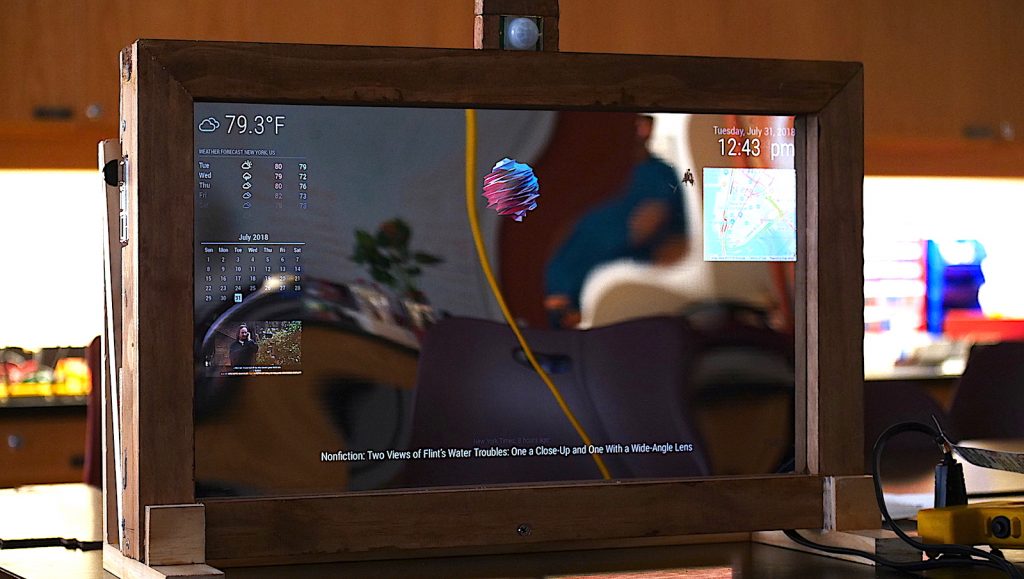
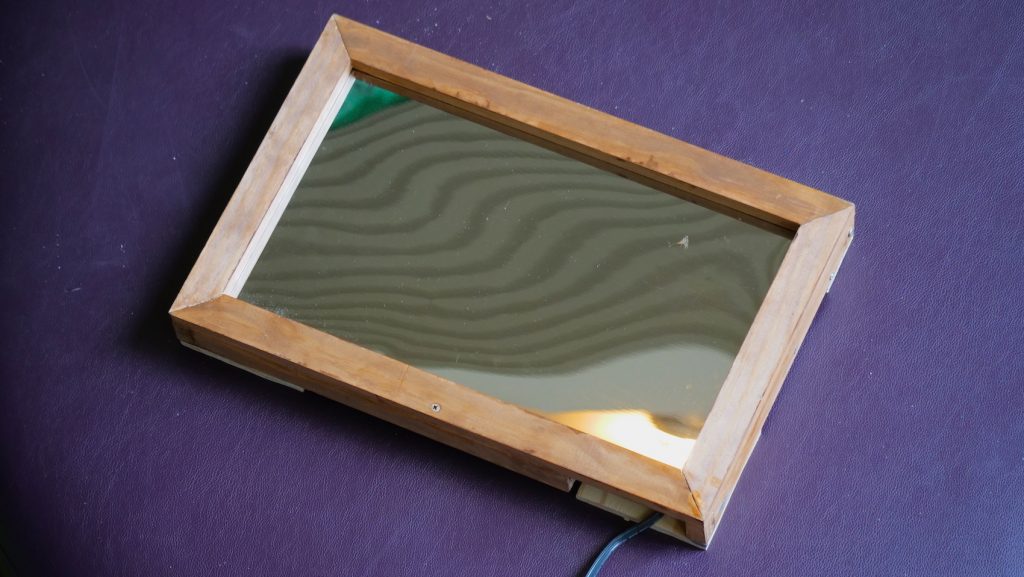
My project is a smart mirror: a mirror which displays information such as weather, time, traffic, news, and more to its user. The mirror can be activated manually, or via a PIR sensor which detects movement.

Engineer

Jasper H.

Interest

Aerospace Engineering

School

Horace Mann School

Grade

Incoming Junior

Final Milestone

For my final milestone of my smart mirror project, I completed the entire smart mirror outfitted with some extra components for enhanced performance. Firstly, I attached a passive infrared sensor (PIR) to the top of my mirror. The sensor detects the presence of a user in front of the mirror to control the display by measuring the difference in infrared light in the surrounding area over a given period of time. If there is an insignificant change in intensity, the raspberry pi will shut off the HDMI connection to the mirror after 45 seconds following a prompt on the screen warning about the shutoff. If the sensor notices a substantial change in IR light, the pi will open up the HDMI connection, allowing the screen to turn back on. Secondly, I integrated Amazon’s Alexa voice service API into the mirror. The voice service is activated and connected to the internet through a client ID and service key, both of which I have programmed into the software to insert automatically. The mirror acts just like any other Alexa device, as there is a microphone in the side of the mirror that listens for the trigger phrase “Alexa” and listens to the user’s command following the trigger phrase. At the bottom of the mirror, there is also a small animation that shows when Alexa has registered your voice for convenience. Finally, I created a holding stand for the mirror to allow the mirror to rest on a table when it is not hung on a wall. The stand is very simple, comprising of 9 pieces of 1.25in. wood, and can hold the mirror perfectly upright or slightly tilted back based on the user’s desires. Overall, I am very satisfied with my final product. The mirror was incredibly fun to make, and I learned an incredible amount about designing, building, testing, and overcoming challenges when it comes to developing complex projects.

Third Milestone

For my third milestone in my smart mirror project, I finished making the main mirror along with adding a news component to my software. The mirror was made using 2” by 4” pieces of wood cut to specific lengths. The pieces of wood were put together using wood glue, screws, and nails. The front of the mirror has four pieces with 45° cuts to make a perfect rectangle around the monitor. Inside the frame, a piece of double-sided, reflective plastic is sandwiched between the monitor and the frame and reinforced with superglue. On the back of the monitor, one piece of wood spans the length of the frame, making it impossible for the monitor to fall out. For cable management purposes, I put a 3-outlet extension cord in the back which powers the raspberry pi and the monitor while allowing for only one cable being plugged into a wall. The news component was inserted into my program by simply taking an embed YouTube link and displaying the video within a certain border. I had several challenges during this stage of my project. First, I had to remake some pieces of the frame because I got the measurements wrong the first time. Each piece had to be perfectly cut so they fit together comfortably. Second, there are a lot of wires on the back of the mirror and they kept falling off. To fix this, I used extremely strong packaging tape to hold the wires against the monitor. It’s not the most professional solution, but it was quick and convenient and allowed me to easily change the wiring if I wanted. Third, the internet in this school is very slow and at times, it doesn’t work at all. This prohibited the program from loading things like the news and weather. To try to fix this, I used a mobile hotspot instead of the Wi-Fi, but it was still really slow. Finally, I settled on using Ethernet for fast internet and everything works perfectly. I am very happy with my project and I can’t wait to start adding modifications.

Second Milestone

For my second milestone in my smart mirror project, I finished the first version of the mirror and added more components to the mirror’s software. For the mirror, I took a picture frame, removed the glass, and added a two sided, see through reflective panel in place of the glass. The frame was originally too large to fit the monitor, so I shortened it by cutting off some length from the sides and reattaching the top. Because the frame is not that well-made, the sides kept pushing outwards, resulting in a slightly offset glue job. However, this frame is just a test frame. The final product will have a sleek, well made mirror. As for the software, I added a forecast, better news structure, calendar, map showing traffic around a specified area, and a little animation for aesthetics. The program calls a map from Google’s developer API and gives a key to google to authenticate the map. The location of the map is preset to a location of my choice. In this case, I set it to show the area I live in and the traffic surrounding the area. The forecast and calendar were also taken from only developer APIs and work similarly to the map. In addition to all of this, the mirror is now capable of starting the program immediately after startup, without any manual instruction. I had two challenges during this stage of the project. The first challenge was the problem with sides of the mirror specified at the beginning of this piece. The second challenge was the fact that the reflective material is very brittle. Because of this, part of the mirror broke when someone bumped into it. However, it’s ok because this mirror is just a test. Overall, I am very happy with my progress and I am sure to add more to my mirror in the coming days.

Map

  • Calling the Developer API

    The raspberry pi calls the developer API from Google and requests a pre-formatted map.

  • Giving the API a Specifically Generated Key

    The API key grants access to the API's information on foreign devices.

  • Specifying the Prefered Location on the Map

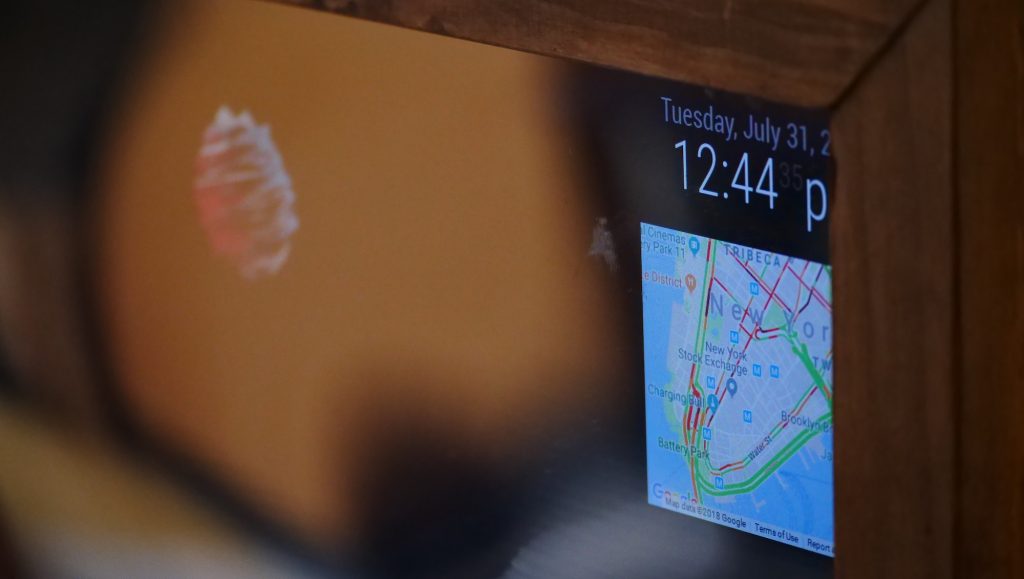
    The program gives the map a set of coordinates as a center point for the map that the user can change.

  • Displaying the Map with Local Traffic Information

    Pretty self explanitory...

Weather Forecast

  • Calling the Developer API for a Forecast from any Website

    The program calls for information regarding the weather for the next seven days.

  • Displaying the Forecast

    The forecast API does not need an authentication key, so the program just displays it directly.

News

  • Calling the Developer API for a Calendar from any Developer-Oriented Website

    The program calls for information regarding date for the next 30-31 days (29 or 28 days for February).

  • Displaying the Forecast

    The calendar API does not need an authentication key, so the program just displays it directly.

First Milestone

For my first milestone in my smart mirror project, I finished basics of the display system. My display, which will go underneath a reflective coating in my mirror, can currently display the weather, time, and five news headlines. Although this doesn’t sound that impressive, it did take a bit of time to get it working. I first downloaded a python skeleton to help format the information tabs on my monitor. I then added code for the time, weather, and news. I added the weather by calling the developer API from DarkSky.net and inserting my verification code from the website. To find the weather of the approximate area the mirror is in, the program gets the IP address of the wifi the Raspberry Pi is using. With each weather condition, the program assigns certain images next to the temperature. For example, when it is sunny, the screen display a sun symbol, when it is snowing, the screen displays a snow symbol. The time was taken directly from the Pi’s clock and displayed along with the current date. To display news headlines, the program calls them from a google API link and specifies directly to the link that the program wants U.S. headlines. There were a few challenges along the way when developing the mirror’s display system. Firstly, downloading the proper applications to edit the python code within the raspberry pi was a hassle. Things didn’t download properly and I had to download most applications at least twice. This wasted valuable time I could’ve spent developing my project. Secondly, the pi kept making a copy of the file I was editing and calling the copy instead of the main file when I tried to run the program. I fixed this by turning off file copying in the pi through its terminal. Finally, the program wasn’t displaying the content in absolute full screen, even though the program specified to do so. So, I went into the pi’s config settings again and changed the actually displace settings of the pi itself to a higher resolution. This fit the pi’s display perfectly to the borders of my monitor.

Weather

  • Calling the Developer API

    The raspberry pi calls the developer API from DarkSky.net and requests weather information.

  • Giving the API a Specifically Generated Token

    The API token is essentially a key that grants access to the API's information on foreign devices.

  • Giving the API the Raspberry Pi's IP Address

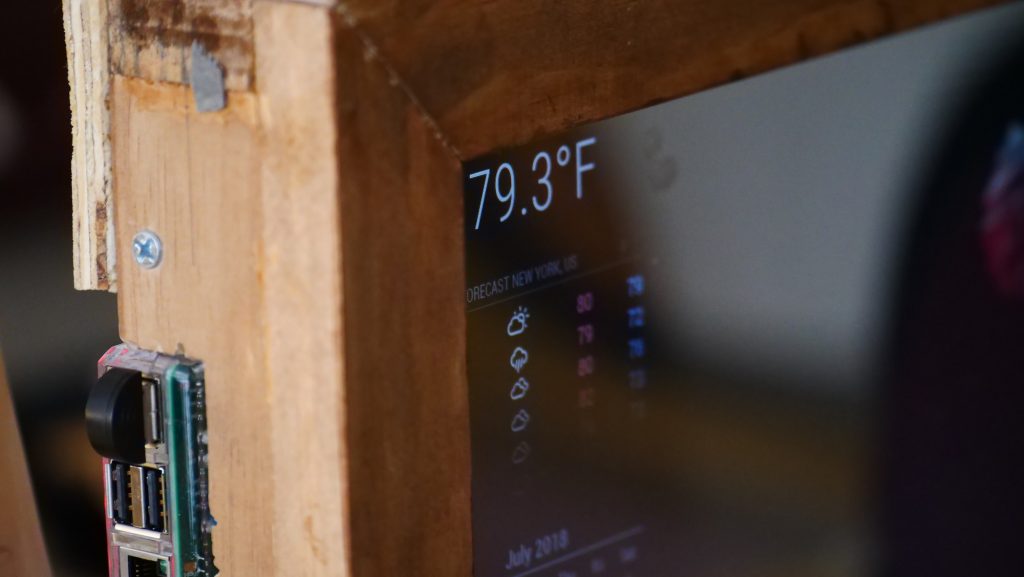
    The developer API needs to determine the user's location to give accurate data. To do this, it calls the raspberry pi's ip address, which holds information on the location of the wifi or ethernet the pi is using.

  • Assigning Respective icons to Given Weather Conditions

    Pretty self explanitory...

  • Displaying the Weather on the Monitor

    After all the puzzle pieces are put together, the final product is displayed as a sleek weather display.

Time

  • Taking the Time from the Raspberry Pi

    The program calls the time from the pi.

  • Displaying the Time

    Again, pretty self explanitory...

News

  • Calling Google's Developer API for News

  • Specifying the Prefered Location of News Outlets to Google

    The program tells Google's API which country it wants its news from. In this case, it calls news from outlets in the United States.

  • Displaying the News

    The program takes the API with the preferred location and displays the top five headlines.

Starter Project

My starter project is a Useless Machine. This machine, which is turned on via a switch, has an arm that comes out of a box to flip the switch back into its “off” position. A LED inside which lights up the arm green or red shows whether the machine is “on” or “off”. The Useless Machine consists of two switches, one double-pole, double-throw and one double-pole, single-throw. A DPDT switch has two possible circuits the switch can control and two possible positions each pole can be connected to, while a DPST switch has two possible circuits and one position each pole can be connected to. The arm is controlled by a DC motor with a gear box (which is powered by three AAA batteries) to create the torque needed to push the DPDT switch. When the switch is pushed forward, the motor turns the arm so it will pop out of the box and push the switch backwards. When the switch is pushed backwards by the arm, the current running through the motor is reversed, thus turning the motor in the opposite direction and lowering the arm. Next to the motor, the DPST switch is set to close the circuit of the machine once pressed. As the arm lowers back into the box, the back side of the arm presses down on the switch, thus turning the whole machine off. Pushing the DPDT switch forwards will start this process over again. The main challenge I had when building this project was I had to de-solder a switch because I soldered it on backwards. The process took a long time, but the machine worked out in the end. Also, the box that held the machine was cheaply built, which resulted in great difficulty when assembling it. Over all, this was a fun project and I learned a lot about the essentials of engineering.

Useless Machine Circuit Diagrams


Leave a Comment

Start typing and press Enter to search

Bluestamp Engineering