Infinity Mirror
The Infinity Mirror uses LEDs and mirrors to make an illusion of infinite space.
Engineer
Jairus
Area of Interest
Astrologist
School
Fremont High School
Grade
Rising Senior
At Bluestamp I did research in electrical, mechanical, and computer engineering. The coding of my arduino helped with a lot of computer science review for my next school year in which I am taking AP computer science. I added to my soldering skills and added new electrical knowledge to make new circuits. With any engineering feat there is an equal motivation and for me a table was necessary at home where cups and plates would be found on the floor in the living room. Not only did I bring in a table but an intricate and beautiful designed one.
Final Mile Stone


My Final Milestone was making beat detection and completing the entire table. I didn’t finish my table as I have things to add. One thing I want to add is glass over the entire table to lock the two mirrors in place and keep the table water resistant. I made the beat detection work with a low pass filter. The low pass filter only detects frequencies between 0 and 120 hertz. This range is where bass guitar and the kick drum are. By using an aux cord I connected the music or audio directly to the arduino, the microprocessor or brain of the circuit. The next coding aspect of this was the hardest part of my project and is still not yet perfect. The data comes in to the arduino as values between 0 and around 300 depending on volume. When a bass note plays the resulting data looks like a hill with a max value and a gradual increase and decay. To detect a beat I made a variable that finds the highest last value in the data this is then my 1st threshold. I then average all the data above 0 to find a 2nd threshold. Then I subtract the 2nd Threshold from the 1st Threshold and if a data point is greater than this new value or 3rd threshold than the lights change. Tracking a beat is hard as the length of the note is hard to track and is not as easy as a single value. What I did to counteract this is add a short delay less than a second after a beat is detected. One problem that occurred with this code was that the a variable of the 2nd threshold that was infinite couldn’t hold a value above a certain number and turned negative. The variable could store values from -n to n and when it hit that n value it cycled all the way back to the -n value. I fixed this by resetting my average value every hundred cycles and this fixed another problem at the same time. It fixed the problem that when volume is changed a new accurate average would take too long to create as there is already a large average value and adding a small value would do nothing to change it. My new problem is figuring out when to reset my high Threshold to match the volume. I have come up with a solution that is very time extensive. This solution is to find data at each volume level of a metronome then use the average values and high values of each data set and graph them. If I can find a relationship between them I can figure out when to reset my High Threshold based on my Average Threshold using an algorithm.
2nd Mile Stone
Building my table was my 2nd Milestone. I had to learn how to use 3 tools, the drill, hand saw, and the file. I used the drill to make holes in order to cut the space for the mirrors. I cut the space using a hand saw and smoothed out the edges with a handsaw. In the middle of the table is octagon patterned cardboard for cheap yet structural support. I cut this layer away and put the components inside of it. One problem I experienced occurred only from using there wrong type of tape. I used electrical tape instead of painters tape and some paint from the table came off. I had to spend two days spray painting the entire table evenly and allowing it to dry.
1st Mile Stone

My 1st mile stone is a prototype for my real project, an Led Infinity Table. The infinity LED pattern is made through two mirrors with one being see-through. The arduino leonardo is used to control the patterns on the Neopixel strip which holds the LEDs. The LEDs are RGB and have 4 legs one for each color: red, blue, green and one leg for ground. The power supply is connected to a 1000 microfarad capacitor that slows the current so that the neopixel strip isn’t overwhelmed. The arduino library came with many programs that could be used to make beautiful patterns on the LEDs. One program I made allowed for randomized color for each individual LED. One problem I dealt with was availability of parts. My project required a 1000 microfarad capacitor but it wasn’t available at the time so I had to use 3 capacitors in parallel to add up to the 1000 micro farad requirement. Through this solution I found another problem. My capacitors were very close to each other and my project short circuited because the positive side and negative side of two capacitors touched. I smelled the burning smell of the plastic on the breadboard and unplugged the power immediately. I then replaced all my broken capacitors with one big 1000 microfarad one.
Starter Project

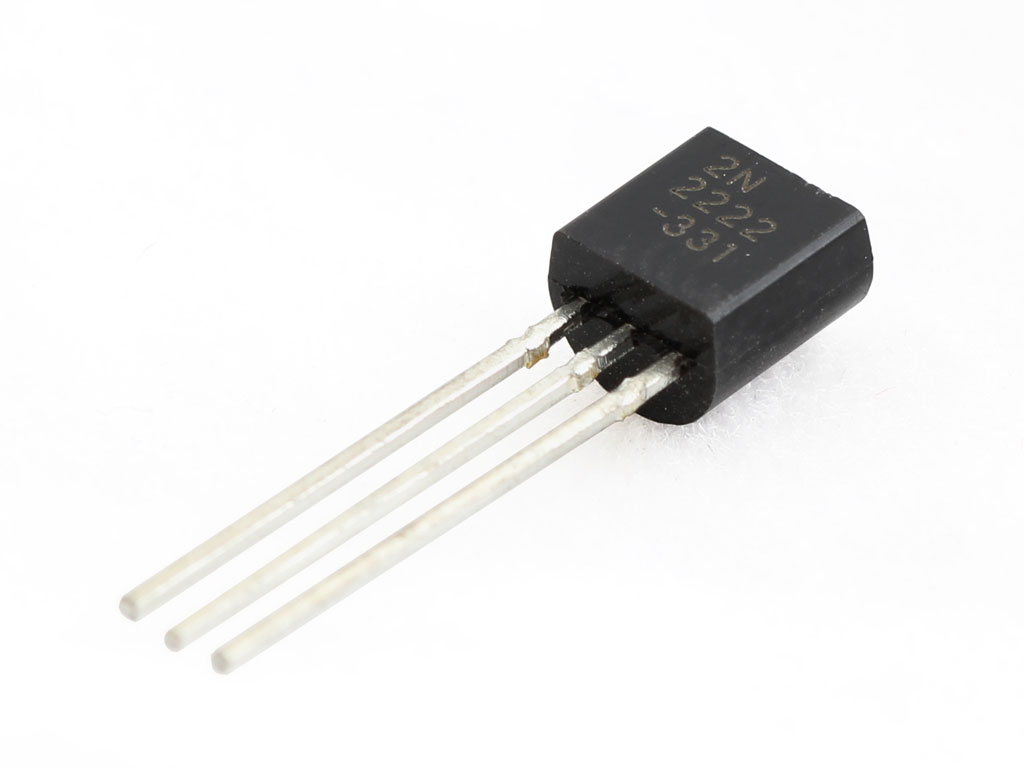


My starter Project, an LED pattern controlled by sound , is composed of many components. One important component is the IC(integrated circuit) chip. The chip controls the way the LED pattern works and acts like the brain of the device. The 9 volt battery sends current through the circuit and to protect parts from overheating and breaking resistors are needed. The resistors control the current by converting the electric energy to heat energy. A specific type of resistor is the variable resistor also known as the potentiometer. Potentiometer’s feature a switch to change the amount of resistance in the circuit. The IC picks up on the change and uses it to change the pattern of the LEDs. The pattern of the LEDs is very dependent on knowing time(knowing when to switch to a different LED) , the IC uses capacitors to find time. Capacitors absorb the current and release it slowly, the chip then measures this and uses it for the pattern. Another important part are the transistors found as positive-negative-positive or negative-positive-negative. They act as gates for decision making by the IC. While making this project I ran into two main problems: Dead connections and an incorrectly placed IC chip. To fix dead connections I used my finger to push on soldered joints to push the metal to meet each other and actually conduct. I then resoldered the connections that were unsatisfactory. The IC chips have a socket so that the socket is directly soldered to the board and the chip is attached to the socket. By using this simple piece I saved my entire project. Since I placed the IC chip incorrectly if I had directly soldered it I would need 8 soldering irons on each connection to pull the chip out. However, the use of the socket allowed me to pull the chip out and flip it to match its schematic and save my project.
Comments
Hi Jairus!