
Indigo
My name is Indigo, and I am going to be a senior at City Arts & Tech high school in San Francisco. The projects I made were a remote-controlled tank robot, and a portable USB phone charger that runs on AA batteries.
Final Project: RC Robot Tank

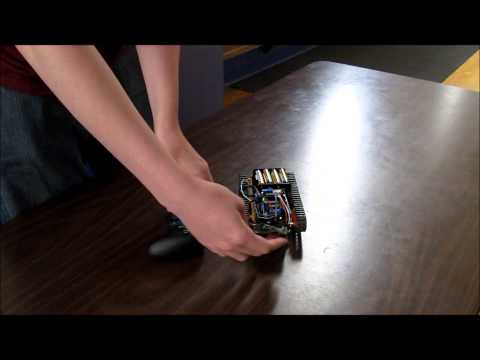
For my main project, I built a remote controlled tank based around Arduino. The inspiration for the project came from http://paulbleisch.com/blog/2013/01/03/simple-remote-controlled-arduino-tank/. For the base of the project, I used an Arduino Uno board. I also used an Adafruit motor shield to connect the motors and the Uno together. Both of these are connected to two DC motors. The motors are connected to a gearbox that served as the transmission for the tank. To control the tank I connected the wireless controller from a Logitech Playstation 2 wireless controller to the Arduino using jumper cables.
To connect the wireless controller, I sawed open the plastic receiver for the controller. I broke off the plastic shell and desoldered the remains of the pins from the board. I then looked up a guide to connecting the controllers to Arduino, and learned the connections needed. The guide to doing it was put together by Bill Porter on his website http://www.billporter.info/2010/06/05/playstation-2-controller-arduino-library-v1-0/. Based on his code library I could assign the pins of the Arduino for the controller receiver. I chose the pins I’d use and connected it using jumper cables. After, I connected the motors to the power terminals on the motor shield. I screwed the gearbox and motors onto the universal board and the placed the Arduino and shield on top. For power, I got two battery holders that both hold four AA batteries. The first was connected directly to the Uno in its power jack, and the second was put into the motor shield’s power terminal.
After everything was connected, I started writing my code. I imported the library from Bill Porter onto a new sketch. I also found a library for controlling DC motors from http://www.ladyada.net/make/mshield/use.html. After importing the two libraries, I wrote my code. I defined the two different motors, and then assigned buttons on the PS2 controller for running one motor in a certain direction. After uploading the code, I ran into a problem once I was sure my code was sound. My controller would only run one motor in one direction, and the other 3 buttons were unresponsive. I learned that certain pins on the motor shield wouldn’t work with the cables (8, 11, 12, and 13) so I went into my code and defined the cables to different pins so that it’d work.
Milestone #1: Finished Code
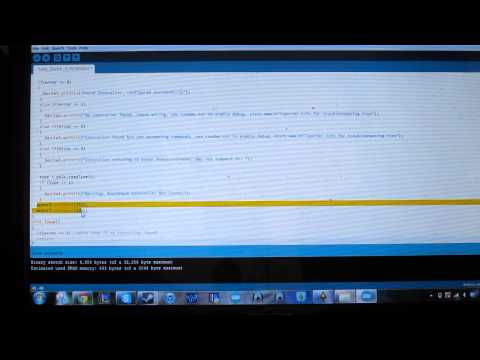
This is a video of me explaining all the pieces of my code. My code links together two libraries of code for controlling the motors and connecting the Playstation controller with my Arduino. I also explain how I wired my tank in the code and how I set up my control scheme.
My code: RC_Tank_Sketch_FINAL
My schematic:

The Bill of Materials that I used: BSE BoM
Starter Project: Mintyboost portable charger
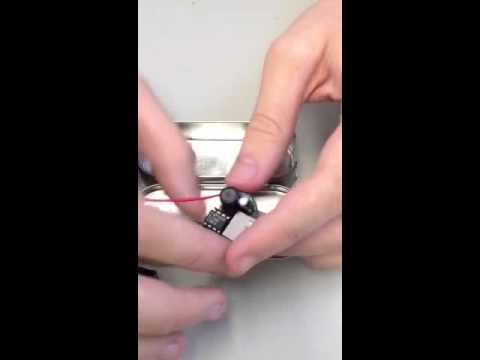
For my starter project, I built the Mintyboost, a portable USB charger that runs off two “AA” batteries. The charger is capable of giving your phone a boost, and it fits into an Altoid mint tin. First, I soldered all the parts to the board of the Mintyboost. The parts included resistors, capacitors, a diode, and a DC-DC power converter. The diode made sure the current would only go from the batteries to the phone, which was to prevent the phone from trying to charge the AA batteries. The power converter increased the 3v the two batteries gave to 5v, which is the voltage required to charge a phone battery. After, I connected it to the battery holder. Then, I used a saw and cut a slot into the side of the mint tin so the USB port would have a way to come out. I finished by sealing the circuit to the tin with double sided adhesive.
Conclusion
Bluestamp has taught me not only about engineering, but also how we can implement our engineering in the real world. They had speakers come in and talk to us about startups and companies that people have started and become successful from. Now I know how to go about starting a company, which is something I want to do after college. I came into this camp not knowing a thing about mechanical engineering, and I learned about circuitry, coding, and energy. I had problems with powering the controller, wiring it to the Arduino, and with my code. I learned how to code from scratch and wrote my own code, and then I learned how to wire the Arduino and the controller receiver from the library that I used in the code.
Hi
Good project.I try to follow your plan to make one.
But I don’t know much about electronics.Could you give me some durections.
1.
AF_DCMotor motor1(1,MOTOR12_8KHZ); //Declare right and left motors
What (1,MOTOR12_8KHZ) means?
2. motor1.setSpeed(255)
You said “255” is the speed of motor.
How did you get this figure?
3.could u tell me how to conect arduino to motor
Thanks
My mail:[email protected]