
Hello, My name is Terry. I’m a rising Senior and I go to YES Prep – Southwest. I had one starter project which was the Burglar Alarm. I chose the Burglar Alarm because it challenged me in my understanding of some of the real world applications of the things I learned in Physics in my Junior Year in high school. My main project is an Electromagnetic Floater which lets magnetic object or metal objects float in the air.
Final Project: Electromagnetic Floater

Here is Final Bill of Materials: TerryBOMHouston2013 .
Here is my Final Code: Final Code (Terry BSE Houston 2013).
Here are my Instructions: Terry – Instructions (BSE Houston 2013).
Here are my Schematics: Terry-Schematics-BSE-Houston-2013.
The design is based on this instructable.
Final project Milestone 3:
________________________________________________________________
Final Project Milestone 2:
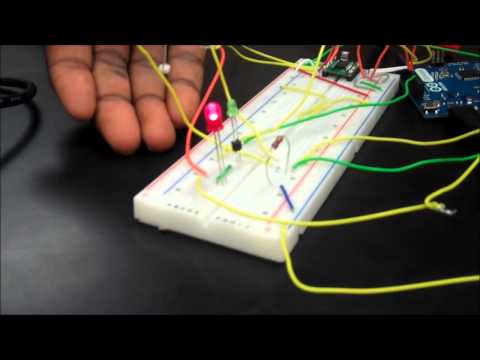
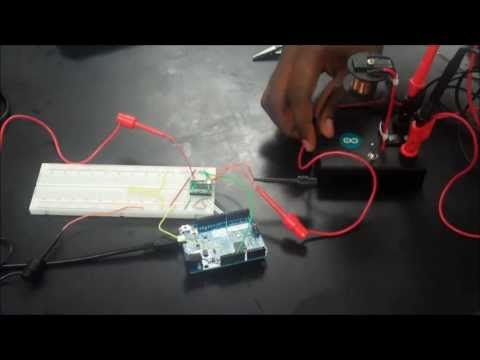
My project is the Electromagnetic Floater. I achieved this milestone by having the distance sensor and the two electromagnets working simultaneously. I did this by having one leg of the mini photocell connected to 5 Volts on the Arduino. I have the mini photocell connected directly to the Arduino because I have the electromagnets working at a voltage that the mini photocell cannot handle (Six volts to Twelve volts are their minimum and maximum). The other leg of the mini photocell, and one leg of the resistor connected to Analog input 1 on the Arduino. I have those connected to Analog input 1 because I need to see What level of light is being red by the mini photocell. I also modified the “Blink” program on the Arduino’s software allow for the mini photocell and the two electromagnets to work simultaneously (I have posted the changes I have made below). Using the Serial Monitor on the Arduino’s software, I can see exactly how much light is being detected by the mini photocell. With this knowledge, I can detect which height is necessary to have a floating magnetic object and add in some LEDs that can change color when the object is at the proper height.
_______________________________________________________________
Final Project Milestone 1:
My project is the Electromagnetic Floater. I achieved my milestone of being able to turn on the electromagnets. With the Arduino Leonardo’s software, I modified the “Blink” program. I removed the delays that would normally control the rate at which the LEDs on the Arduino would blink, and I used outputs 8, and 9 for Bin1 and Bin2 (Bin1, and Bin2 are inputs on the H-Bridge) and Arduino outputs 10, and 11 for Ain1 and Ain2 (another set of inputs on the H-bridge). I used those inputs to control the outputs (the electromagnets) with the Arduino’s software. In the Modified “Blink” program I have Ain1, Ain2, Bin1, and Bin2 as outputs, then I had Ain1, and Bin1 HIGH, and Ain2, and Bin2 LOW.
________________________________________________________________
Reflection:
Looking back on my experience in this program, and seeing all of the progress I’ve made since not knowing how to solder really opened my eyes and made me realize how unparalleled a hands-on experience can be. Many of the problems that I encountered with my project were related to soldering and programming, so those are the main skills that I’ve shown my greatest improvements in. I thoroughly enjoyed learning while building something, and I am satisfied with myself building something almost completely independently.
________________________________________________________________
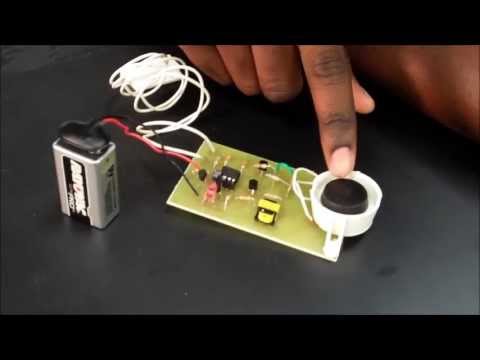
My Burglar Alarm Starter Project:
My Starter Project is a Burglar Alarm. There are only two things to power on the Alarm: The Speaker and the LED (Light emitting diode). There are two transistors that help carry the heavier load (which would be the speaker) and the lighter load is the LED, which is being turned on and off by the 555 Timer IC. The third key piece to the Starter Project is the Reed Switch. The Reed Switch is basically two metal ends that meet only when the magnet is pulled away from them. For example, If the 9V battery that the project is powered by is plugged in for power, and everything is functioning properly, the alarm will not go off unless there is a separation of the Reed Switch and the Magnet. The reason the alarm does not go off when the Magnet and the Reed Switch are touching, is because the circuit is not being completed due to the lack of contact of the metal ends in the Reed Switch. The alarm will only go off when there is contact between the tips of the Reed Switch, which is what you want.
Merci d’avoir partager vos efforts! Votre presentation a ameliore a travers les videos et je vois un projet final qui est interessant. J’aime beaucoup aussi lire votre progress et le commentaire. Les reflexions sur le projet me disent autant que les clips.
My Sweetest Baby Boy! Am so proud of you. I was just thinking about us celebrating your birthday this past Sunday. You are forever Blessed! Greet Jesus for me.
Can you give me a detailed specifications of the project. I want to make an electromagnetic floater
Prem Hayt Electromagnetics