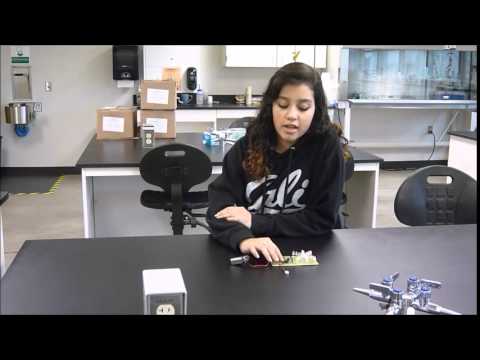
Hi, I am Gabby and I am a rising senior at Strive Prep SMART. I became interested in engineering after taking an engineering class for 2 semesters. This summer in BlueStamp Engineering for my starter project I did the Light Organ and for my intensive project I did the Robotic Spider that follows the black line.

Documentation
Wiring Schematic:

Bill of Materials Code for IR Sensor Code for Ultrasonic Sensor Build Plan
Third Milestone
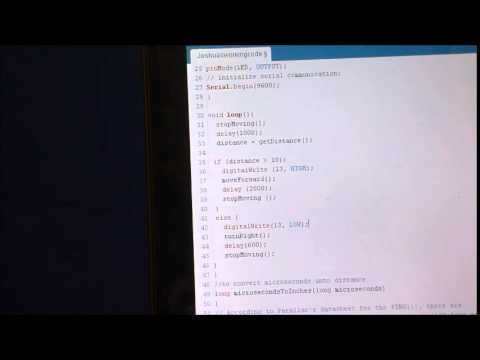
For my third milestone I created a second Hexbug but additionally to having the Ultrasonic Sensor I also added an IR Sensor. The IR Sensor has an LED and a phototransistor. Additionally there is a resistor in a series circuit with the LED to limit current. When the LED is powered it turns on and the light form the LED reflects on to the phototransistor. The darker the surface the lower the output of the breakout board. I also had to create a code that would command the spider to move forward if it sense the black line but to also search for the line as soon as it loses track of it.
One of the biggest challenges I faced during my third milestone was perfecting the code. I first created a very basic code that would command the spider to move forward if it detected the black line and if it did not it would turn right until it found the black line again. I made the code progressively more complicated until I finally got it to do what I wanted which was to move forward if the IR sensor sensed the black line and a s soon as the IR sensor no longer senses the black line the Hexbug starts scanning while turning right and left in order to find the black line again.

Second Milestone
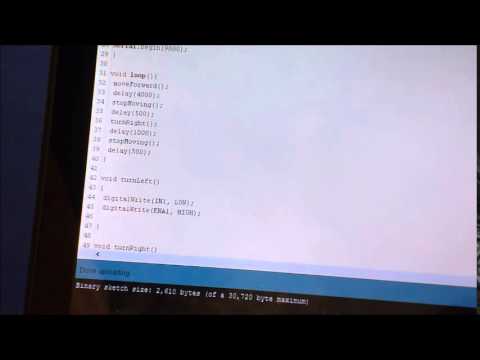
For my second milestone I added an Ultrasonic Sensor. An ultrasonic sensor sends ultrasonic waves; the waves bounce of the closest object. This sends a pulse to a pin which tells the ultrasonic sensor there is an object detected. There is a second pulse that lasts the time it took for the ultrasound to travel to the object and back. Using the speed of sound this data can be converted from sound to distance. Adding the Ultrasonic Sensor allowed me to code the Hexbug spider to move around autonomously without crashing into obstacles.
My code consisted of six functions. Five of them are the ones mentioned in my previous milestone the new function is get distance. This new function makes the Ultrasonic Sensor get the distance form the nearest object. By getting the distance of the closest object it then allowed the Hexbug to decide whether it should keep moving forward or it should turn right and then keep moving forward. A problem I faced was making the Ultrasonic Sensor work and collaborate with the spider in order for the spider to figure out what it should do. The solution for this problem was adding the get distance function.
First Milestone
For my first milestone I was able to hack the Hexbug and control it with an Arduino. The first part of the Hexbug spider was the body which was a toy that came with a small remote control. What I had to do was remove the small receiver in the Hexbug’s motor driver bored. This way I could solder the Arduino to the motor drivers and be able to control the Hexbug with an Arduino instead of the remote controller. After soldering the Arduino I was able to start working on the code. The code told the spider to move forward, stop moving, and then turn right. The spider is supposed to do this forever,which causes the Hexbug spider to move in a square forever.
At the beginning I was aware I had to solder two wires to each motor driver but there were six pins in each motor driver and I was unsure of which pin controlled the whether it moved forward or backward and which pin controlled whether the head turns right or left. The worst part was all the other projects similar to mine were created with a previous model of the Hexspider and I could not find the schematics for the motor drivers. I spent about 3 days researching and trying to find a schematic for the motor drivers but I never found anything. I finally figured it out by using a multi meter.
Starter Project: Light Organ
For my starter project I built the Light Organ from Electronic Goldmine. The kit comes with four Electronic Capacitors, 2 Integrated Circuits, 12 red LEDs, 7 yellow LEDs, 6 green LEDs, 1 electronic microphone, 2 trimmer resistors, 7 transistors, 9 resistors and 1 battery snap. When the microphone detects sound waves, the sound waves travel to the 3 transistors which amplify the sound waves. Those sound waves are then sent to Integrated Circuits 1 and 2. Integrated Circuit 1 amplifies the sound waves and sends clock like pulses to pin 3. Integrated Circuit 2 receives the amplified sound waves and it sends clock like pulses to 6 of the LEDs which start flashing. The sensitivity of the microphone could be adjusted with Horizontal Trimmer Resistor 1 and the effect could be adjusted with Horizontal Trimmer Resistor 2 to increase or reduce the effect.