Introduction
Hi! My name is Chloe, I am a rising Senior at The Urban School of San Francisco and this is my second year at BlueStamp. I originally heard about BlueStamp through a student who gave a presentation to my school about his experience while at BlueStamp. I knew that I was extremely interested in building and working with my hands because I had worked with different kits and had some experience with soldering. However, before coming to BlueStamp, I found I was passively following the instructions provided for each kit. I did not understand why I was soldering the different components onto the PCBs provided. I also found that I tried to avoid kits that required me to code. Because of this, I knew that BlueStamp would give me the tools I needed to have a deeper understanding of each component. BlueStamp has allowed me to challenge myself and also seek out the answers to my own questions.
Completed Project
Omni Directional Robot
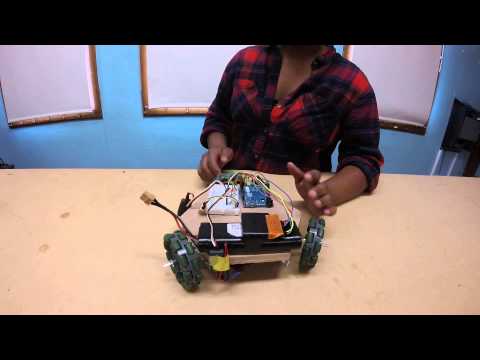
I’ve finished building my Omni Directional Robot! The Omni Directional Robot is a robot that can move in any direction: forwards, backwards, left, right, and 360 degrees clockwise and counter clockwise.
These past six weeks at BlueStamp have been an amazing experience and I have learned so much. Since this is my second year participating in BlueStamp, and my first time participating in the full six week program, I feel as though I am walking away with a number of new skills and a deeper understanding of the world of engineering. I am also walking away with more confidence when it comes to problem solving and working to answer my own questions.
Bill of Materials: Chloe P’s BOM
Motor Code: Omni Directional Robot Code
(I based my project off of Max’s project and Rain’s project.)
Working on my starter project was a great experience for me because it allowed me to refresh my memory on how the function of each component and also get in the mindset of problem solving. The Mini POV also allowed me to gain more experience when it came to coding. Before BlueStamp, when working on the different kits, I would try to avoid working on projects that involved coding. However, because I knew that I would have the support that I needed from the instructors, I decided to take the challenge of coding head on.
Once I finished the Mini POV, it was time to move onto my main project: the Omni Directional Robot. Working on the Omni Directional Robot was simultaneously an amazing and an extremely frustrating experience. A time when it was frustrating was when it came time to getting the wheels to work. This was challenging because it involved a lot of coding and since I had little to no experience with coding, I often had to answer my own questions by researching the answers. Also, this was one of the first projects that I have worked on that did not have instructions so I had to be creative when it came time to designing the physical body of the robot. Also I had to do a lot of research for each component and its function. Because of this, I often was learning as I went. Similarly, whenever I struggles, I often would refer to the instructors for help. However, they often refused to give me the answers and instead guided me to the answer I needed. Finally, since I finished my Omni Directional Robot early, I was encouraged to make different modifications that I thought would be interesting to add onto my robot. I chose to include the Ping Ultrasonic Distance Sensor. I chose this because I had never worked with sensors and thought it would be a good challenge. This proved to be true because that too, involved a lot of coding in order to make the sensor work. Although at the time it was frustrating, looking back on my six weeks, I realize that when given the opportunity I often sought after a project that I knew would be challenging. I owe this to the BlueStamp instructors because they helped me search for a challenge. I now also realize I would never have learned as much as I did if the answers were simply given to me. For this, I am extremely grateful for the instructors because they allowed me to exercise my skills of trouble shooting, answering my own questions, exploration, and many others. After these intense six weeks, the greatest takeaways have been a newfound passion for building, coding, exploration and also a desire to grow and continue to learn.
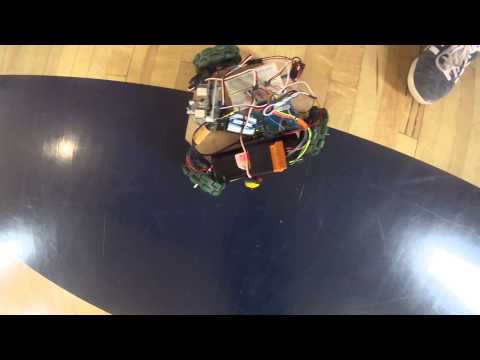
Here is a picture of my final Omni Directional Robot

Milestone 2
For my second milestone, I have finally completed the body of my Omni Directional Robot. First I had to cut out the wood which is what I attach the motors, the Arduino, the batteries, and the breadboard to. This way, when I start driving my robot around, everything will stay secure onto the robot. In order to cut out the wood, I created a template that allowed me to figure out exactly what I wanted to body to look like. Next, I had to attach all of the motors onto the board. I did this by cutting the 1x20 bars from VEX into three 1x7 piece bars. This allowed me to screw the motors onto the wood and also secure the wheels onto to the board. Finally, I had to organize the different components onto to the board leaving enough room for the second battery pack that I need. Something that was challenging for me during this process was while trying to attach the motors on the wood, I used screws that were too long so they ended up going through the other side of the wood. This created a safety hazard because they were sharp. However, I originally cut out two pieces of wood so I was able to use the second piece as my backup. My next goal is to complete the Omni Directional Robot which can be done once the second battery pack comes in. This will allow me to control the robot without having to plug it into my computer.

This is a drawing of the wood that I created on SketchUp (Pictured on the right)
Milestone 1
For my first milestone, I have finished the code for my Omni Directional Robot and I have also completed all of the wiring. Now, I can move all three motors using the PS2 controller. The controller is able to move the motors because I have programmed the Arduino so that the left analog stick moves the robot directionally (forward, backward, left and right), and the right analog stick moves the robot rotationally (in circles). I was able to do this by looking at other BlueStamp student’s portfolios as reference. This was extremely helpful because I was able to see what worked, what didn’t, what I wanted to change, and what I wanted to keep the same. My next step is to be able to power the Arduino and motors using a battery instead of using a computer. I already am using a 7.2V battery which is powering the motors. I originally thought the 7.2V battery would be able to power everything (the Arduino, the Motors, and the receiver) however, when trying to connect the controller to the receiver I was having a lot of trouble connecting the two. However, I soon realized that I need another battery in order to power the Arduino and the PS2 receiver and this is why I was having some trouble.
Here is a Schematic of my wiring. (Created with Fritzing):

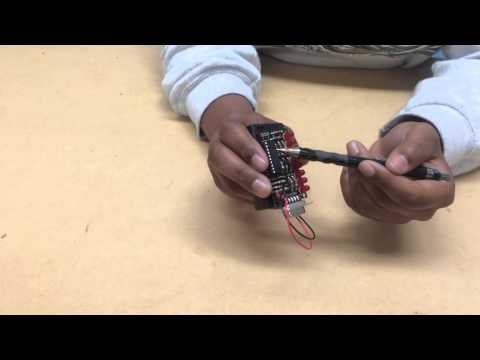
Starter Project
For my Starter Project I built a Mini POV (Persistence of View) from the Adafruit kit. The components that make up the Mini POV are resistors, 20 pin socket, a 20 pin Microcontroller, diodes, wires that connect the battery case to the POV, 8 LED lights, a PCB (Printed Circuit Board), a Parallel Port. Resistors are included in the Mini POV because they control the amount of energy that flows through the circuit. Without them, the POV could fry the other components due to the excess energy. The 20 pin socket connects to the 20 pin Microcontroller, which is essentially the “brain” of the POV. It controls everything else on the PCB and tells the other components when to work. The diodes allow the electricity to flow in one direction and prevents the electricity from flowing in the other direction. The batteries provide the energy needed to power the entire POV. The 8 LEDs (Light Emitting Diodes) are the lights that are connected to the PCB. Finally there is a Parallel Port, which then connects to a serial port that allows me to connect the POV to my computer and program a message into the device.