Hi I’m Bridget, and I’m a rising sophomore at Chapin.
Why I’m here:
I came to Bluestamp to learn more about engineering. I wanted to learn to be more independent in my learning while also have a team to support me if I needed it. I hope to continue to engineer and learn in the coming years.
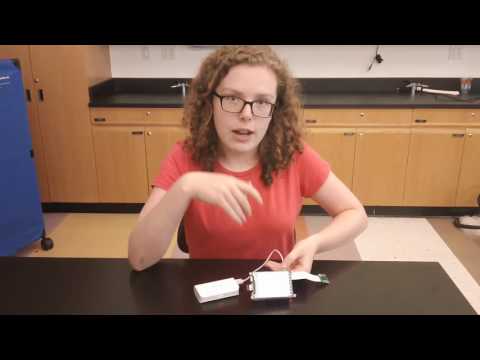
My starter project:
My starter project was the voice changer which can change the pitch and sound of your voice. There is a microphone, which takes sound waves and changes them into an electrical signal. The speaker then takes the signals and makes them into sound waves. There are two potentiometers that act as variable resistors. This changes the sensitivity of the microphone and the volume of the speaker. One of the two ICs makes the volume louder because the original electric signal from the microphone to the speaker is very quiet. The other edits the frequency of the signal to the speaker so that the pitch and sound changes. Two LEDs tell you when the mic picks up sound and when the board is getting energy. There are a bunch of resistors, which keep the current from flowing too fast and burning something. One zener diode will take any excess current from a possible short and put it to ground. There are two different types of capacitors, both of which have the ability to filter out different types of frequencies and store energy to smooth out the current. I had two problems, one was getting the wires attached to these PCB tabs, which just make it simpler to attach the wires to the board. I also had an issue getting the power into the board. I fixed this by completely soldering over one of the PCB tabs that was not entirely covered. For directions click here.

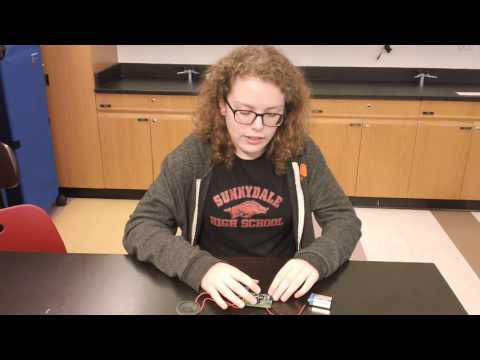
My first milestone
My final project is a raspberry pi touchscreen camera. My first milestone is getting the camera to work on the computer. There are three main components to this part of the project. The first is the raspberry pi. Raspberry pis are basically mini single board computers. The hard drive is this micro SD card. For them to be fully functional you need to have a monitor, keyboard, and mouse. Once I can get the touchscreen working only the keyboard will be necessary. The keyboard and mouse attach via USB as does the wifi module that allows the pi to have wifi capabilities. You could also use the ethernet port. These prongs are GPIO pins that connect to the TFT when it’s attached. The last major part of this is the camera. It works just like other cameras, except that it is much smaller. The code that gets the camera to work is part of a python library. It takes images from the camera and converts them into an image that can be shown on the TFT or in this case, the computer screen.
I’ve had a lot of bumps along the way. Getting the image onto the SD card setup, trying to get the pi to recognize the TFT, and then getting the camera enabled with the computer. Next I’m going to get the camera to work with the TFT and also hopefully get it to automatically upload everything to dropbox.
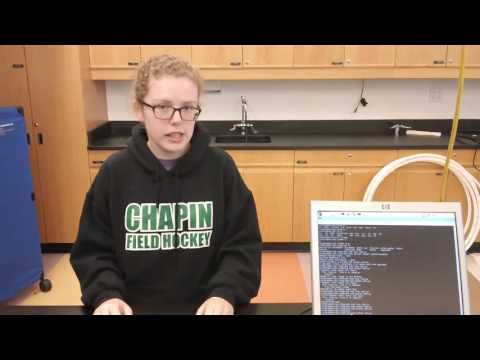
My final video
I finally got the touchscreen camera down to just a camera, a pi, a TFT, and a battery pack. The TFT is a touchscreen and stands for thin film transistor. My camera works because the camera sends images through the raspberry pi to the TFT. There are three buttons. The gear contains a bunch of different settings that allow to change where the picture is saved, how big the pictures are, and if there is a filter on them. The play button allows you to see all the pictures you have taken. By clicking the middle of the screen you can take a picture. Click here for: instructions, how to set up a SD card with Jessie, my build plan, and my bill of materials.