
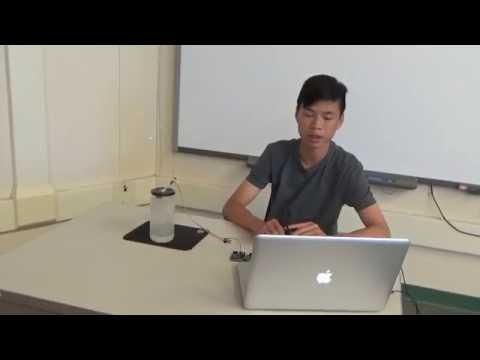
My name is Brennan, and I am a rising senior at Saratoga High School. For my started project, I built a TV-B-Gone, and for my main project, I constructed a Voice Controlled Lamp. I was drawn to the Voice Controlled Lamp project because I was very interested in voice control and I believe that voice control will become even more relevant in our lives in the future. This interest came from many sci-fi films as well as Iron Man, in which J.A.R.V.I.S., an intelligent robot, could complete tasks when asked to do so.
Overall, my experience at BlueStamp was great. Even though I am only a three week student at BlueStamp, I felt as if I have learned more than the time I have spent here. The class was very different than a traditional classroom setting because everyone advanced at their own pace, with our different projects, and the instructors aided us when we needed help, but did not tell us what to do. During my time at BlueStamp, I ran into many obstacles and hardships that I needed to solve, but because of how the class is structured, I learned much more from my mistakes than my successes. The class itself, I believe, is a great representation of the outside world, where one would only gain knowledge from their passion in the subject and their drive to learn about something new. I believe that this was true for my experience at BlueStamp, where I learned a lot about engineering. At school I learned how to code using Java, but I really did not know how to apply it. With the experience in building my project at BlueStamp, I made the connection between software and hardware, and how they work together to complete a task, in my case, how voice can control a light. I believe that BlueStamp left me with knowledge that would be hard to obtain anywhere else.

Final Milestone
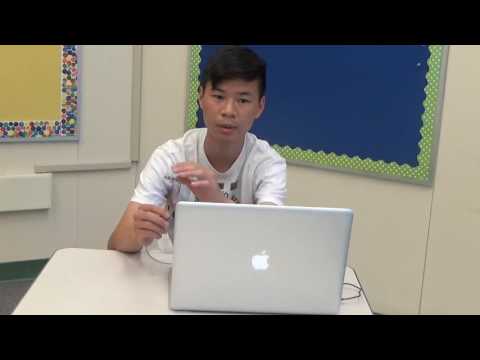
In my final milestone I modified my code and added more commands for the voice control lamp. The commands that I included were flashing lights, which looks like a rainbow, and blinking. To add these commands into the functionality of the lamp, I needed to reconstruct the structure of the code. Since I wanted to have the flashing lights and the blinking to run in a loop until I said another color, I needed to find a way to break out of the loop when there is a Serial number imputed and at the same time change to the color the Serial input coordinates with. I did this by being able to break out of the loop when there was a Serial number imputed. In addition to this, then I would have an if statement to skip the Serial.read() in the beginning of the code so that the number imputed to break out of the loop would also turn the color that it coordinates with on.
Through this milestone, I learned how to use Java more efficiently and the logic that goes into coding. I ran into a lot of obstacles while trying to complete this milestone, but I believe that this helped me to enhance my problem-solving skills and helped me to learn more about coding.
Voice Controlled Lamp Resources- Voice Controlled Lamp Project Guide, Voice Control Software Using Mac
Bill of Materials – BOM
Voice Control Lamp Code – Code
gitHub – Arduino Serial Utility, Voice Controlled Lamp Software
Third Milestone
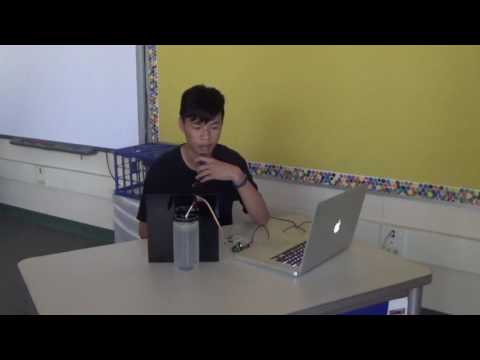
In my third milestone I assembled the LEDs into the lamp chassis. The jar that I used as a lamp was filled with Gelly Wax. I did this by melting the Gelly Wax in a pot and pouring the contents into the jar. As the wax cooled, it created bubbles. The bubbles help with illuminating the LEDs, making the lamp look brighter. In addition, I tried to enhance the process of voice control turning on the LED. This was because the Mac would not always recognize my voice module. Because of this, I tried to use a better mic in hopes of the Mac recognizing my voice better. This worked to an extent; however, the process from voice recognition to turning on the LED was still slow and would take a few second to turn on the LED. I tried to clean up my Mac so that it would be able to process information quicker.
My next steps are to make some modifications with the code and to add in more commands for the lamp.
Second Milestone
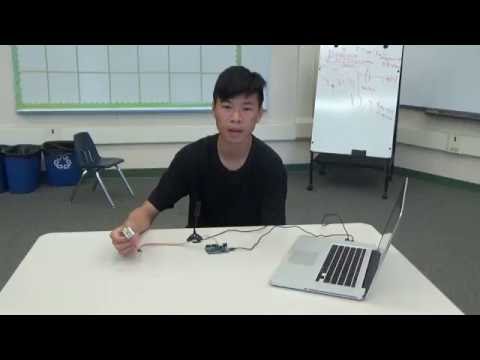
In my second milestone I was able to voice control my LED for simple colors. The colors that could be turned on through commands are green, red, blue, purple, teal, yellow, and white.
The process in being able to control my LEDs with my voice module started with learning how to use the terminal. Through the terminal, I downloaded and extracted the Arduino serial utility, which allowed me to use the Mac to send signals to the Arduino. I was then able to turn on an LED through coding in the terminal. After, I created application, through Automator, that runs code through the terminal. When I would run the application that I created, it would turn on a color and would say the color that was turned on. Finally, I used the dictation functionality on Mac to allow me to associate my voice module to the specific application to open, which in turn would switch on that specific LED color and say the LED color that was switched on. For example, when I would say “green”, it would run through the green application, turning on the green LED and returning “green” as audio.
After this milestone, I learned how to navigate my way through the terminal and I learned how to execute simple commands on the terminal.
First Milestone
In my first milestone, I was able to turn on LEDs with the use of the Serial monitor in the Arduino Sketch. When I type in numbers into the Serial monitor a certain action will occur. For example, when I type in the number 2, the green will turn on. When I type in the number 3, the blue will turn on. When I type in the number 5, it would turn off the green light.
My hardware includes the use of two RGB LEDs. I soldered the two LEDs together and connected the red, blue, and green cathode to a resistor. Then, I used wire to connect the common anode to the GND pin on the Arduino, and the cathodes to digital pins on the Arduino.

For the software, I coded it so that the numbers that I input would be assigned to a variable. Then the code will run though a series of if statements. When the value of the variable matches that of the if statement, it would run through the if statement, turning on the LED for that specific value.
Through this milestone, I furthered my understanding on how a circuit works and my knowledge on Java.
Starter Project
TV-B-Gone
In my starter project I constructed a TV-B-Gone. This device uses infrared signals to turn on and off a television. The infrared signal sent to the television in a series of pulses. With televisions, the infrared code is composed of a series of pulses because the infrared LEDs need to cool down. In addition, the television will only listen to certain frequencies of the pulses. For example, a television remote will not work with a VCR because the VCR wants a different frequency than the frequency that the television remote emits. Finally, the most important reason the signal is sent in a series of pulses is that it reduces the affects of ambient lighting. This means that a television will be able to sense the difference between the pulsing infrared LED and the surrounding light.

Infrared Signals

Infrared Signal Zoomed In
The LEDs are controlled by the microcontroller which acts as a mini computer. A ceramic resonator accompanies the microcontroller by generating a timing clock to keep the chip on time. Because the LEDs must be powered with more than 100 mA and the microcontroller can only supply up to 40 mA, the use of transistors were needed to amplify the the power of the microcontoller as well as turn off the LEDs.
From this project, I learned how to solder. In addition, I also learned how a electrical current works and runs through a circuit. Finally, I learned how a television remote works and the infrared signals that are sent to turn it on and off.
TV-B-Gone Resources- TV-B-Gone Project Guide