
Hello. I am Dean, a rising junior at Western Reserve Academy. My main project is called lightsaber Virtual Reality (VR). My goal is to design a 3d lightsaber on the Google Cardboard and I can control its movement by a handle. Here is the link to the original project: https://www.hackster.io/RONDAGDAG/photon-lightsaber-controller-for-vr-ar-18ba34?ref=platform&ref_id=286_trending___&offset=69 My starter project is a BigTime watch. Its function includes showing the time and adjusting the time. Here is the link to where the project came: https://www.sparkfun.com/products/11734
Here is the GitHub link to my project: https://github.com/deansmile/Lightsaber-VR
For my Bluestamp experience, I especially love the part of learning how the network works and how to pass the data from photon to my computer wirelessly. Besides, designing a lightsaber on unity is also enjoyable. I felt challenged and excited to have a working project like this because I need to solve problems independently by finding resources online and learning from online tutorial. I faced the challenge of coding in unity and particle IDE because I never code in these apps before. However, I learned a lot about coding and finally write programs on both platforms and they both worked. I also learned about how to use an amazing device, Google Cardboard and program on it. In the future, I would like to make more programs on Google Cardboard and other VR devices and apply them in real life.

For my final milestone, I finished two parts in my project. The first part is the particle photon. I coded on the photon to collect data from gyroscope, accelerometer, and magnetometer, which can decide how the handle rotates. Then the photon will send those data to Google Sheet. The second part is the lightsaber graphics on Unity3d. Now I can control my lightsaber through the keyboard. I can press space to turn it on and off. I can also use arrow keys to change its position. I can manually change the parameters on the unity to make my lightsaber move. I am not able to send the data from Google Sheet to the parameters in Unity because I did not find the app that can send the data updating every six seconds. I will continue working on it.
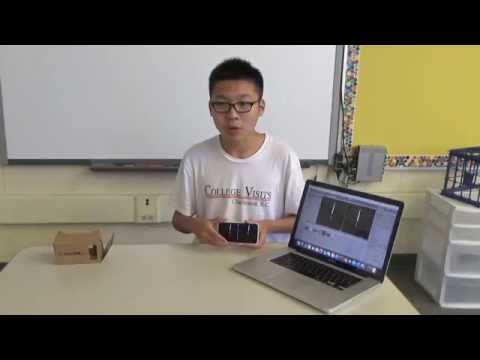
For my second milestone, I designed the lightsaber in unity. I learned how to create a game object and use all kinds of features such as line renderer in unity. I also add effects to my lightsaber such as Outerflow and Innerflow. I put another game object, center beam, inside my lightsaber. I incorporate my lightsaber with Google Cardboard Sample App so the lightsaber can be displayed in Google Cardboard. I build and run my unity program on my phone and it worked. I can put my phone in Google Cardboard and see a 3d lightsaber through Google Cardboard. For my final milestone, I will find the way to send photon data to unity to use the handle to make my lightsaber move.
For my first milestone, I connect photon to the IMU shield, which contains three sensors, gyroscope, magnetometer, and accelerometer. When I rotate the photon, these sensors will record the data of the rotation. Then I convert these raw ADC data to the common degree angle data and send them to my computer and display them on my screen. For my next milestone, I will design the lightsaber graphics on unity and build the lightsaber VR app on my phone.
My starter project is a BigTime watch. Its function includes showing the time and adjusting the time arbitrarily. I solder all the components of the circuit board. There is a Crystal for counting 1 second based on its frequency: 32kHz. A pre-programmed process is used to calculate the time, which is displayed on the 4-digit 7-Segment Display. I used 1 resistor to provide resistance and 2 capacitors to stabilize the voltage. The coin cell battery held by battery holder is used to provide power. By doing this project, I learned how to solder and desolder. My main difficulty is not soldering but holding the circuit board and enclosure parts together using screws. I overcome this difficulty and learned to fully concentrate while working. My practical ability of DIY is also improved. I also learned how to explain my project in front of the camera. I think I am more prepared for my main project after finished this project.