Introduction, Who am I?
Hi there, my name is Augustin, and I am a student from Lynbrook high school. In school I love to get involved with anything that is tech related. This is why I joined the school’s robotics team, we are team 846 or the Funky monkeys. Click here for more info! I really enjoy working on hands on engineering like manufacturing or building computers. My project this year was to create an autonomous RC car. It would roam around the room and avoid hitting walls. Along my journey to success I hit many obstacles; from my Arduino not wanting to connect to the computer, to the motor not wanting to spin backwards. to resolve this, I spent about 8H+ on the Arduino. In the end I found out that my laptop is weird, and that it won’t upload to my Arduino 101, but would if I used my home computer. I therefore abandoned it and moved to the more basic UNO. For the wheels again, I had to abandon functionality, and decided to forget about going backwards and only go forward. Also this is not perfect, it is the best I could do with the budget I had. I broke 2 things along the way, a servo motor and an ultrasonic sensor; they both shall be remembered. One was due to a current inversion, I plugged the + to the – and vise versa. The other was destroyed with both dirt from my back yard and many crashes in walls on autonomous. I learned many things; from peoples, Google, and mainly, from my errors. I really enjoyed this journey of learning in failure, and probably, will do it again next year.
Code and stuff
Come and get my code on Github!
Here is the progress updates
Don’t burn out stuff, go have a look at the circuit diagram
Milestone N°3
Achieved on the: 07/5/2016
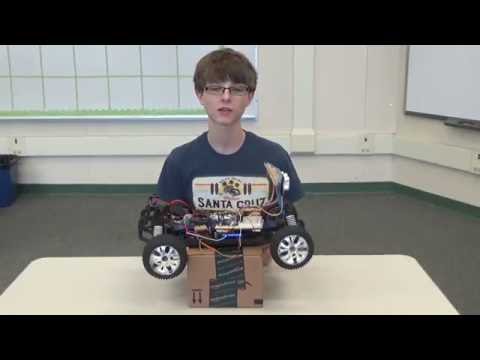
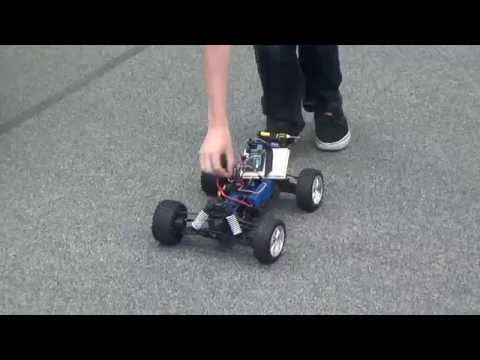
I finally got my third milestone done which was to be able to go forward without hitting a wall and turn. The complexity here was to get the sensors to work with the wheels. What I learned while doing this, is that you don’t always need to have the sensors see everything in front of the car. Before I would have them 15° apart which is their line of sight, but now, I am using a 45° angle which allows me to stop if I am too close to something, and lets me sides better. I also reviewed my code, built it from ground up again with the help of my dad who is a computer engineer at ARM. It now works great in hallways. I believe that I have reached the full potential of those sensors. The only issue with them is that they introduce a lot of noise when working (values sometimes spikes) and can sometimes make the car crash. Although this happens far less often, it still sometimes likes to collide with the left wall.
This is the final product.
Milestone N°2
Achieved on the: 07/1/2016
Ultrasonic sensors are cool! Their sound are faster than their hedgehog counterpart, and allow me to get distance readings from them. For my second milestone, I was to experiment with the sensors, get a distance reading, and stop when close to a wall. I was to create a function that would make it slow down and speed up, but it was uncontrollable, and still unable to stop when required. I therefore made it only able to go at minimum speed at all time which still can sometimes be too fast. this took longer than expected, but I got there in the end. With patience, you can do anything.
Milestone N°1
Achieved on the: 06/23/2016
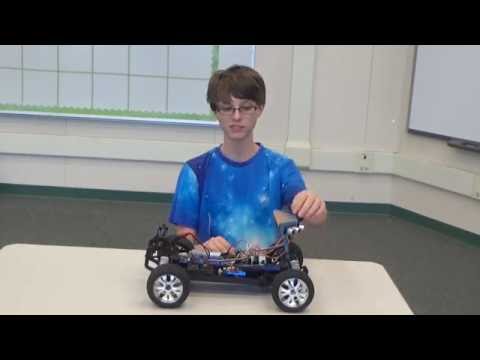
My first milestone was to get the servo and the motor to respond to the Arduino. The servo was easy to do, there are many guides on how to do it since that it is quite similar across the board. However, for the motor it was a different story, I had to look through many different tutorials, example code etc… This was because the motor is brush-less and therefore needed a speed regulator or ESC to control it. I had no idea what command to send to the motors. Fortunately after hours upon hours of research I succeeded and found out that I could use the same piece of code from the servo to drive the motor. If the speed controller had been better, I would have been able to make the car go backwards as well because the serial input is from 0 to 180 and 90 being neutral, 0, well 0 and 1 – 89 reverse and 91 – 180 forward.
I used a small servo with a screwdriver on the top to demonstrate that what I did worked because I burned out the old sensor. Lesson learned, never plug something that is polarized backwards, otherwise bad things will happen.
My second milestone will be to make a sensor bracket and make all 3 sensors work to allow the car to roam around the room
Starter Project
Achieved on the: 06/16/2016
As my starter project I decided to do the mini POV 4. It is a device that using a strip of LEDs and changes their color fast to display an image. Here is an example of it. It is the best I could get given the fact that you have to use a long exposure shot which is really tricky to do.
.
On the device, you have 8 LEDs that display the image, a potentiometer that changes the speed at which the LEDs display each line of pixels. To be able to keep a constant speed of which the LEDs are changing at, we have a crystal, that vibrates at a certain constant rate which tells the H bridge (the brain) to change the color of the LED and keeping time near perfection. As I said, the H bridge is the brain of this, the processor. It is a micro controller, it has a whopping 32 kilo Bytes of memory (most computers today have about 15,000,000 million times more memory than this). The funny thing about this is that the H bridge is so slow, the peoples that made thee kit had to slow the USB port because it was way to fast. They did this because most peoples don’t have serial ports anymore which if they did use serial ports, a lot of peoples would not have been able to use this.