Raspberry Pi Object Detection
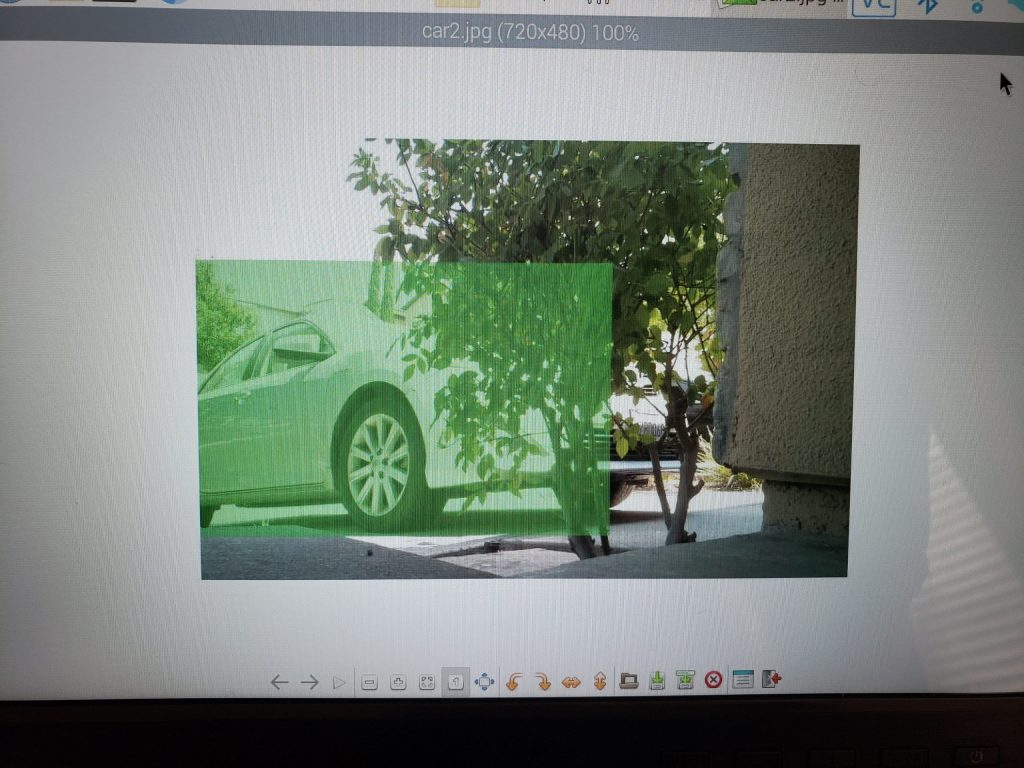
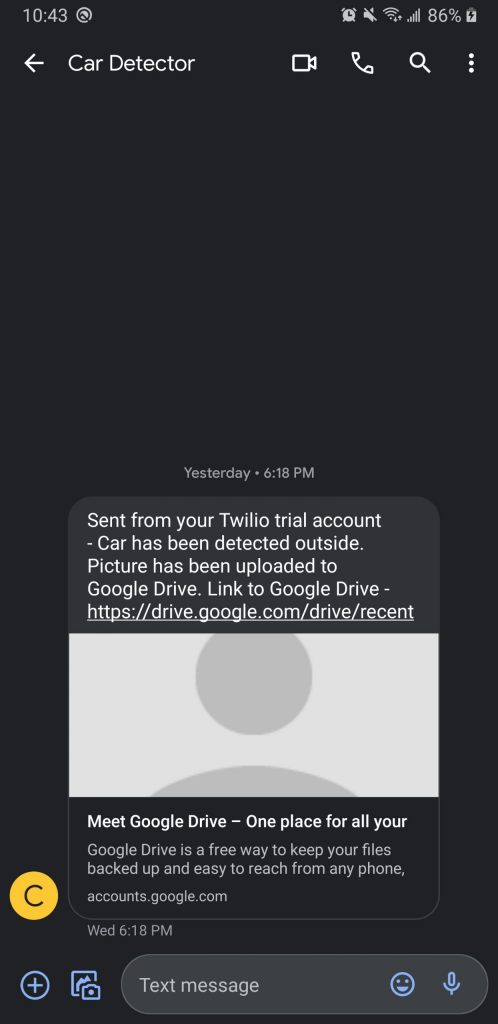
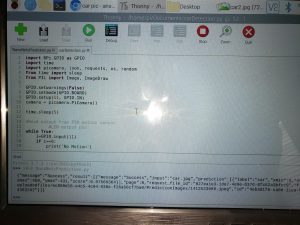
The Car Detection Project looks for motion in your driveway. If motion is detected, a picture is taken, and the NanoNets API will look for cars in the image using my model. If a car is detected, the user is notified via text, and the image is uploaded to Google Drive.
Engineer
Anshul J.
Area of Interest
Computer Science
School
Silver Creek High School
Grade
Incoming Junior
Final Milestone
Twilio API
These text messages were able to be sent as a result of the Twilio API. To get the Twilio API working, I first needed to download all of the necessary packages. After that, I had to input all of the security credentials, the Account Sid and the Authentication Token. After that, I was able to get a trial number, which I will use to send the messages. After successfully sending a text message, I also made sure to include the link to the Google Drive so that the user can easily switch between apps.


Google Drive API
After I got Twilio working, I looked to get Google Drive integrated with my model. I decided to use the Google Drive API. I first installed all of the necessary packages onto my Raspberry Pi. I then created a project with the Google Drive Console, and obtained the OAuth2 credientials for it. The OAuth2 credentials had the client ID and token, among other things. All of this is basically for security reasons. After that, I put the credentials in the folder with the code to upload an image. After I sign in, images can now be downloaded onto my Drive!
Second Milestone
Motion Detector
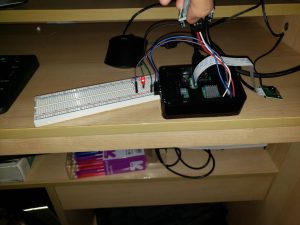
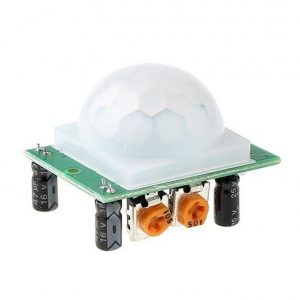
To help set up the motion detector, I used my breadboard to help make a circuit where if the motion detector detects motion, then the LED will start blinking. If you hold the motion detector with the pins facing you (for my sensor), the ground pin is the left pin, the signal pin is the middle pin, and the power pin is the right pin. The ground pin eliminates excess power in the circuit.The signal pin is the pin which transmits information, in this case, it is transmitting wether motion is being detected. I connected the power pin to the power pin from the Raspberry Pi, to help turn on the LED when motion is detected, and used a resistor to help limit the power the LED takes in, since the LED can only take a certain amount of power. After setting up the circuit, I also had to modify the sensitivity to what works best for me and my model.
Testing Issues
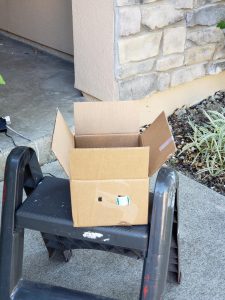
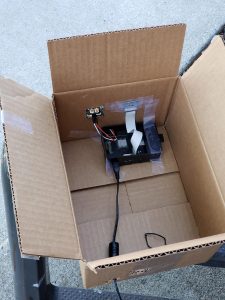
One of the biggest issues I had while testing my model was the fact that it was hard to angle my camera and motion detector because of how thin it is. To help solve this problem, I used a card board box as the exterior for the model, with small cutouts for the Camera Module and Motion Detector on one side, and the Power and HDMI cable on the other side. I also used tape to secure the Camera Module. Using the box, I was able to get a much better angle on any car that enters my driveway.