Video Game Emulator

The video game emulator is a type of emulator that allows a device to imitate a video game console’s hardware and play their games on it. It uses the Raspberry Pi 3 Model B+, a SD card, a computer monitor and game controllers. I chose to do this so that I could have a lot of freedom in downloading what I wanted and so I could experiment with Raspberry Pi. 

Engineer

Alisha Bose

Area of Interest

Electrical Engineering  

School

Lynbrook High School

Grade

Incoming Sophomore

Final Milestone
Alisha's Final Milestone

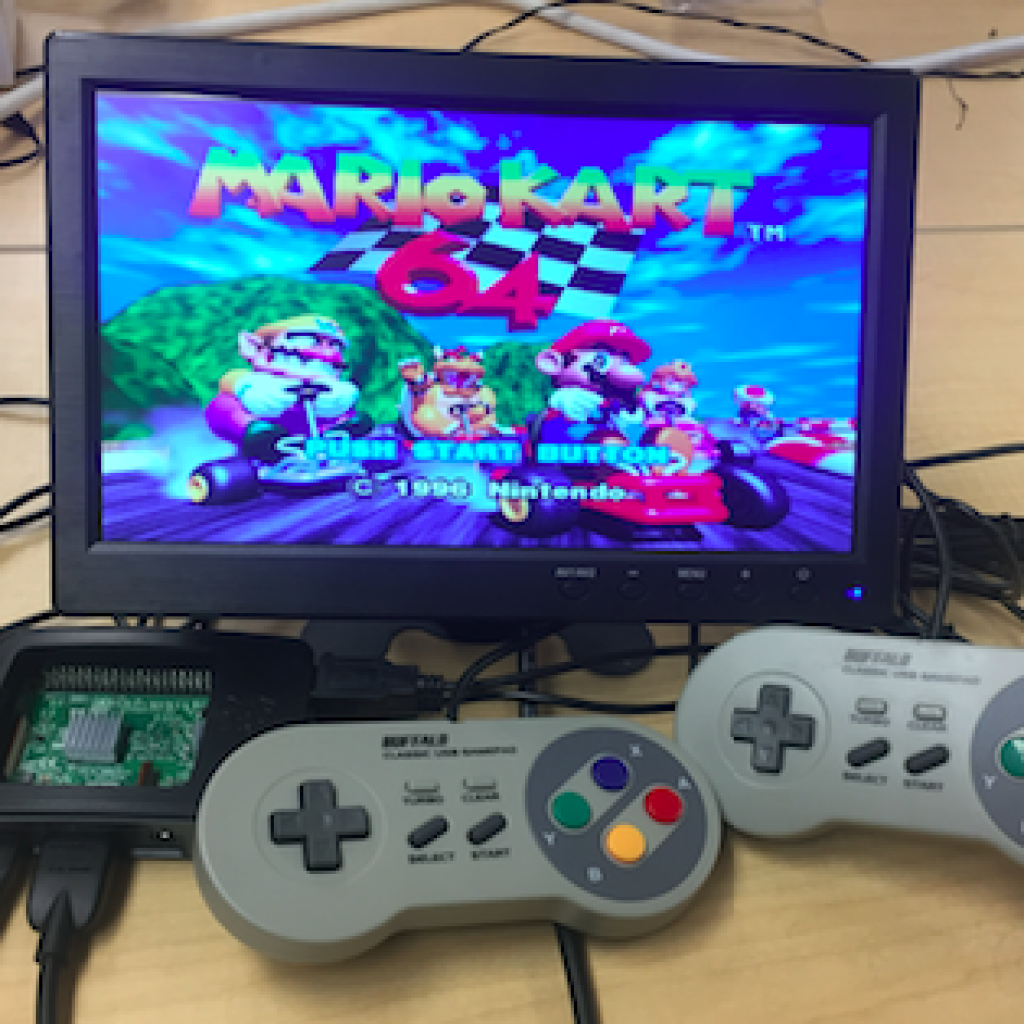
After I got into the filesystem, I configured the controllers. I also configured my Hotkey button so I can access functions like saving, loading and exiting the emulator. Then, I started the process of transferring the ROMs. It was really hard to find ROMs that I was allowed to use. I had to make sure that the sites I was using were safe, and some of the games I downloaded took way too much time. In the end, I found a helpful site that housed free ROMs with additional sets of ROMs so I didn’t have to individually download them. I had to also figure out how to get the maximum capacity on my SD card, because RetroPie creates a partition with the size it needs.

I extended it using the command in Terminal –

diskutil partitionDisk disk2 1 GPT HFS+ newdisk R

But it wiped the entire thing, and when I re-downloaded, it created the partition again. Finally, I decided to just download a the few ROMs that I could. I used Samba Sharing and I got to download the games I wanted. While I was there, I found a setting that allowed me to extend the partition and therefore make use of the entire storage. In the end, I restarted it in order for the ROMs to show up and made sure that everything worked. I had a really fun time with the video game emulator, and I’m glad that I got to do it.

First Milestone
Alisha's First Milestone

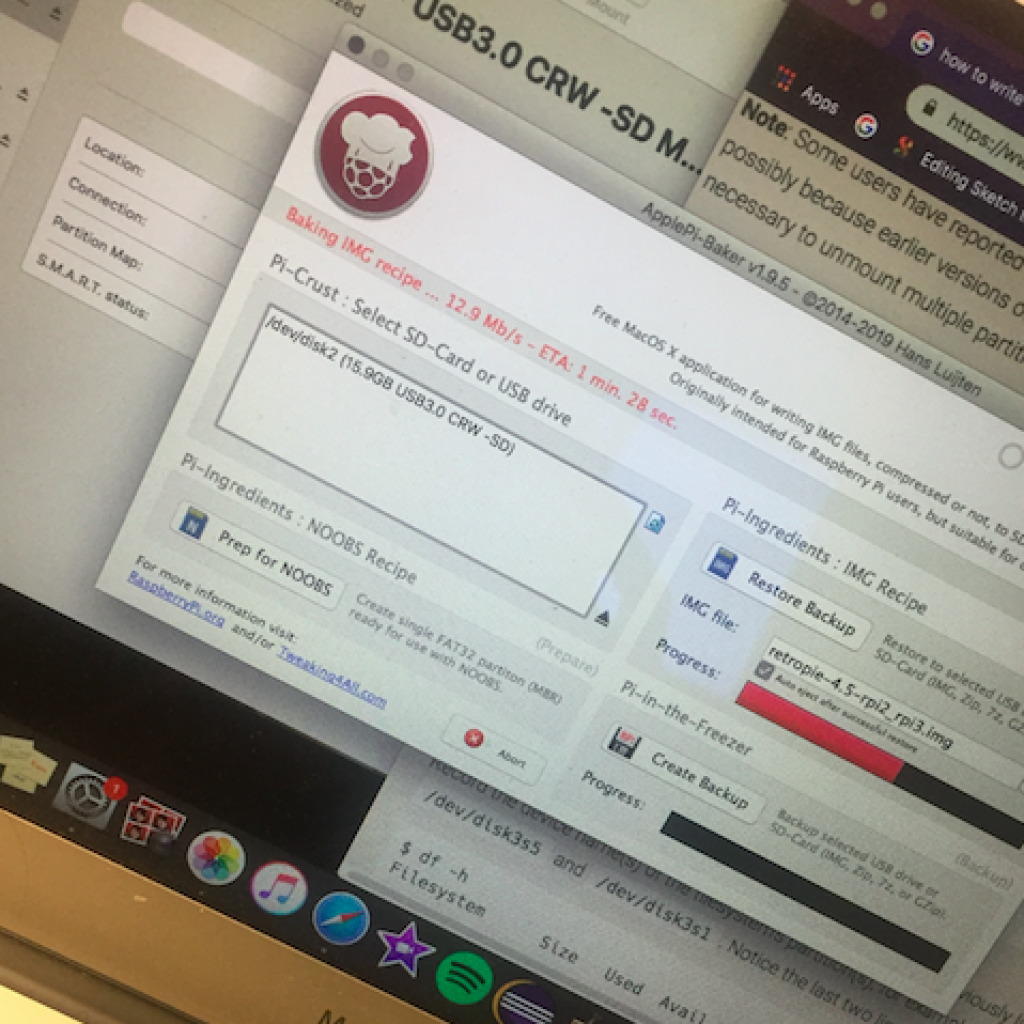
This is my first milestone for the Video Game Emulator. I downloaded RetroPie, a software used to run the emulator on Raspberry Pi. Then, I downloaded Apple Pi Baker which is used for writing the RetroPie software onto the SD card. I downloaded the wrong version of Apple Pi Baker at first, so it didn’t work at the start until I found the right version. I had to use an SD Card reader to write the software onto the SD card since my laptop didn’t have a built-in SD card reader. After I did that, I plugged in my gamepad and the SD card and powered up my monitor and Raspberry Pi. However, the monitor still showed No Signal. After rewriting the images onto the card and checking my connections, we deduced that it was a problem with the monitor. I made sure that it was set to HDMI and tried it again, and it showed up with the RetroPie welcome screen. Finally, connected to the Wifi and chose the settings.

Starter Project

Alisha's Starter Project, Simon Says

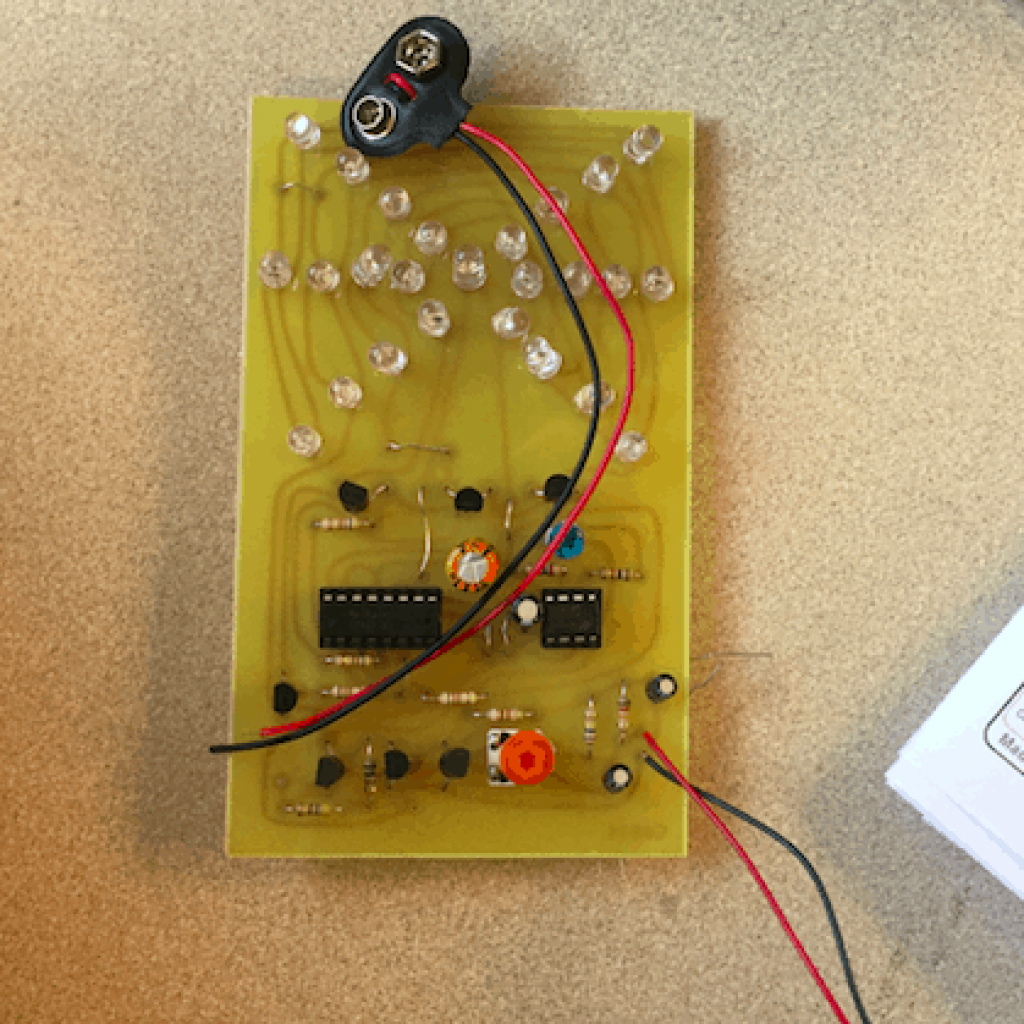
My Starter Project was ‘Simon Says.’ In this memorization game, you have to recreate the correct pattern of lights. From this project, I learned how to solder and desolder properly and how to use resistors, capacitors, and micro-controllers. The micro-controller contained a pre-programmed chip (that we could modify if wanted), programmed to light up the buttons and also create the game sequence.  I learned that the capacitors aided the ‘cleaning up’ of the power on the board. The resistors helped regulate the current and were non-polar, meaning that I didn’t need to worry about its orientation when soldering. I had to make sure I placed all the components according to its polarity (if needed), and in the end, I ended up with a working Simon Says project.

Leave a Comment

Start typing and press Enter to search

Bluestamp Engineering