Video Game Emulator
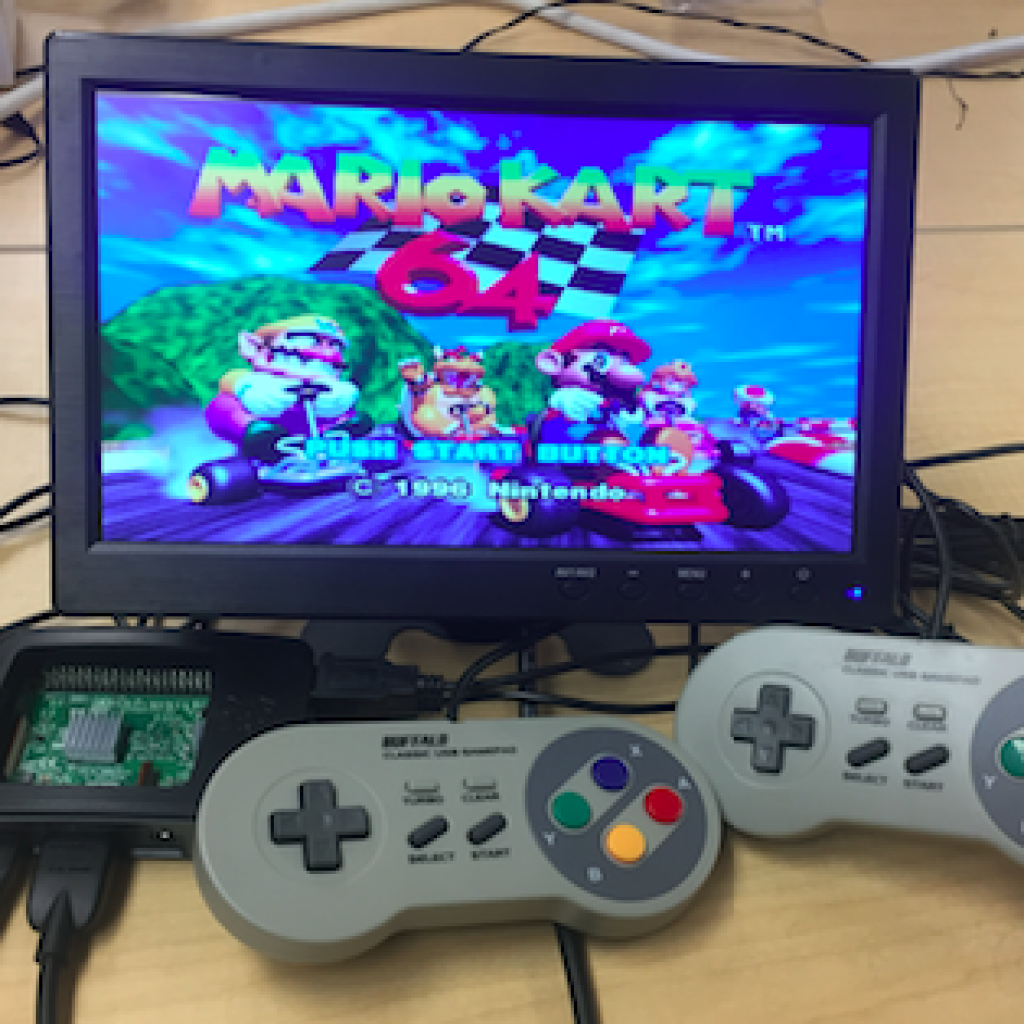
The video game emulator is a type of emulator that allows a device to imitate a video game console’s hardware and play their games on it. It uses the Raspberry Pi 3 Model B+, a SD card, a computer monitor and game controllers. I chose to do this so that I could have a lot of freedom in downloading what I wanted and so I could experiment with Raspberry Pi.
Engineer
Alisha Bose
Area of Interest
Electrical Engineering
School
Lynbrook High School
Grade
Incoming Sophomore
Final Milestone
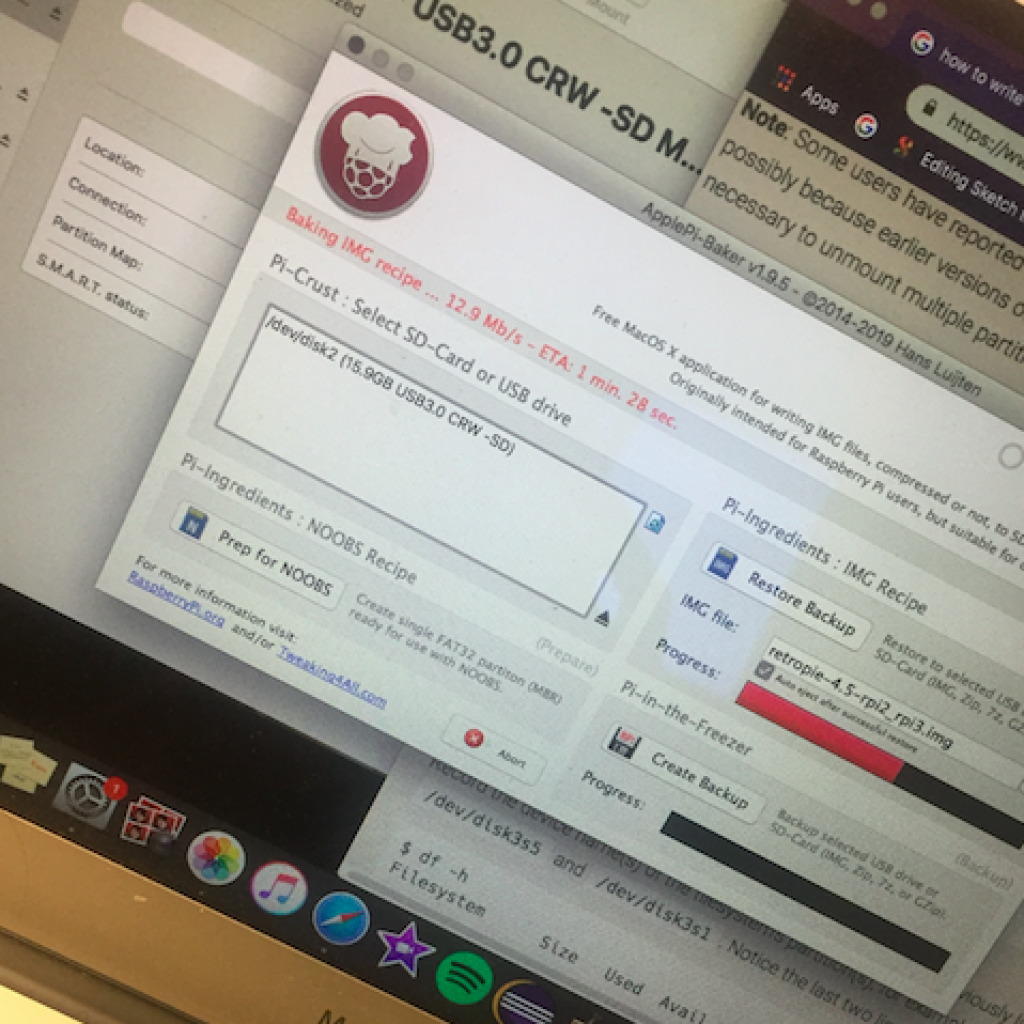
After I got into the filesystem, I configured the controllers. I also configured my Hotkey button so I can access functions like saving, loading and exiting the emulator. Then, I started the process of transferring the ROMs. It was really hard to find ROMs that I was allowed to use. I had to make sure that the sites I was using were safe, and some of the games I downloaded took way too much time. In the end, I found a helpful site that housed free ROMs with additional sets of ROMs so I didn’t have to individually download them. I had to also figure out how to get the maximum capacity on my SD card, because RetroPie creates a partition with the size it needs.
I extended it using the command in Terminal –
diskutil partitionDisk disk2 1 GPT HFS+ newdisk R
But it wiped the entire thing, and when I re-downloaded, it created the partition again. Finally, I decided to just download a the few ROMs that I could. I used Samba Sharing and I got to download the games I wanted. While I was there, I found a setting that allowed me to extend the partition and therefore make use of the entire storage. In the end, I restarted it in order for the ROMs to show up and made sure that everything worked. I had a really fun time with the video game emulator, and I’m glad that I got to do it.
First Milestone
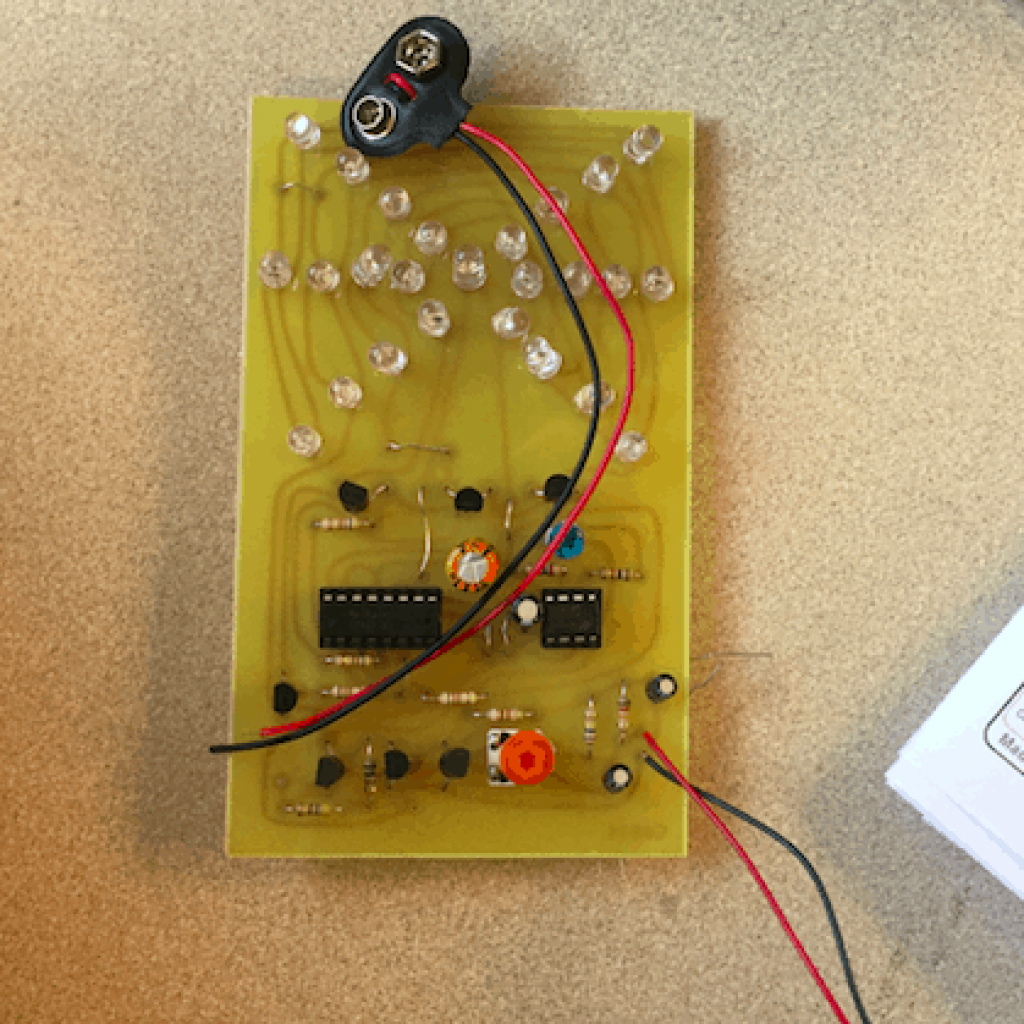
Starter Project