Smart Mirror

A smart mirror is a mirror that displays information such as the time, weather, and calendar. The monitor behind the mirror displays the information onto a see through acrylic mirror.

Engineer

Zain H.

Area of Interest

Mechanical Engineering/Computer Science

School

Fremont High School

Grade

Rising Sophomore

Final Milestone

img-34961

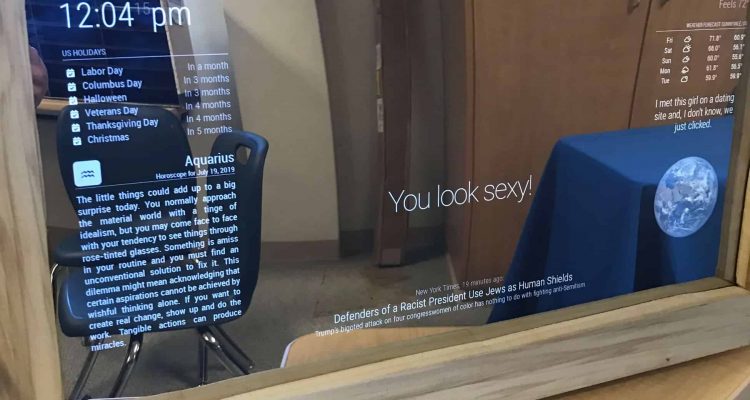
This is the final product

I just finished my final modification for my magic mirror. I added an amazon alexa to my raspberry pi.  I used a github repository and an amazon avs product. The alexa on my raspberry pi is not integrated with my mirror and runs in the background of the mirror program. The alexa has almost as many capabilities as a regular amazon echo. The raspberry pi doesn’t have music playing capabilities. But it can set timers, tell definitions, and jokes. The biggest issue I had and still have is that the avs product uses the ip address from the raspberry pi and since I am on an open network the ip address changes every time it turns off.  That means every time I turn off the monitor and restart it, i will need to make a new avs product and run the setup script again. Once I take the mirror home, I can give it a static ip address from the router and then I won’t have that problem anymore i hope.

Third Milestone

Third Milestone

img_3493_11

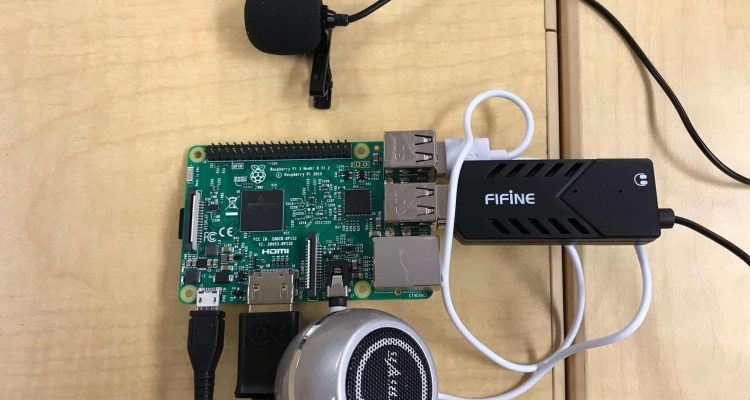
Raspberry Pi 3 with USB microphone and speaker

I just finished my third milestone which was to create the frame for my mirror. I used poplar wood to make the frame. The frame consists of 9 cuts of wood.  4 make the front decorative panel and 5 make the back part which holds the monitor acrylic mirror and raspberry pi. The 4 front pieces were all cut at a 45 degree angle on the corners to give an even and appealing look to the frame. All of the pieces were cut with a Jigsaw and for the 4 front pieces, I cut the corners with a hacksaw. I put the frame together using wood glue clamped it together overnight. I finished the frame with an orange wax finish. The purpose of the frame is that it is decoration but it also holds the acrylic see through mirror and monitor and raspberry pi all together. On issue I had was the cuts on the wood weren’t straight so I had to sand a lot with sandpaper and a dremel.

Second Milestone

Second Milestone

img_34401

Magic Mirror final display

I just finished my second milestone which was to customize the monitor display on my mirror.  I added all sorts of modules such as my horoscope, the planet earth, jokes and phone control. The horoscope modules displays my daily horoscope based on what month I was born in. The planet earth modules displays the earth as it rotates. The joke modules displays a different joke every 30 seconds. Finally of the modules I added, is the remote control module. The purpose of this module is that it lets the mirror be controlled by my phone. Some of the controls are used to turn the monitor off and turn it back on. Also using the edit view tab, I can remove modules and add them back. I got all of these modules from github. I cloned the repositories and installed the layout for the modules. Once it was downloaded, I edited the code to show what I want. 

First Milestone

First Milestone

ws5fl7f

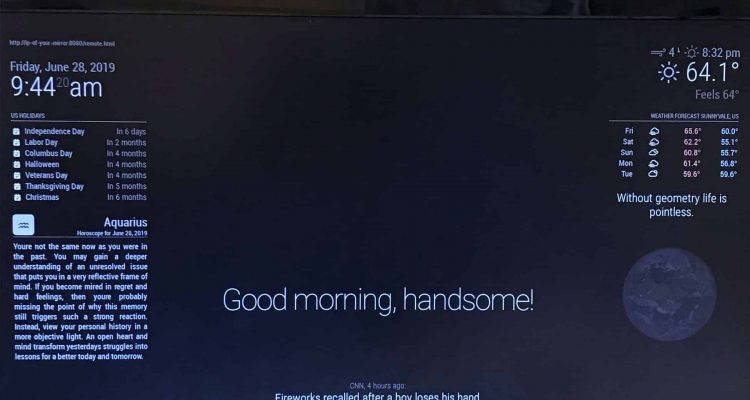
This is a basic magic mirror layout

My main project is the Smart Mirror. I chose this project because it looked liked a really useful and challenging project. The purpose of the smart mirror is to display information through a see-through mirror. It can display weather, time, holidays, and much more. The display is coming from a monitor that shines through the see-through mirror. The monitor is controlled by a raspberry pi 3. The pi is connected to the monitor through HDMI and both the raspberry pi and monitor use a wall plug for power. The raspberry pi is a credit card sized computer. The pi has the raspberry pi operating system called Rasbian on it and that can be used to run all sorts of programs. I used a Smart mirror link from github to get the basic smart mirror program and layout and then set it up with the data I wanted to be presented.

Useless Machine

Starter Project

useless-machine-image-2

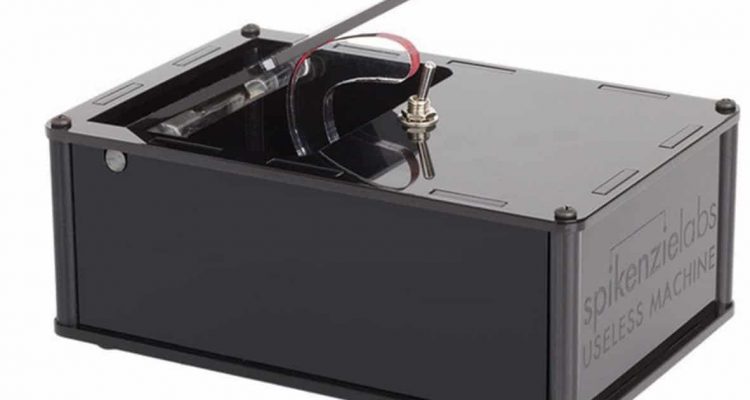
This is the Useless Machine

I built the useless machine.  Once the switch on the top is flipped, an arm from the inside reaches out and flips the switch back. The arm extends and lifts up a portion of the top plate and flips the switch. Inside the case, there is a PCB which holds 2 resistors, the switch, an LED, a snap switch, and a screw terminal. The resistors reduce the number of electrons going through the circuit. The switch activates the arms’ movement and the LED lights up the arm as it moves. The snap switch is used as a stop for the arm so it does not move uncontrollably. And finally, the screw terminal holds the wires. These are all connected to the PCB which is connected to the motor.  The motor connects to the arm and moves it. The 2 wires from the motor are screwed into the terminal. The 2 wires from the battery pack are also placed in the terminal and then the circuit is complete.

Leave a Comment

Start typing and press Enter to search

Bluestamp Engineering