Introduction: This was my first year at Bluestamp Engineering. My starter project was the Mini POV, which is a light illumination device. My main project was the vice-controlled robot which I personally thought was awesome. I hoped to learn some new and interesting things during my time here such as arduino coding, which I had never done before.
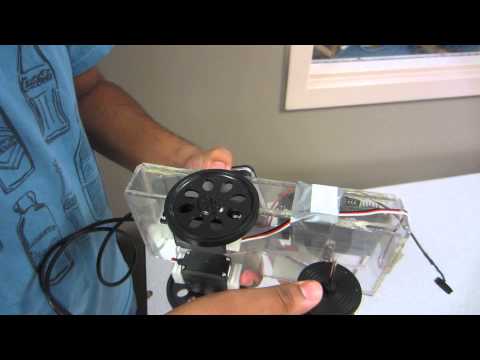
This is a photo of the completed robot:


Reflection:
I believe my experience here at Bluestamp was unique and useful. I challenged myself by doing new activities such as programming arduino. In the process I was able to get an understanding of what engineering is about. You learn how to best apply your skills in an imaginative way. My project required the combination of programming, electronics and mechanics which made it fun for me personally. It made me apply various knowledge I have. It also required the use of special tools such as soldering irons and saws which also gave me a challenge. With the experience I have gained here at Bluestamp, I feel that engineering is something I actually enjoy and is something worth focusing on. I am eager to do similar projects when I have the chance.
Final Video:
Documentation
BOM: Bill of materials
My choice to construct this robot was inspired by this instructable: http://bluestampengineering.com/portfolio-view/juan/
- I chose a project and then wrote down a BOM(Bill of Materials).
- Once i got all my materials, I downloaded the arduino program.
- I downloaded sketchup so I could design a simple model of my robot.
- I drew dimensions on the Lexan glass and then I cut the lexan pieces as such. I had to use a saw, so some pieces were a bit crooked. I had to cut extra pieces with accurate dimensions. I used super glue do attach the pieces together.
- I started programming my arduino board. I downloaded the Easy VR commander and Quick synthesis 5.
- I first built a breadboard circuit with a couple of LEDS and added a couple of commands to the board.
- I attached the servo motors to the breadboard and added some commands to make them move.
- I then attached the motors to the arduino board itself and used the Easy VR commander to write some commands for it. I had to train the board to recognize my voice.
- I printed some servo joints from the 3-D printer and used them to attach the servo to the robot frame. I also attached the board to the frame with some electric tape.
- I built a front wheel for the robot so that it can balance. The microphone was broken, so I had to resolder it together.
- I then tested to the robot once again to make sure it listens to my commands.
My VR code: These are some of the Arduino codes I used for programming my robot. fwd_bwd_hltword, redgreen,
Schematic: This is an example of a typical robot scheme.

Second Milestone
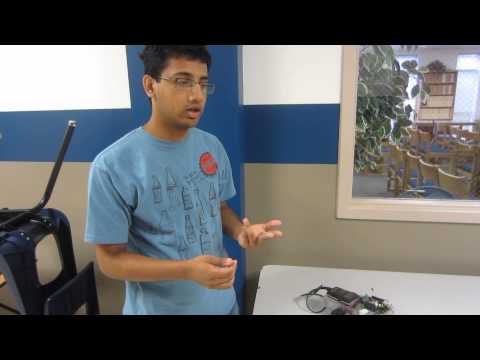
My second milestone was constructing the robot. I made a robot frame from the Lexan plastic and attached the motors and board with electric tape and super glue.
First Milestone
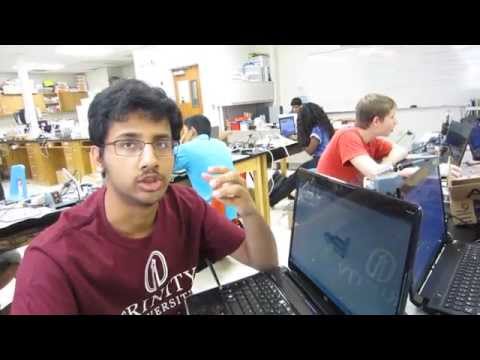
This video shows my first milestone: designing a basic model of the robot. I used sketchup for this. I made sure I used the correct dimensions and I had to take into consideration the size of the other robotic components. I wanted to design a robot frame that was big enough to carry the boards and the battery pack.
Starter Project
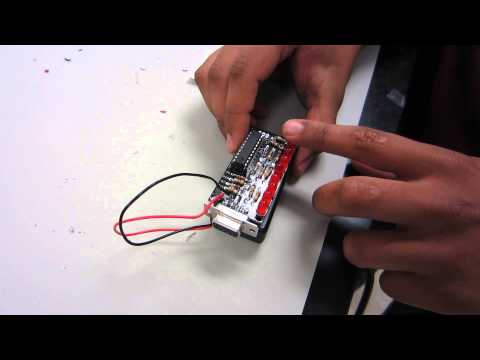
The video above is an explanation of my starter project, the Mini POV. It has about 10 resistors, 3 diodes to protect the circuit from excessive current and voltage. The 10 LEDs are all arranged in series. 2 simple AA batteries are enough to power the device. There is also a USB port at one end of the circuit which can connect the device to a computer