Hello! My Name is Victory and I will be a Senior at KIPP Houston High School. My starter project was an exploding color organ, and my main project was an LED 3D printed bracelet. Nice to meet you, and thank you for deciding to check out my blog.
Reflection/Conclusion:
There are so many new things I’ve learned over the period of this prestigious program. Having been completely new to everything from soldering to coding in the beginning of Bluestamp, I can honestly say that I’ve learned a world of knowledge in only six weeks. Being able to use my own hands to put something together, and learning about what it is and what it does while I put it together, is an experience I will never forget. I feel I will continue with mechanics in the future, because building physical, 3 dimensional objects that function, brings me a sense of fulfillment. Coding on the other hand, is not my strong suit; it was by far, the hardest part of my project. Sitting in my chair, staring at a computer full of orange errors, and having to fix problems I didn’t even understand, drove me to the wall. It was the help of the internet and my extremely smart instructors that got me through it. In the end though, I regret nothing and am thankful for everyone I met and every thing that happened in Bluestamp.
Final Post:
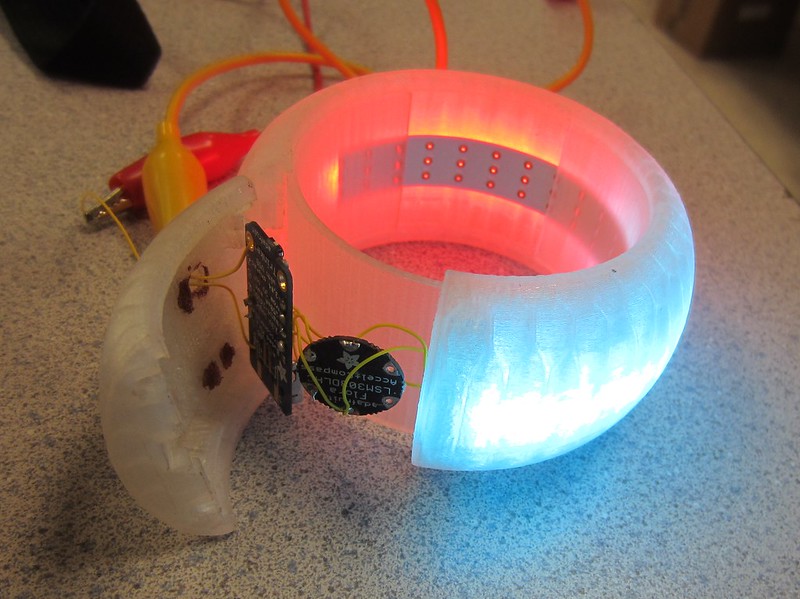
In the last post, my bracelet was hooked up to an Arduino Leonardo because of the broken trinkets. Fortunately, Dave and Sai were able to help me fix it and I was able to rebuild it into the circuit. Now my bracelet is functioning and partly wearable. Special thanks to Sai for putting up with me and helping me with my constant problems throughout most of the project. To see the the video for this post, use the link below:
Hints and Tips:
-1. When soldering using an Adafruit trinket, do not keep the soldering iron on the copper pads for too long
-2. NEVER place the soldering iron on the very highest level. You WILL burn the copper pads whether you’re quick or not. Trust me, I know from experience.
-3. When coding, know that if you change the board you’re using, errors will arise.
Documentation:
BOM: Victory
Schematics for Arduino: Schematics
Schematics for Trinket: trinket schematic
Source Code: accelerometer_LED
Second Milestone:
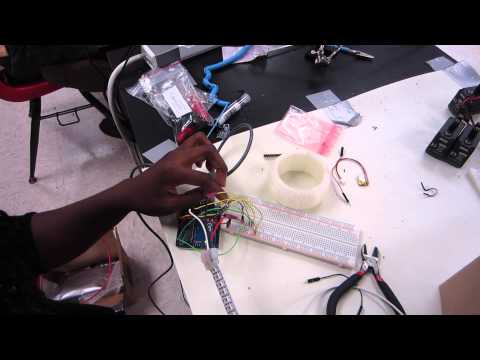
My accelerometer, my LED strip, and my Arduino are now connected to each other through circuitry. I know an Arduino is too big to fit in my bracelet, but I broke both of the trinkets twice (due to mishaps and accidents: burnt copper pads, unrecognized USBs, breaking wires, driver malfunctions, etc.) I will be getting a new one pretty soon. So for now, the code downloads the Arduino Leonardo; which, if you think about it, is actually a positive thing because I no longer have to worry about running out of data. Also meaning that I have enough memory to make a pretty impressive light show. That light show is made when the accelerometer (coded to measure acceleration) collects data from it’s surroundings and sends it to the Arduino Leonardo, which tells the LED strip which pattern to produce, according to the data it received from the accelerometer.
First Milestone:
I have now finished my first milestone! THANK GOD!During this period, I worked on finding the coding for the neopixel and the accelerometer, modifying each one, and then finally compiling them together in way that allows the neopixel to respond to the accelerometer.The biggest obstacle in completing this milestone was the coding for my accelerometer, and getting the lights to respond to it. The biggest obstacle in completing this milestone was the coding for my accelerometer, and getting the lights to respond to it. At one point, I think I probably wanted to throw my computer, BUT I didn’t. It turns out I had the wrong library; a word of advice to those who would like to complete this project in the future: when doing coding, it’s important to know what you’re talking about, otherwise, you might end up with the wrong coding library. To check out my milestone video, use this link:
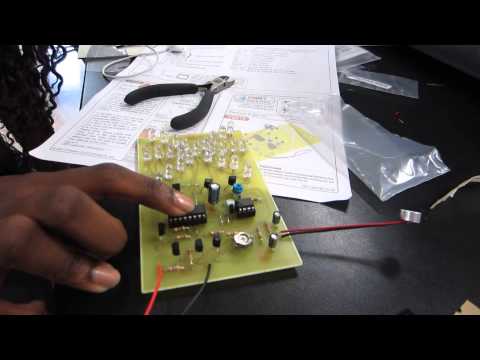
Starter Project:
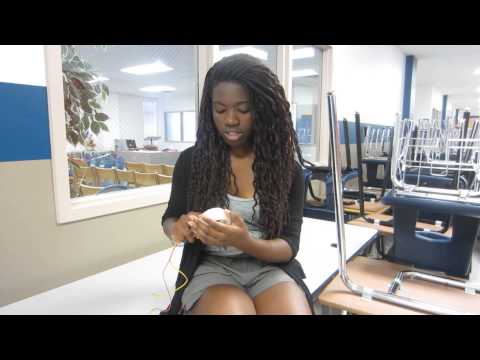
I recently completed my starter project, which was surprising easy after I rebuilt it the second time. A piece of advice to anyone who will be, or is currently doing the same project: DO NOT solder random parts to a board without making sure you read the directions, and know how it works!!! That stuff really matters! To watch my video for my starter project, use this link: