Hi! My name is Victory, but you should already know that by now (if you bothered to check my last portfolio). My starter project for Bluestamp Engineering is a Big Time Watch Kit and my main project is a Box with a Musical Lock; I can’t wait till I’m finished building both, because they’re both equally awesome!

THIS IS MY FINAL POST: Everything is now finished: the lock mechanism is mounted and functional; I had to epoxy (glue) some small pieces of wood under the servo to heighten and support the servo, and then I had to fasten it with zip ties in order to hold it in place. I believe the hardest part of this portion in my project would have to be getting the lock to be able to lock with the box closed, and knowing that it’s locked. I was only able to complete the lock mounting using estimation and theories, and that barely even worked. Overall, this project wasn’t simple, but it wasn’t near imposssible. My only advice to those planning on building this project is to pay strict attention to details and to be diligent when running into problems (which are inevitable).
Code: Victory (zip file)
Credit: Basil Shikin
MY SECOND MILESTONE took approximately two weeks, from having to re-compile my code again and again in order to test all of its limits (it happens to unlock if the right pattern is sung by a human voice too), to looking for an adequate box, to waiting for the box to reach me. From then, I had to compose a lock mechanism that I would solidify when I received my box. I had under thought, over thought, and then under thought again when it came to how I would solidify the lock mechanism in the box. End result: I placed an eye hook screw in a space in the lid of the box, turned the second eye hook screw into a hook, and connected the hook to a 180 degree servo motor..
If you want to check out my video for the second milestone, just look below:

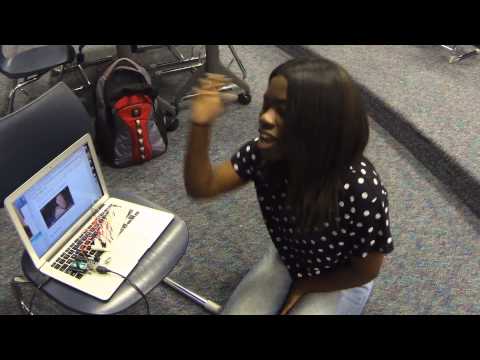
My FIRST MILESTONE of my Main Project is now also complete, and that’s a huge relief considering the fact that the code refused to compile several times. But with much determination and a stern look from Rachel (my instructor), I was able to compile the code into the Arduino Uno after completing the circuitry for the box with a musical lock and placing it on a proto-shield . A couple of times, I placed the servo and microphone in the wrong area, but I was able to find out the correct location for them by looking at the master code. Additionally, in order to make the microphone start listening to the frequency patterns by the push of a button, I had to remove all traces of the serial monitor and replace it with the pin that I placed the button in.
If you want to check out my video for the first milestone, just look below:
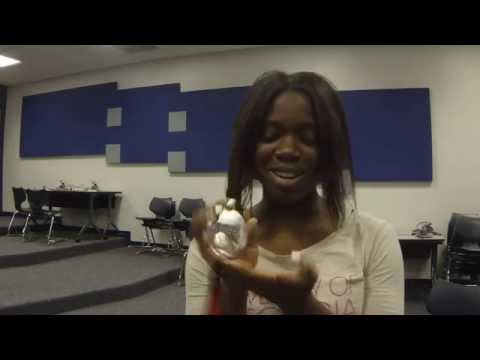
MY STARTER PROJECT is now complete, and I am quite happy about that; one project down, one to go! It was fairly easy, and I was able to complete the big time watch within the first two days of Bluestamp. I only ran into small problems with the project, such as: soldering the LED screen on backward and placing on the last layer of the laser-cut acrylic case on backward. At one point, one of my instructors (who I nicknamed ‘Andrea’ last year for reasons I do not recall: it’s funny because he’s a male, and I’m pretty sure there was an inside joke to the name that I have long forgotten) asked, ” Do you know your directions?” That was a good question because I hadn’t even known that the two components had a specific direction! That’s where my advice for this starter project comes in: 1. Pay close attention to the direction the components have to be placed in (especially when it involves soldering, because fixing that mistake isn’t exact easy) 2. PLEASE READ THE DIRECTIONS IN DETAIL, DO NOT JUST OBSERVE THE PICTURES, OTHERWISE, YOU WILL MAKE A MISTAKE!
If you want to check out my video for the starter project, just look below: