
Hi, my name is Uriel and i’m a rising junior at Strive Prep SMART academy. My starter project is the Minty boost charger which is like a backup charger for your phone. I was really interested in it because I am always on the go with skateboarding, and it gives a good boost for your phone. My main project is the portable USB charger with solar panels for charging and backup battery; I am really interested in solar energy and using that instead of relying on convenient energy. While I have had experience with woodwork, it is pretty challenging to apply electrical engineering to this and make things move.
Resources:
Here are things I used: Uriel BOM
I found this project here:http://bluestampengineering.com/portfolio-view/kelly/
Here are the SketchUp Files for this project:All Sketchup Models
I also made this drawing for some additional pieces:Connection pieces+Friction wedge
Final Milestone:Sun Tracking Solar Panel
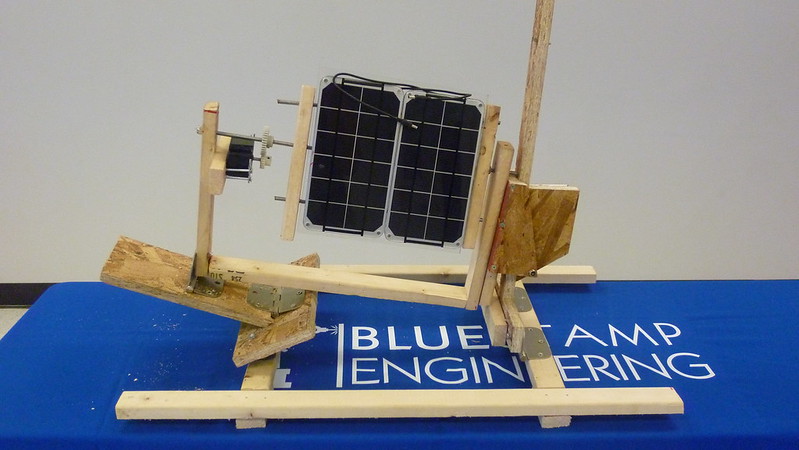
I’m Uriel and this is my final milestone for the sun tracking solar panel. I have finally added the wind up timer to the solar panel, and I have put a gear on it, so that it spins with the other gear.I also winded it up and it only moved a bit after a while, meaning that it worked. Even though, I already knew how to work with wood, sometimes moving too fast can make everything fall apart.This put my patience to a test, but eventually I got through it.The only thing I did was that I took out the solar panel and re positioned all the threaded rod. Plus, I added more metal brackets to secure it and have it move in a good motion.From this, I hope to keep breaking more stuff and keep building.
Milestone #2:The whole system
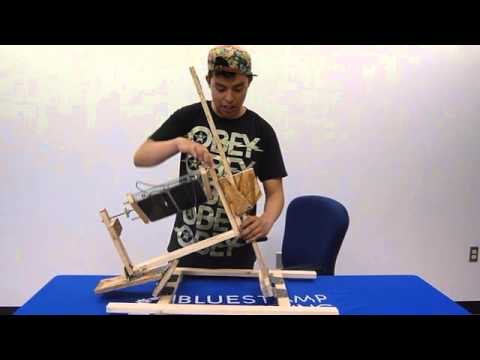
I’m Uriel and this is my second milestone of my final project, a portable sun tracking solar panel. This time I have fully constructed the rotational system involved in the solar pane. What I did first was that I cut two pieces of wood and drilled holes in them. I also cut the threaded rod to the size that I needed. My instructor used a bandsaw to cut the acrylic glass into the dimensions I wanted. Shortly after, I drilled holes into the acrylic and that is where the solar panels screws went into. But, before i could actually mount on the solar panels,I drilled more holes and used bendable metal to secure the threaded rod in place by also adding screws. Next, I introduced the threaded rod through the holes already made in the other two pieces of wood and secured them with nuts.The middle rods were put into the holes of the U bracket and it was complete. Shortly, after i made some triangle pieces and a friction wedge to hold the “T” piece of wood and solar panel together. I used more wood to secure the bottom of the solar panel to the base.I also secured a gear to the threaded rod , so the gear can move the solar panel. Next, I will show the solar tracking component of it.

Milestone #1: Wooden Base
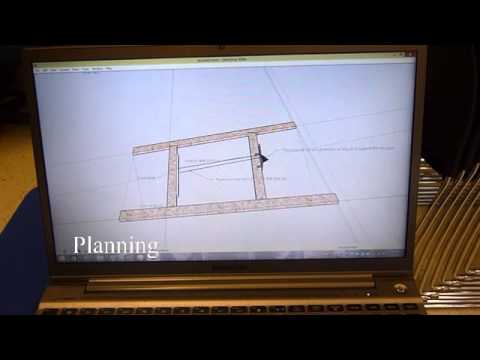
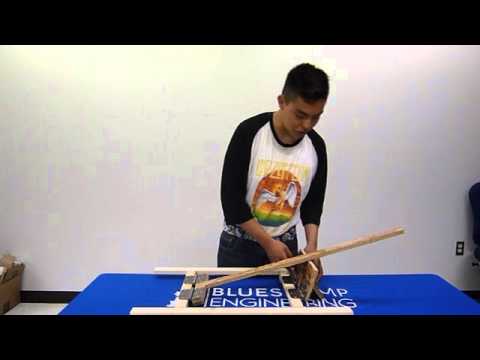
I’m Uriel and this is my first milestone of my final project, a portable sun tracking solar panel with a windup clock drive. What I made is a wooden frame that will support all the other parts of the project because without it, everything falls apart. First thing I did was that I drew up the base in SketchUp using dimensions from a similar project. After that, I started cutting out all the different pieces using the measurements from SketchUp. When the first 4 parts were all connected, I screwed some holes on the base, the T part, and the other piece of wood that goes across the T part. Using door hinges, I connected the plywood parts to the lighter wood parts. Finally, when all the drilling was done, the result was that everything moved successfully with the door hinges and that it was sturdy. Next time , I will show you a solar panel with the ability to rotate.


Starter Project: MintyBoost
I’m Uriel and this is my starter project,The Mintyboost. What basically makes everything work is the 5v boost converter at the top that makes sure that energy runs more efficiently. The socket holding it protects it , so that if the chip is damaged it can easily be taken out. The R5 3.3k resistor is used to improve the high current capability of the boost converter chip. The R2 and R4 75k resistors are used by Apple products to recognize them and charge them. The R1 and R3 49.9k resistors are also used to recognize Apple products. The C1 capacitor helps stabilize the output voltage and filters out high frequency noise. The C2 capacitor keeps the chip stable so that it generates a precise voltage. The Diode acts as a circuit protector to ensure that energy only runs one way. The C4 and C3 capacitors are for power supply and they help smoothen out input and output voltages. The power inductor is used by the chip to store and convert power from low voltages to high. The final parts are the USB female head, in which you plug in your device into, the other part is the battery holder.
