
Fingerprint ID Safe With Keypad
Engineer
Tony Z.
Areas of Interest
Mechanical / Chemical Engineering, Computer Science
School
Valley Christian High School
Grade
Incoming Sophomore
Hi! My name is Tony, and I am a student at BlueStamp Engineering for the special online 2020 edition! My final project is a Fingerprint ID Safe with a Keypad. It works by first making a user enter in a password, and, if the password is correct, then scans the users’ fingerprint to see whether it is correct or not. The safe is then opened using a servo motor. This project uses Arduino circuitry and coding to function.
Reflection
Overall for me, this project has been a great way for me to problem-solve and think creatively. I was able to get hands-on experience with coding and circuitry at home, and it gave me a great sense of what being an engineer is like. By forcing myself to sleep early and having to up at 5:30am each day, I was able to develop a schedule and be more productive as well, and it was a good transition from what I had been doing the weeks after online school ended. I enjoyed solving the challenges that came up each day, and BlueStamp was a great experience to learn about what engineering is all about!
Third Milestone
Final Progress
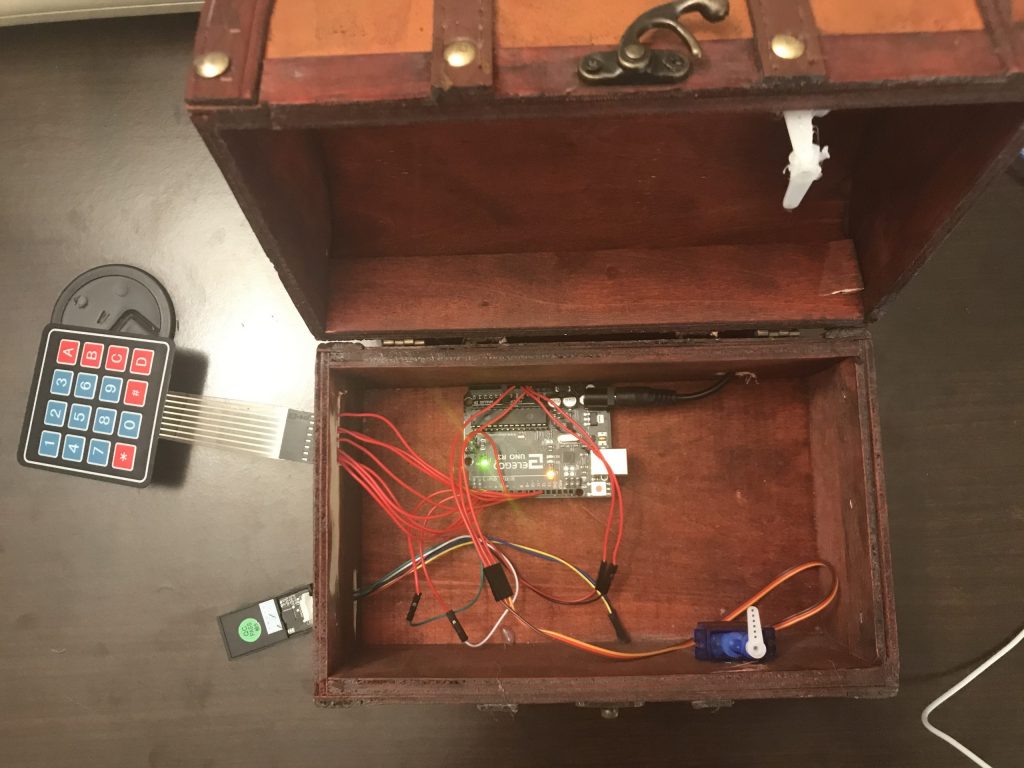
For my final milestone, I finally was able to complete my project by assembling all the parts together inside the safe. This was the easiest milestone to complete, because all I had to do was make sure my code worked properly, drilled some holes in the safe, and hot glue everything inside. Most of the problems I ran into were with my code, but once I was able to get past that I was able to smoothly finish my final project. After drilling in holes for the wiring, I hot glued a servo hook attachment to the top of the safe to create my lock. Then, I rewired everything to fit inside the safe, and hot glued the servo to the wall of the safe to complete my lock. Since I’ve now completed my final milestone, I will be finishing up my website next!
Final Code: https://gist.github.com/tyzhou05/65e01be6ae01fad7a55b68ce1a02dd62
Bill of Materials: https://docs.google.com/spreadsheets/d/11FK-buCCBcDnY2SGny-WOoMnVg966Etnk-sruNyBaCU/edit#gid=0
Second Milestone
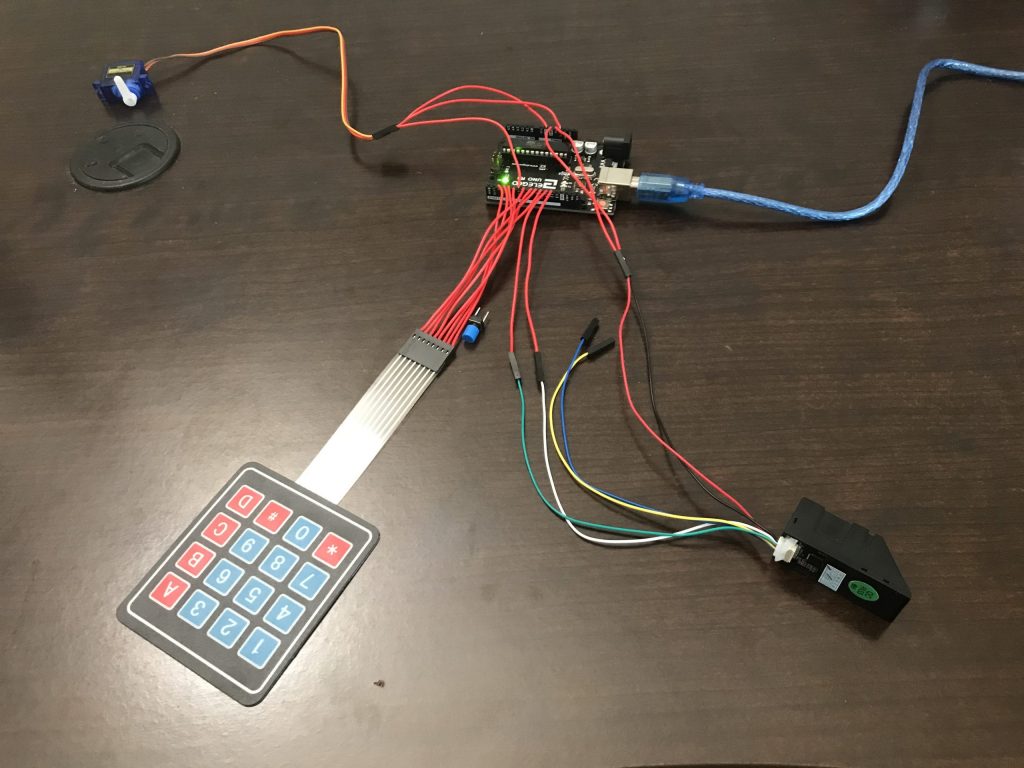
For my second milestone, I was able to code and wire my fingerprint sensor to my Arduino, using Adafruit’s fingerprint sensor library* over the course of the first two days. Since I completed my first milestone quite easily, I was feeling quite excited to use the fingerprint sensor, which I knew would also be a challenge. On the first day of week 2, I tried to attach my wires properly to my Arduino, and downloaded the fingerprint sensor library. However, the wiring from the online tutorial I was following was quite different from my own, and I spent much of the day figuring out the correct wiring and reconfiguring my code to match it. After finishing this, I was ready to begin incorporating my fingerprint sensor into my pre-existing keypad code.
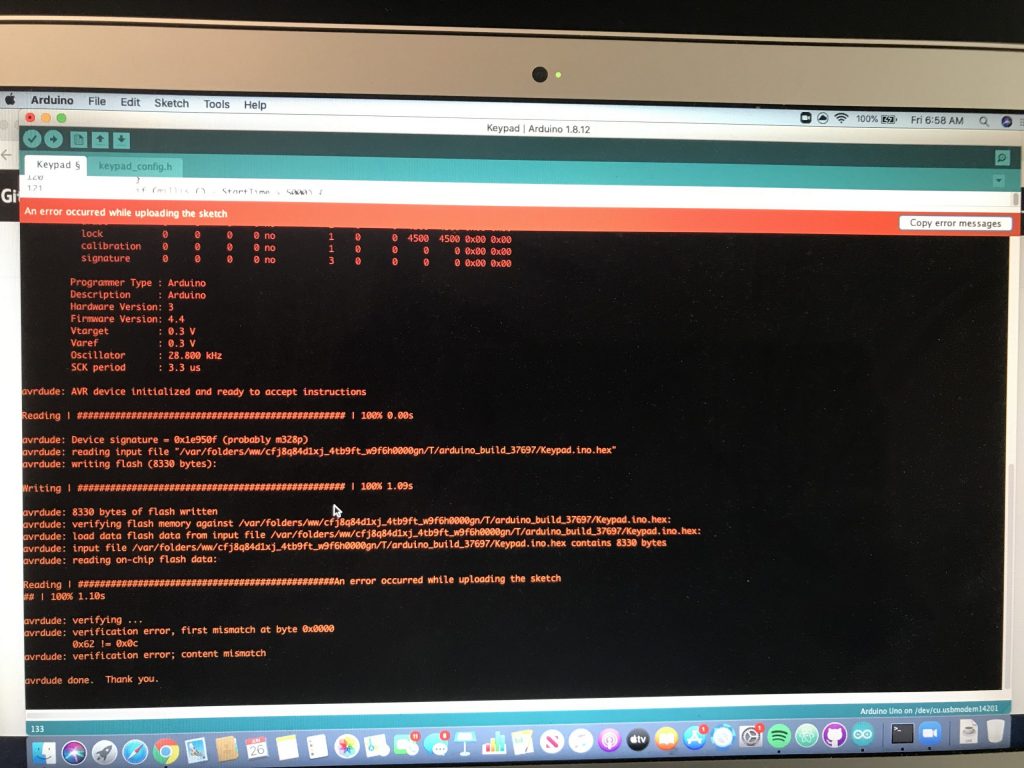
I used the fingerprint sensor library’s “enroll” code to scan my fingerprints and upload them. While coding the fingerprint sensor, I also ran into many errors which slowed my progress significantly. I finished incorporating the fingerprint sensor into my code quickly, but then found out that I had multiple errors, such as not allowing any time to input the fingerprint, and misunderstanding where the pre-existing fingerprints were stored. I spent almost all of Tuesday and Wednesday debugging and cleaning my code. On Thursday, I finally finished polishing my code, and was ready to begin adding a power source and an on and off button, but found a huge problem with my Arduino, which gave a “content mismatch” error when I tried to upload new code. I found an Arduino Forums post** of the same problem, and others solved the problem by using a “USBtinyISP”, which I did not have. None of the instructors at BlueStamp had ever seen this problem before, shockingly! So, I requested a new Arduino, and this ultimately stopped my progress for the week.
Before starting this milestone, I expected it to be much harder than my first milestone, and it turned out to be true. This milestone was a challenging one, and showed me that engineering can be a bit frustrating and tedious at times to solve many problems that can occur. Although it seems that there was not too much progress between my last milestone and this one, I learned much more about trying again, debugging, and not giving up when facing a problem. For my next milestone, I plan to add an on/off switch, attach my power source, and put my hardware and software into the actual “safe” to complete my project.
*Fingerprint sensor library: https://github.com/adafruit/Adafruit-Fingerprint-Sensor-Library
**Arduino Forums Post: https://forum.arduino.cc/index.php?topic=453997.0
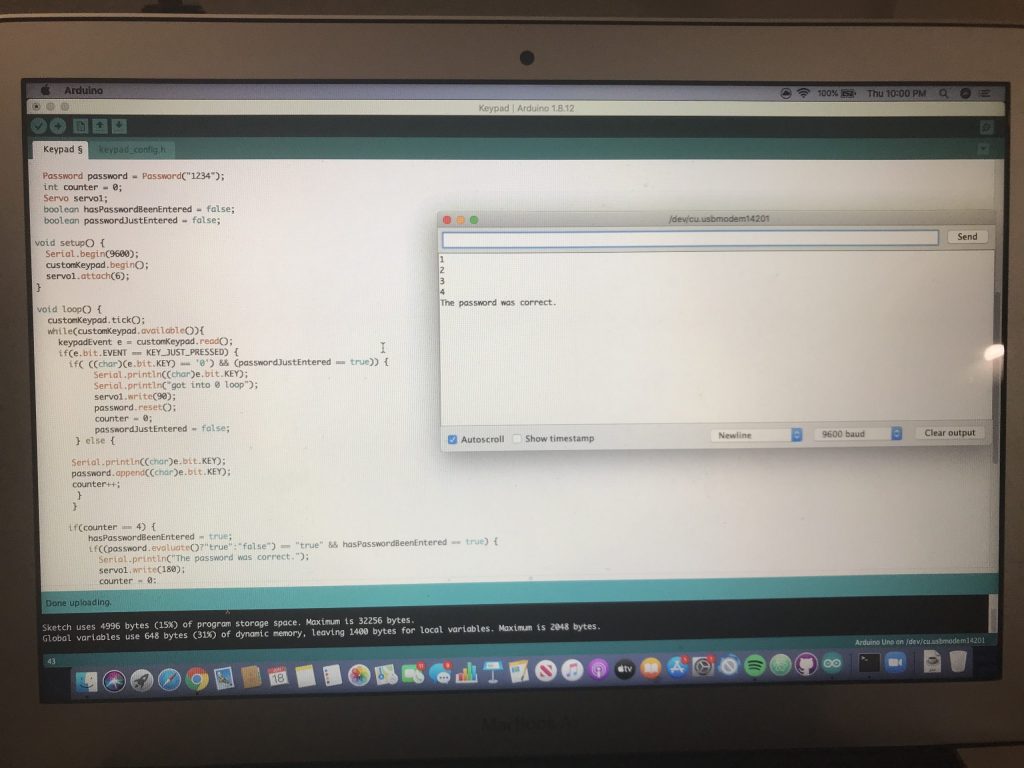
Current Progress
Part of my current code
First Milestone
Current Progress
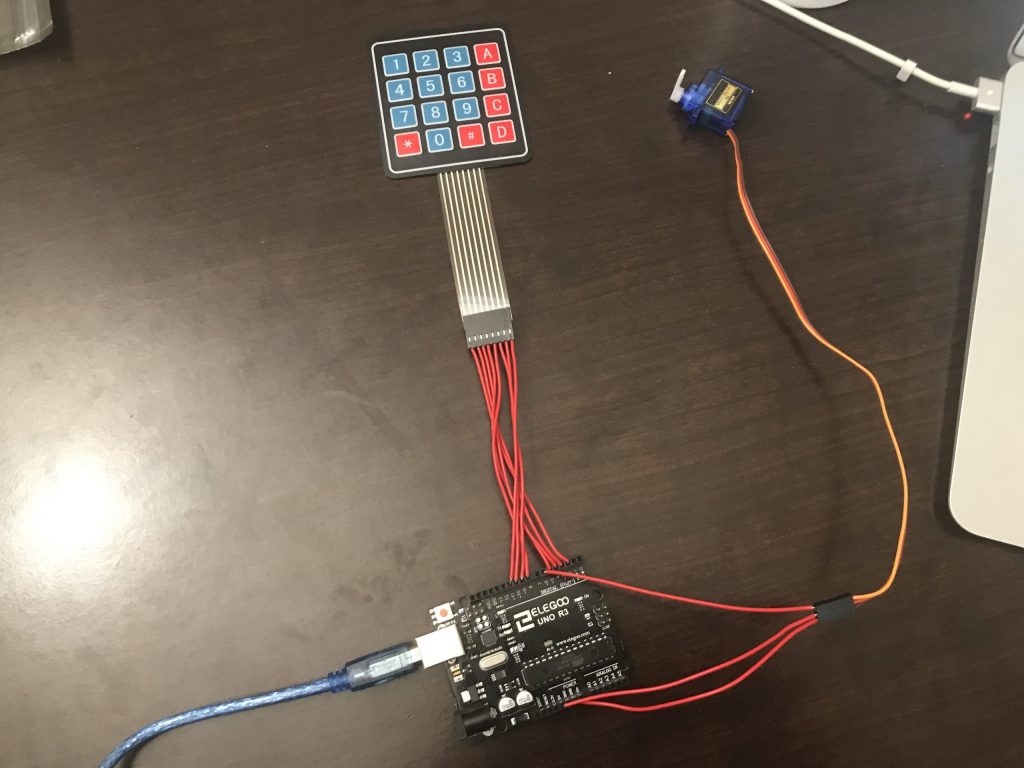
For my first milestone, I was able to create a working keypad with a servo motor. The keypad can successfully tell whether a password is correct or not, and can allow them to be both attached to an Arduino, which is then attached to my laptop to run code. On the first day of camp, we mainly did introductions and basic Arduino/breadboard circuitry, and it gave me a good sense of what to expect for the next three weeks of camp. Beginning on day two, I first wired my keypad to my Arduino, and then used a keypad tutorial and library* to be able to manipulate the keypad input through my code. After this, I was able to use a password library** to be able to begin coding my keypad.
Once I began using a password library on day two, it made coding the keypad much more simple with predefined functions that I could use, and let me easily write my code. Soon, I was able to input a password on my keypad, and could print on my laptop whether the password was correct or not. After this step, I attached a servo to my Arduino to be able to lock and unlock my actual safe. Using the built-in servo library in the Arduino compiler, I began implementing the servo into my code. I spent almost the entirety of day four attempting to properly code my servo. This was definitely the most difficult part of my first milestone, as my code had some logical errors that were difficult pinpoint and fix. But, after some debugging, I was able to finish my first milestone with a good part of my final project behind me now.
This first milestone took me about four days to complete, and was not as difficult as I expected before camp at all. Most of my work consisted of debugging and coding, and was overall a great beginning to camp. For my next milestone, I plan to code and implement my fingerprint scanner, download my code from my laptop onto my Arduino, and add a power source and on/off switch for the safe. I anticipate that my next milestone will be much more challenging than this one, but now I am eager and excited for more to come in my BlueStamp journey!
*Keypad Tutorial: https://learn.adafruit.com/matrix-keypad/arduino
**Password Library: https://playground.arduino.cc/Code/Password/#Download