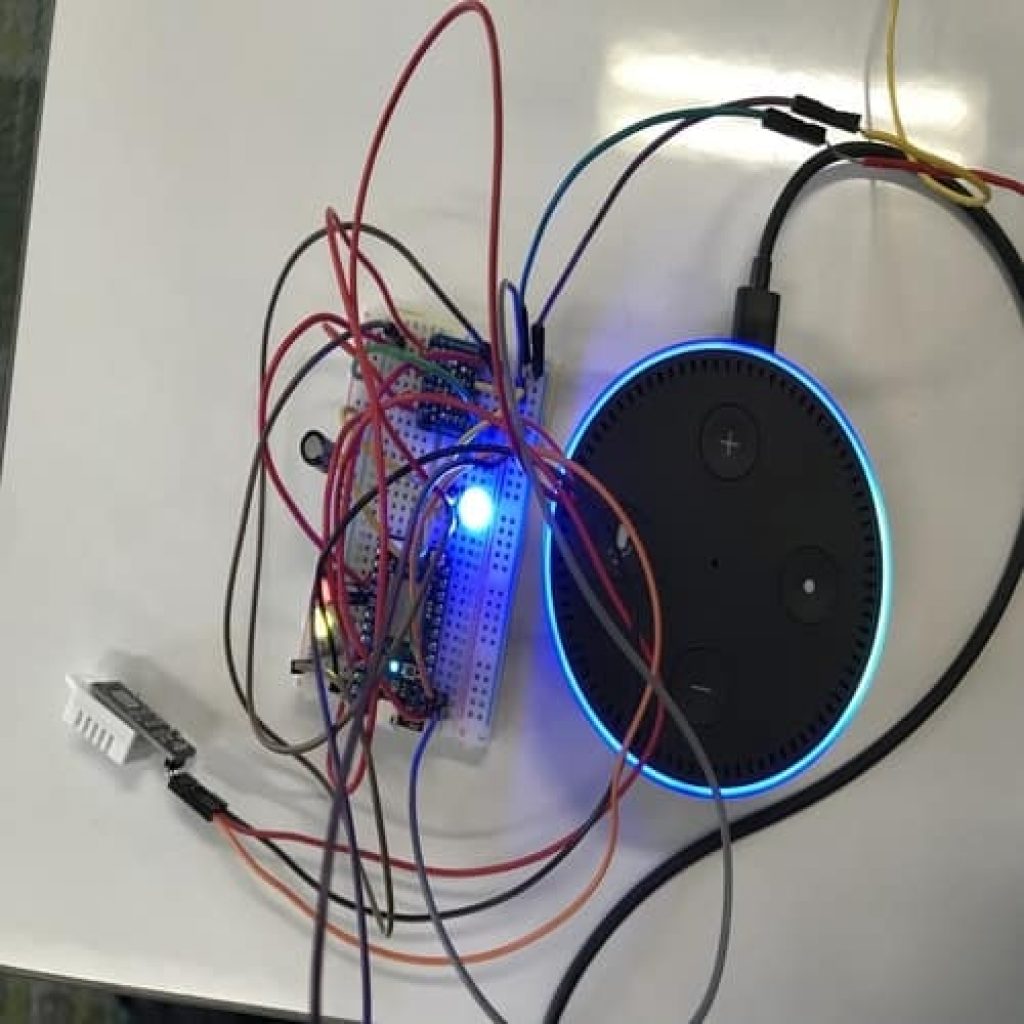
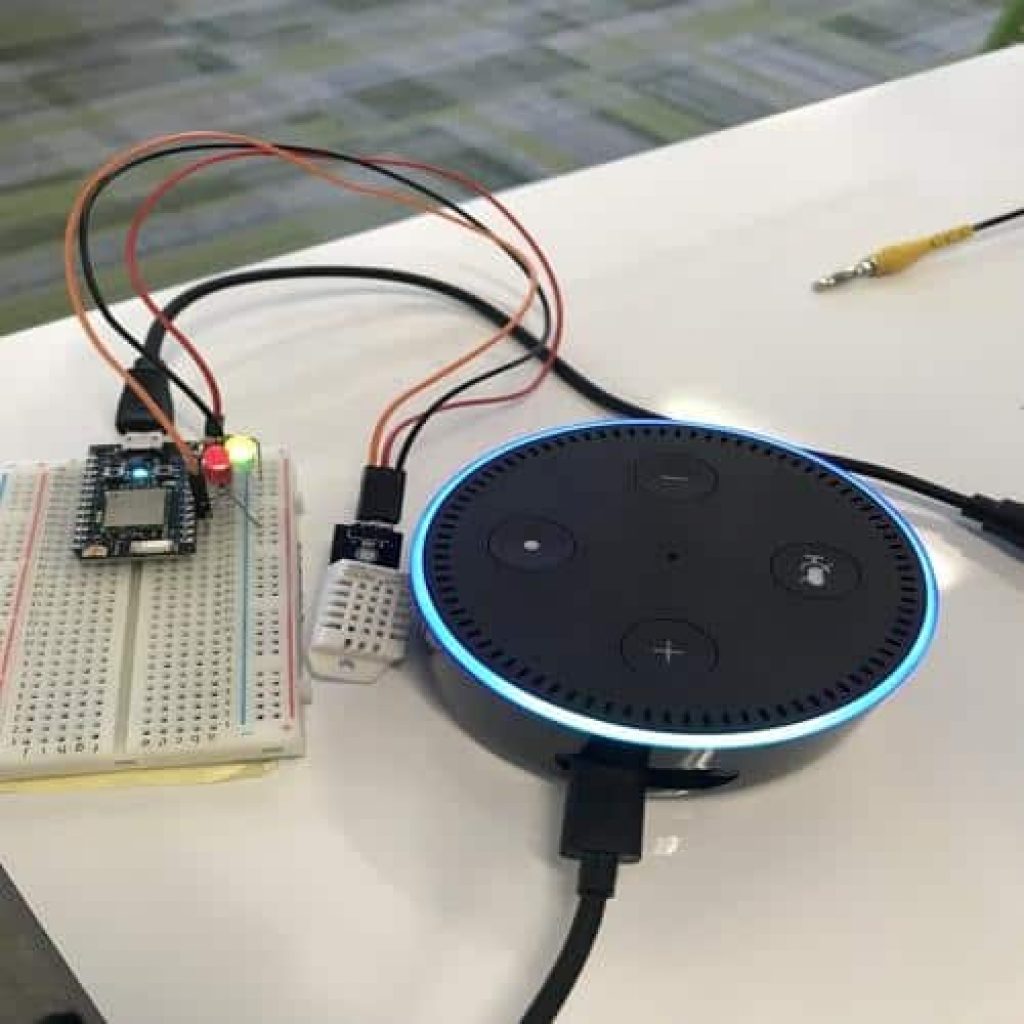
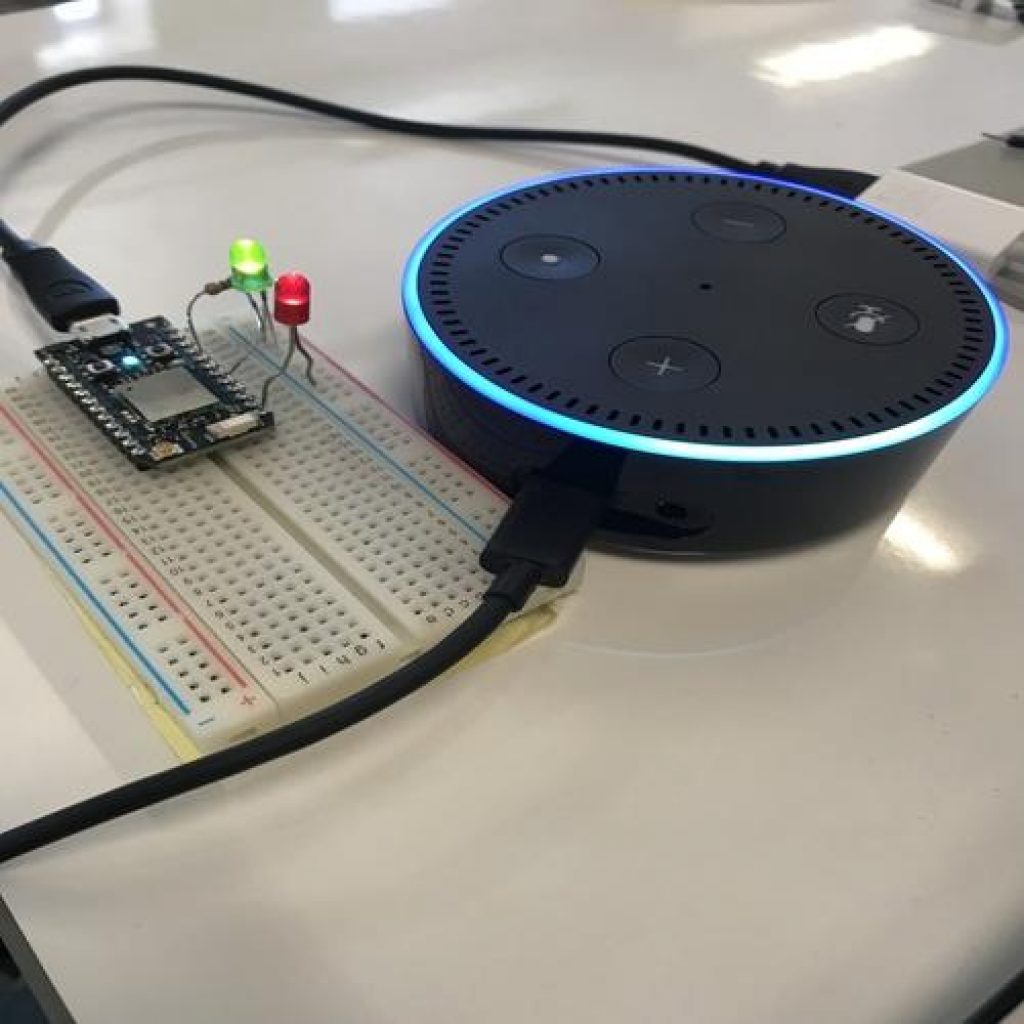
Alexa Home Automation
Use Alexa’s Voice Control to do much more than it originally could do! Turn on/off LED lights, ask for the room temperature/humidity, and be able to control an RGB neopixel light.
Engineer
Timmy D.
Area of Interest
Software Engineering
School
Lowell High School
Grade
Incoming Junior
Showcase Night
Reflection
BlueStamp was overall something that I never experienced before. It was a hands on program where I could learn something without long lectures or Powerpoints. Despite the frustration and discouragement I felt when my project was not working, I enjoyed my time here. I learned a lot about software, firmware, and hardware during this program than I did with a year long class at school. It really opened my eyes and helped me realize the difficulty of engineering, but also the joy and satisfaction of seeing your own creation work. Additionally, BlueStamp has motivated and encouraged me to start building my own projects at home. I plan to create more projects after this program ends in hope to gain the same satisfaction as I did with my Alexa home automation. As for my future, I plan to major in computer science. I am not completely sure if this route is exactly the route for me, but throughout this program the part I enjoyed the most was the software and coding. Hopefully with more projects and experience I can decide what is next for me.
First Modification
Documents for Modification

Final Milestone
Documents

First Milestone
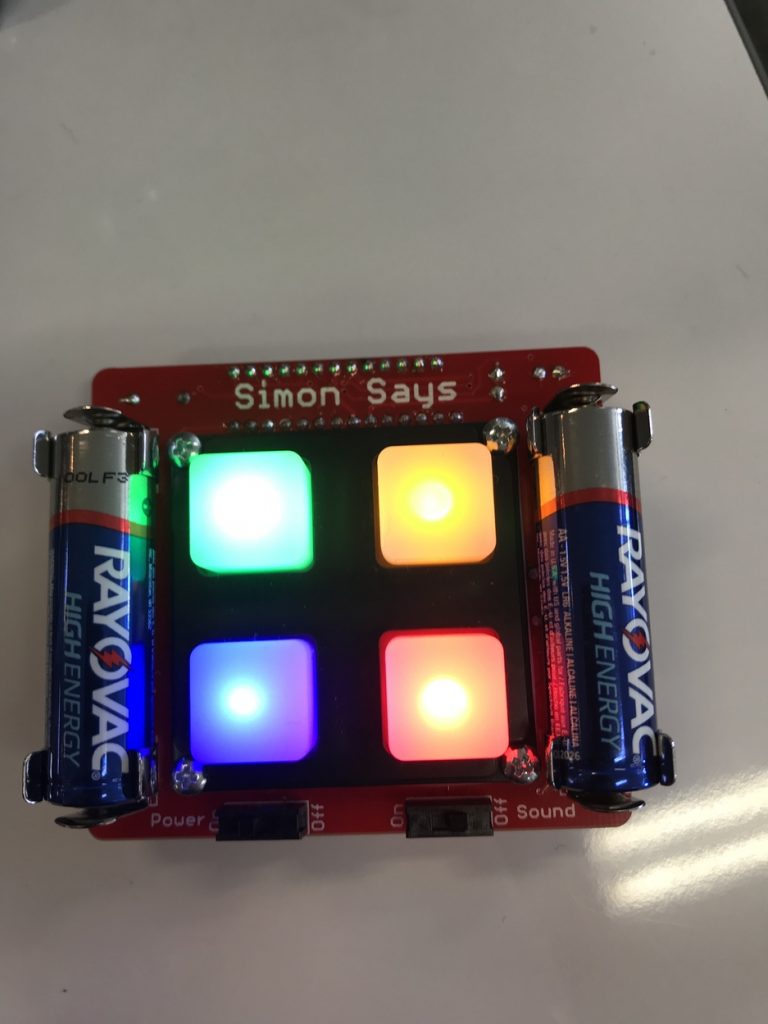
Starter Project
GOOD JOB TIMMY!!