Object Detection with Deep Learning on Raspberry Pi
This is a project where I do object detection on the Raspberry Pi. I wanted to train my own model, but I could not do transfer learning for TensorFlow lite models used for the Google Coral USB Accelerator without a Docker supported desktop. I still successfully completed the project using Google’s pre-trained model, and modified my project into a security camera.
Engineer
Taiga A.
Area of Interest
Aerospace Engineering
Grade
Rising Senior
School
Monta Vista High School
Reflection: This project was very challenging because my project took many turns. I essentially did object detection using three completely ways: natively on the Raspberry Pi, Nanonets, and the Google Coral USB Accelerator. However, I really enjoyed learning the many different ways of performing object detection with models. In the future, I want to be able to apply what I learned here to aerospace engineering, a major I am thinking about in the future. I really want to thank my instructors and BlueStamp Engineering for this amazing opportunity.
Some key terms
- TensorFlow: Google’s open library made for Python to make machine learning more simple
- Deep Learning: A type of machine learning where many layers of a model are trained opposed to shallow learning where only the parameters of the final layers are changed
Demo Night
Modification Milestone
With my modification milestone, I modified my Raspberry Pi into a security camera. For this particular demo, when the cup is detected, a text message via Pushetta will be sent and a 15 second video will be taken and uploaded to Google Drive.
To add this feature, I had to add my own code to the original object detection file, and create Python files to enable logging and recording. In total, I have four Python files: a caller file, object detection file, recording file, and a logging file. The caller file has an infinite loop to call the object detection file. The object detection file sets up the USB Accelerator and streams video from the Pi Camera. The recording file and logging file are called as needed to upload files to Google Drive.
I struggled the most on trying to send emails through Python. There was some problem with the Raspberry pi or the school wifi that made it impossible. I worked around this problem by uploading my files through Google Drive. Overall, I learned more about Python, as I had to write somewhat complex code and go through some logic problems with multiple loops.
Third Milestone
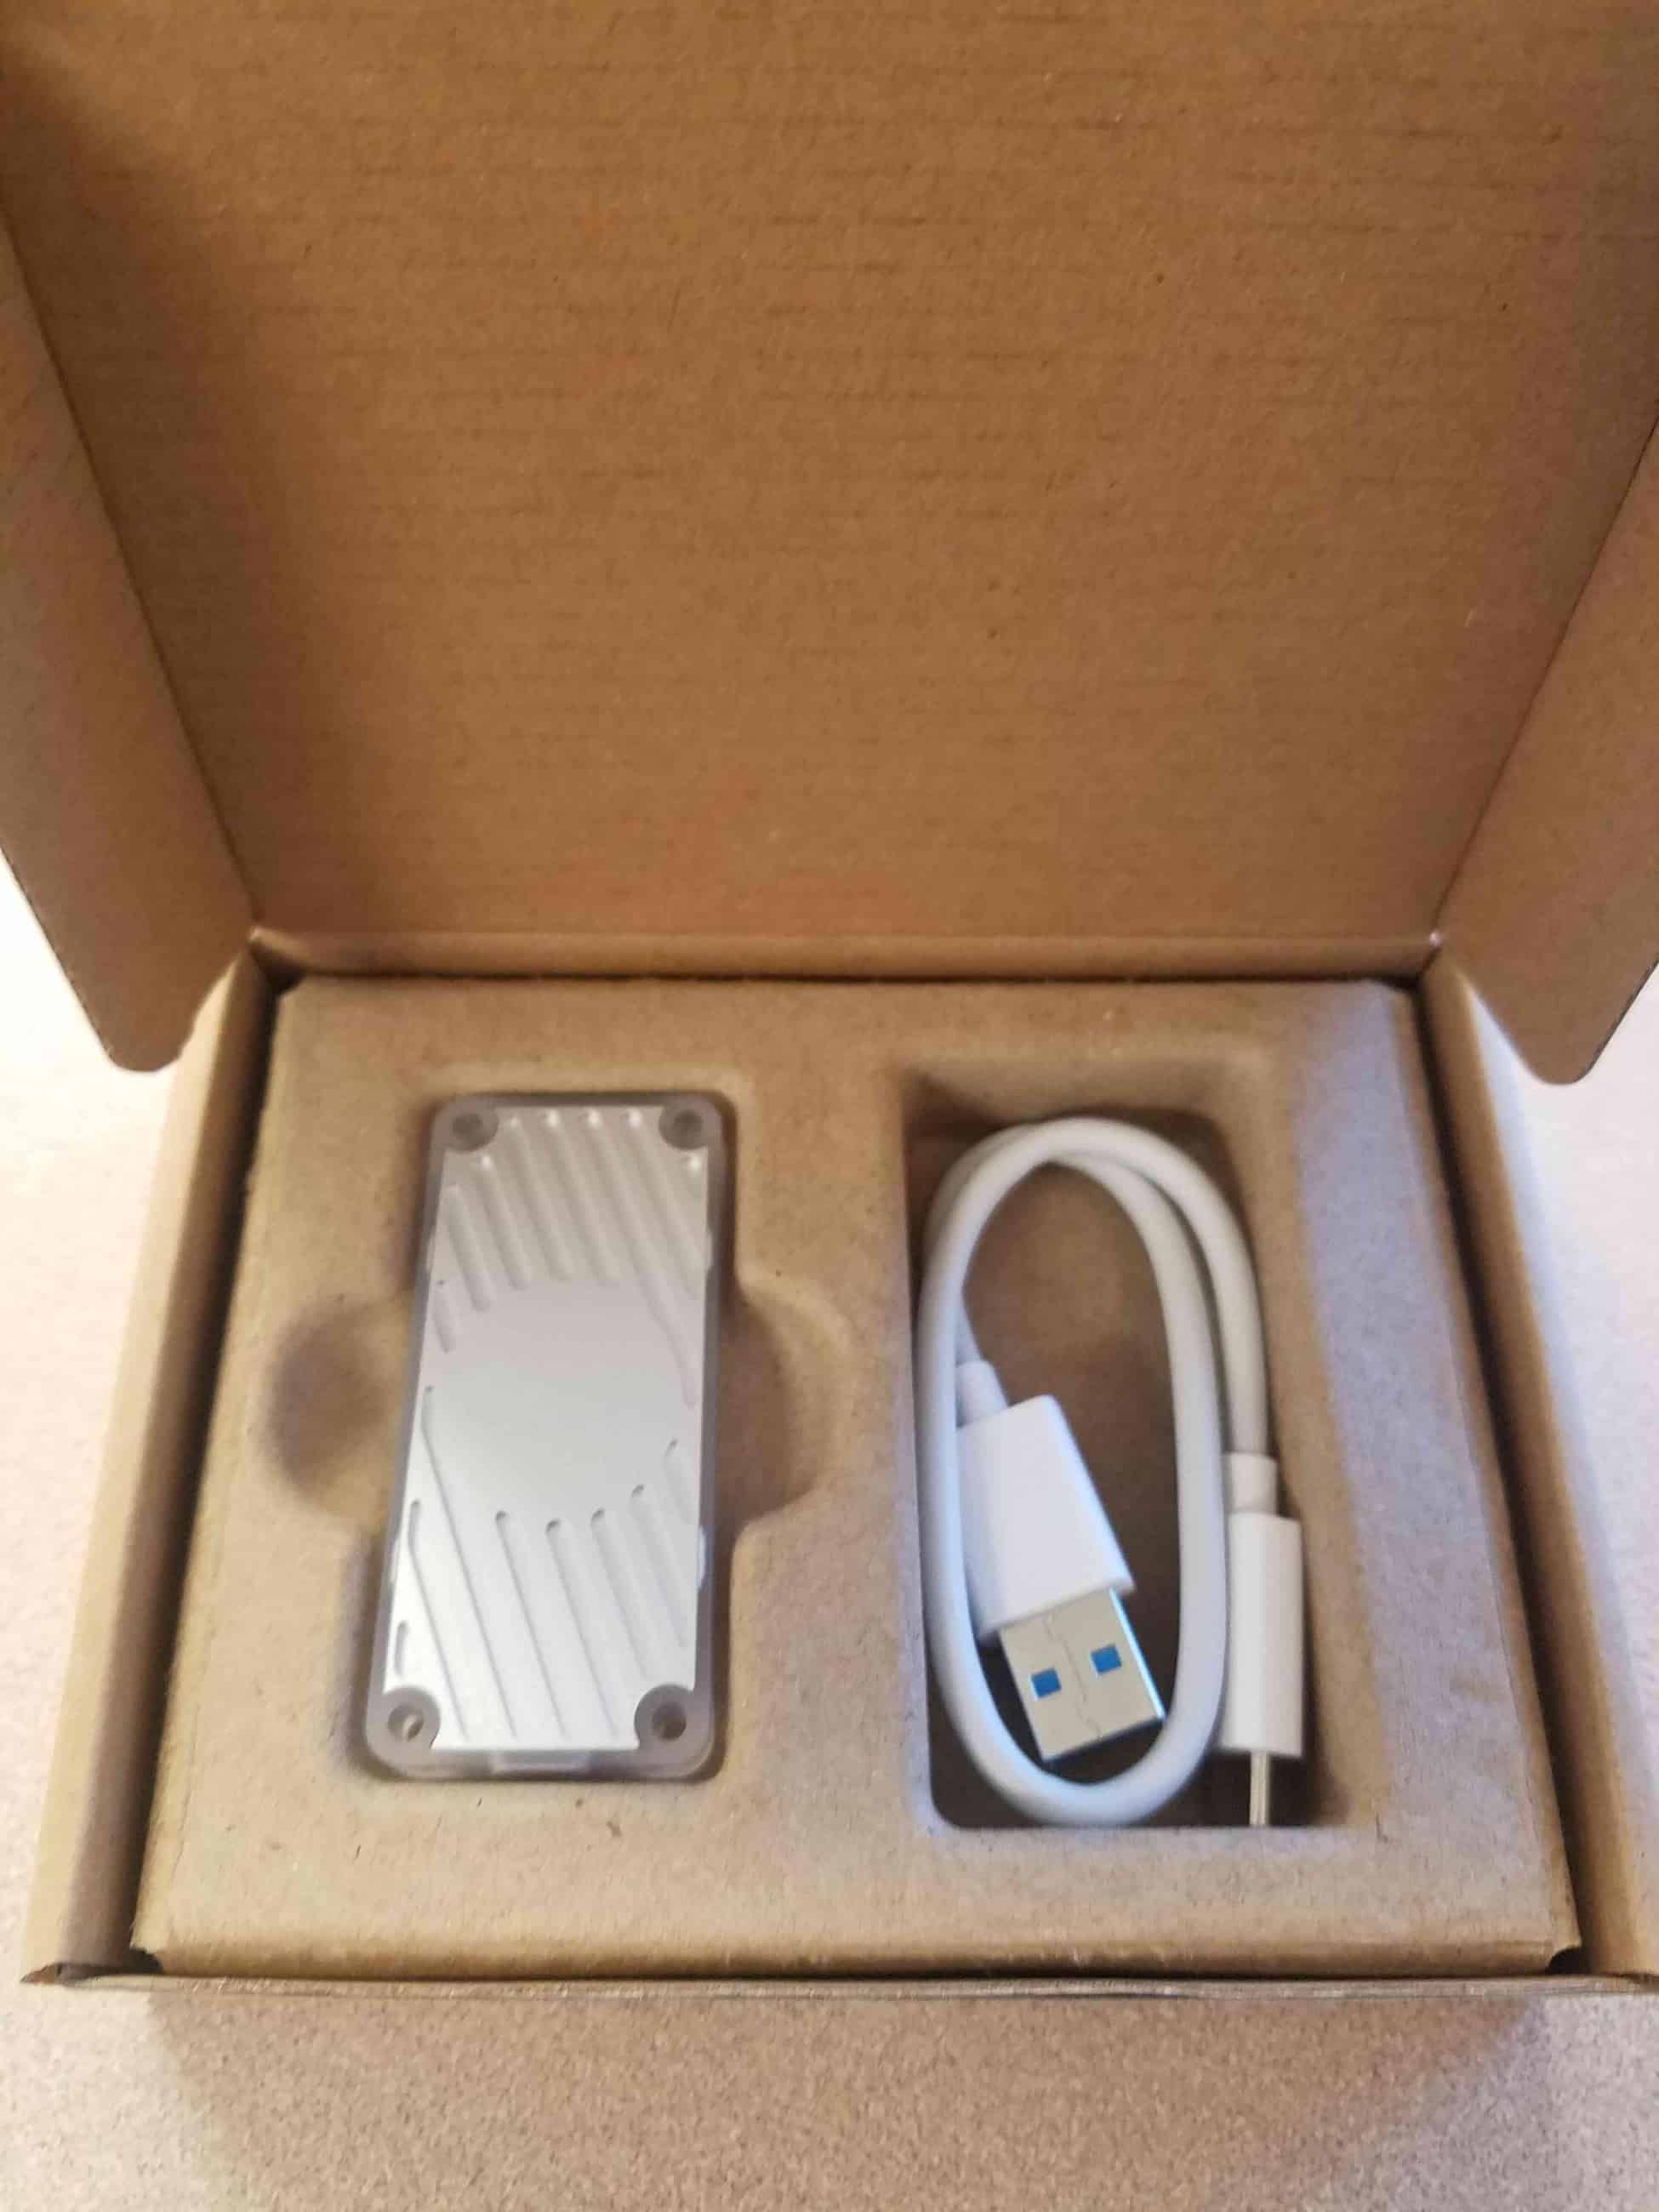
With my third milestone, I was able to use the Google Coral USB Accelerator to perform object detection with a high frame rate using a TensorFlow Lite model. Object detection is performed at a much higher high frame right compared to my first milestone due to the USB Accelerator.
To get here, I first had to download the the Edge TPU API needed for the Google Coral USB Accelerator. Then, I had to download the library and move many files to make it compatible with the Python file using the Edge TPU detection engine. The Google Coral USB Accelerator is a USB device with a TPU inside to speed up the process of comparing tensors. A TPU stands for a tensor processing unit, which is much more efficient than the GPUs which have been used for training in the past. The whole process of object detection is very similar to the first milestone. The tensors of the image captured on the Raspberry Pi is compared with the model and the confidence value is returned. However, since we incorporate the Edge TPU, my code and library structure become considerably complicated.
The hardest part of the project was setting up the library and path for the Python file. The official documentation on the Google Coral website only had a tutorial on image classification, and I had to look around on the internet to get object detection working. Finally, I wanted to perform transfer learning on the object detection model, but it was impossible without a Windows 10 Enterprise Edition desktop which supports Docker.
Overall, I learned about TPUs and how they greatly enhance executing the model for object detection. I also learned that there are so little tutorials and documentation on the internet for the Edge TPU because it has only been released a few months ago.
Second Milestone
With my second milestone, I was able to detect cups using the model I trained on NanoNets. To get to this point, I first had to train the model using NanoNets, which is an online service that does machine learning on their end. I had to gather 50 images of cups of various sizes and angles to annotate. Then, I used a Python file which uses the NanoNets API to communicate with the model on the cloud. Object detection using NanoNets puts a lot less strain on the raspberry pi compared to the first milestone because the comparison of tensors is done on the cloud. That being said, the speed of response is still slow because I am using the free NanoNets plan which caps the speed intentionally.
The process of training the model was pretty straightforward because NanoNets provided a very straightforward with their online user interface. However, implementing the model with Python code was confusing because I did not know which links to reference. Finally, it was very frustrating that NanoNets forces a subscription of $99 per month to download the model using docker. Overall, I learned that machine learning is not an inexpensive task, whether you use cloud services, TPUs, or GPUs.
First Milestone
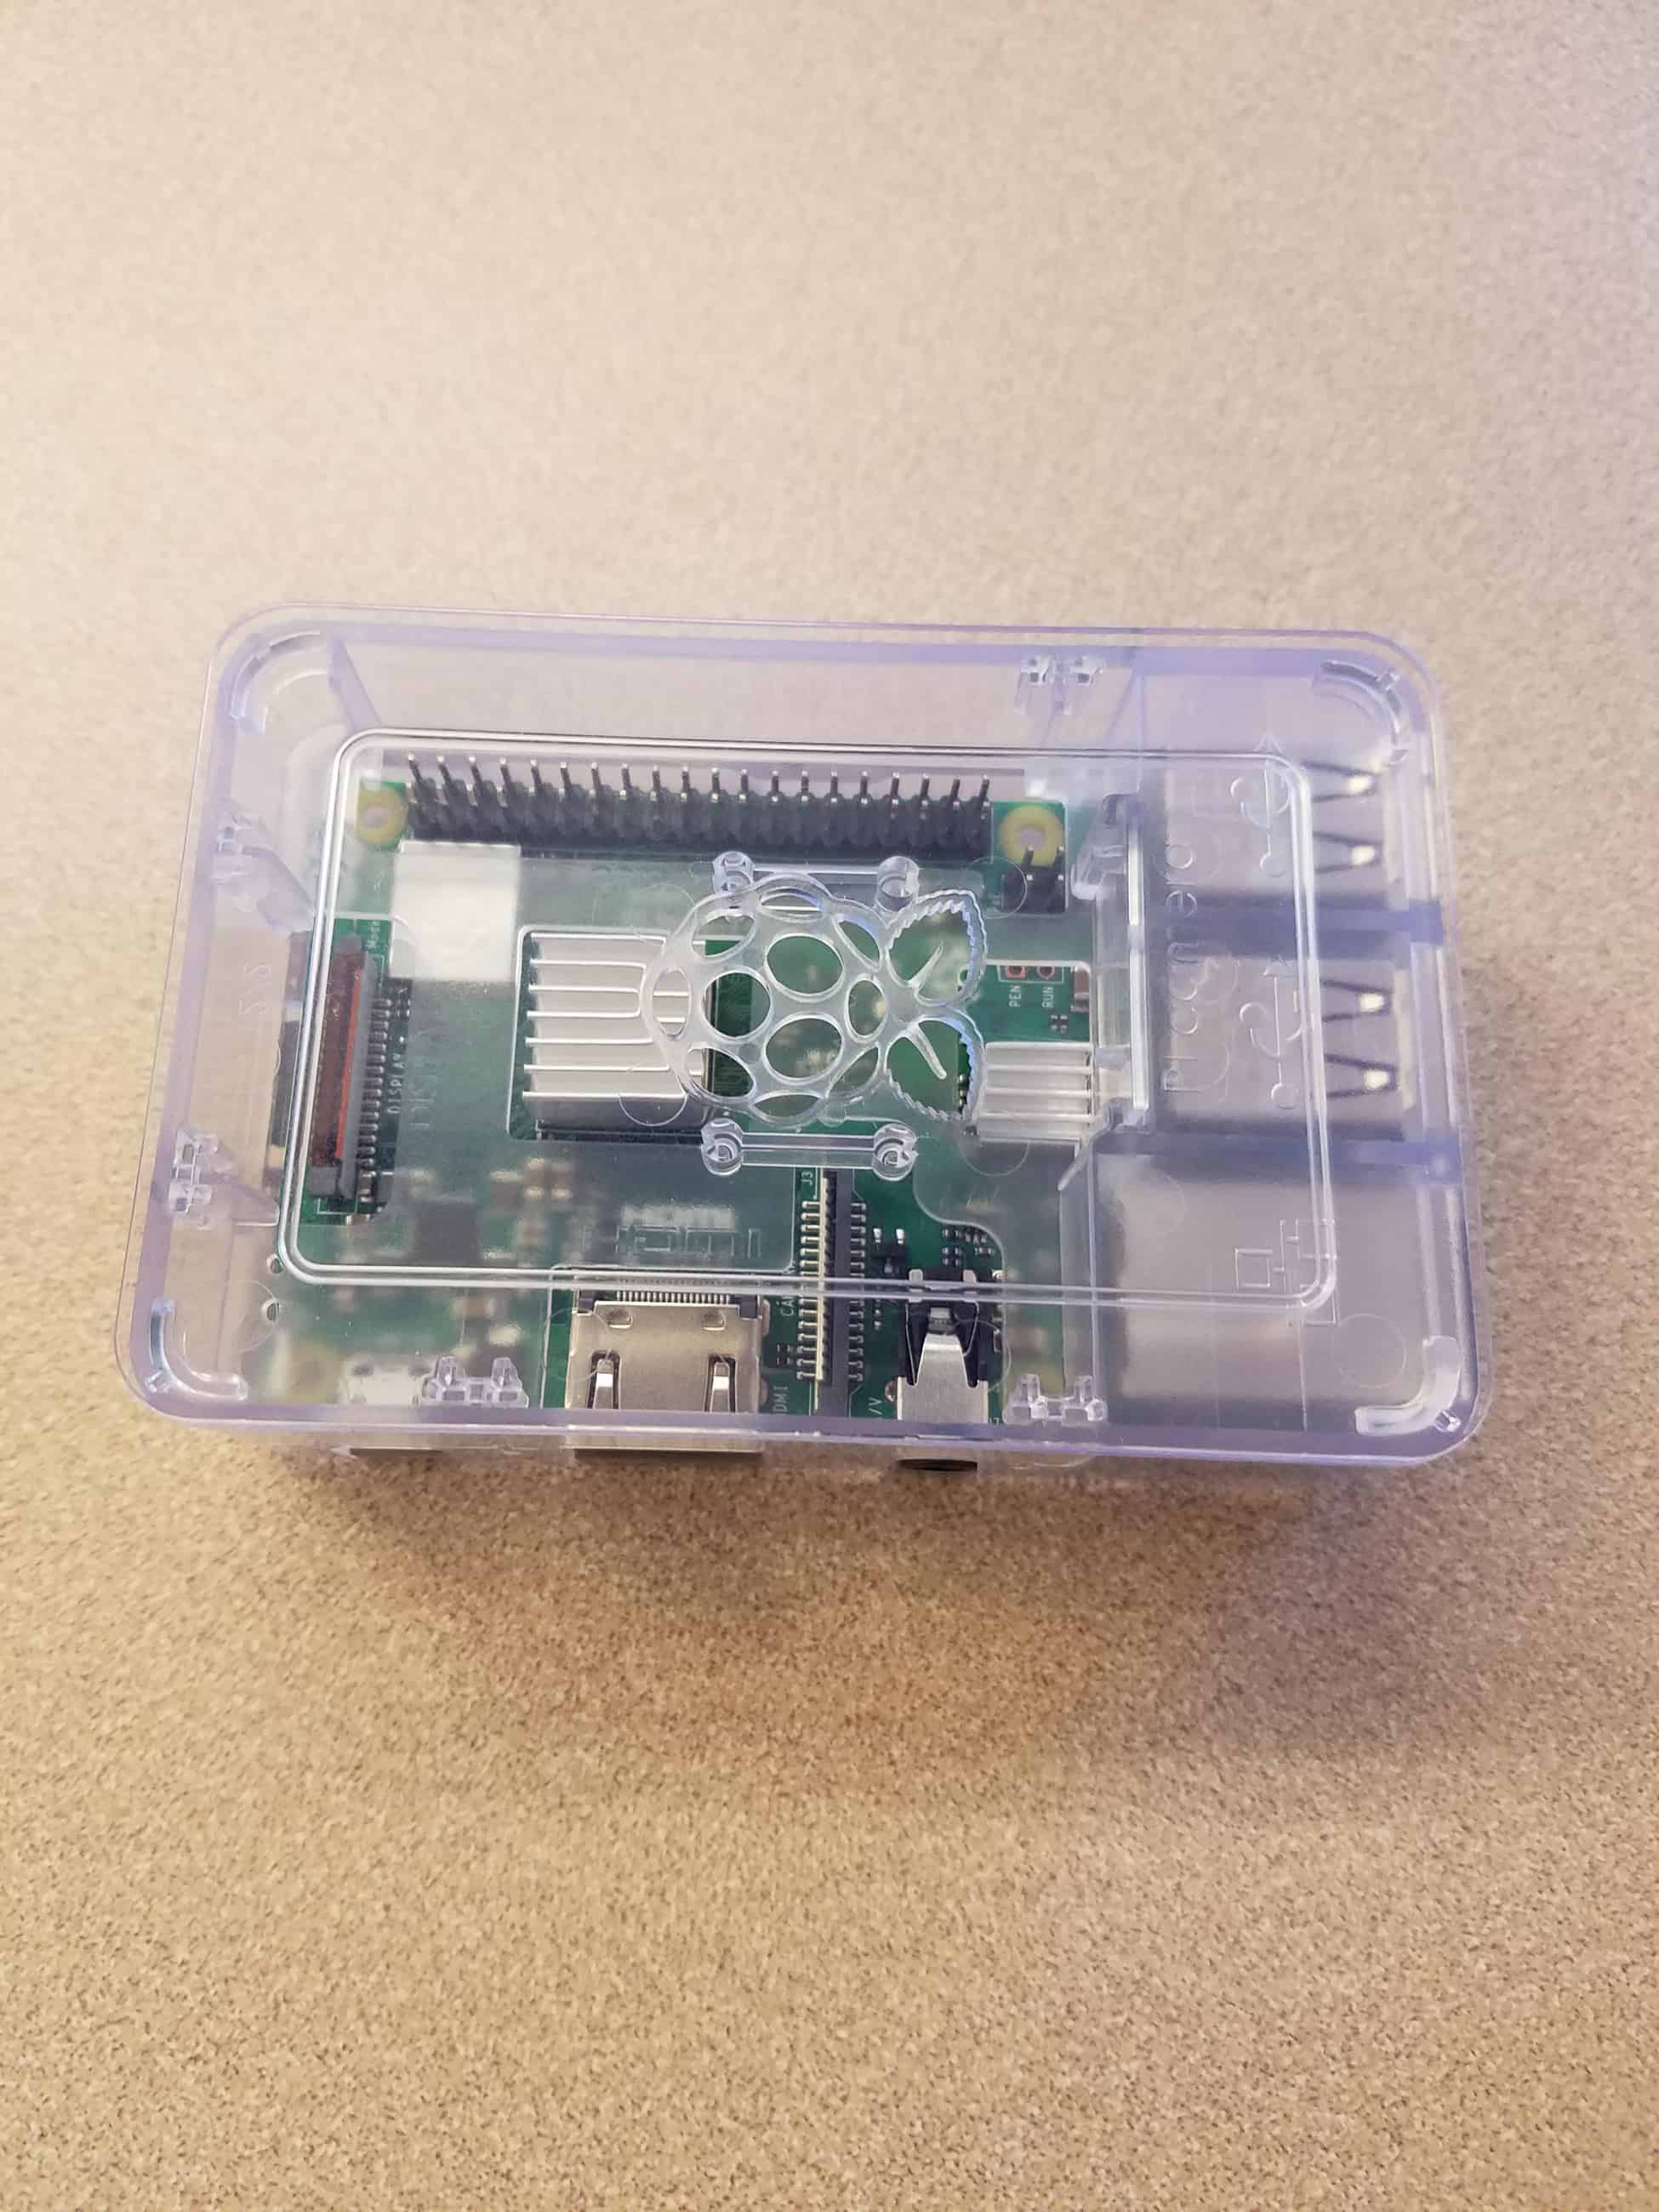
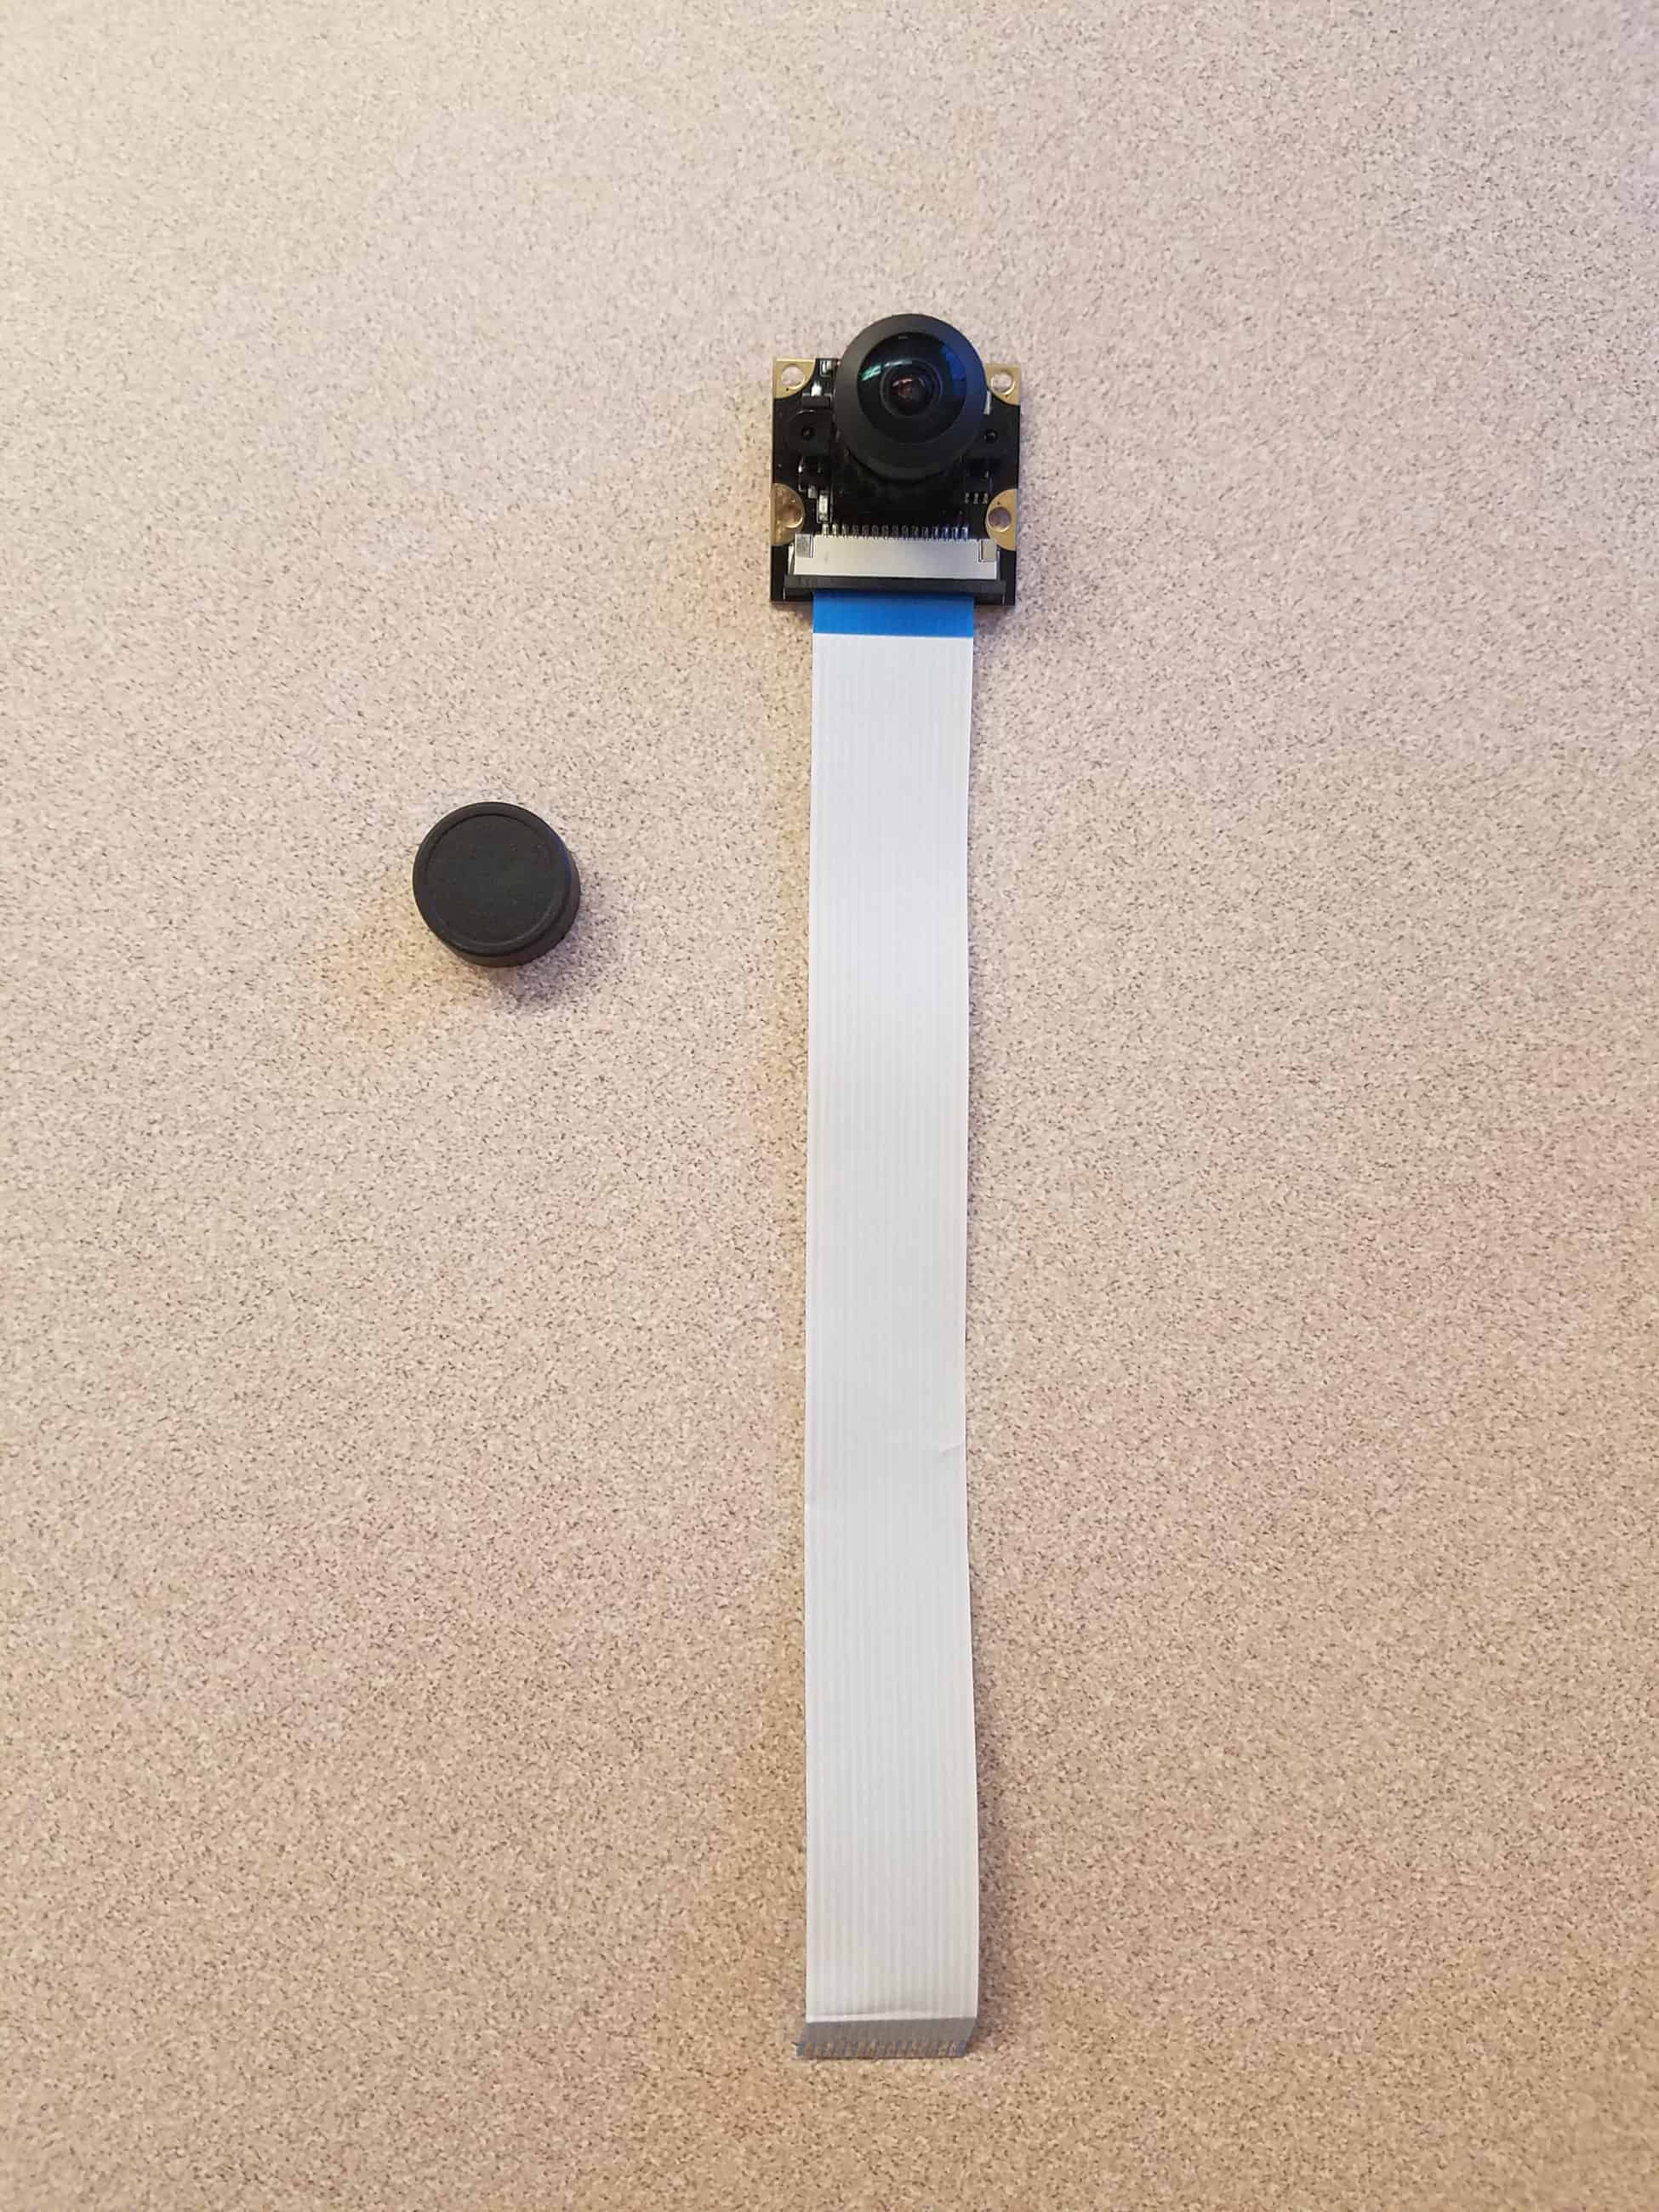
With my first milestone, I was able to setup the raspberry pi and perform object detection using TensorFlow, protobuf, and the ssd mobilenet pre-trained TensorFlow zoo model. To get to this point, I first needed to setup the raspberry pi with raspbian via NOOBS. Then, I had to install TensorFlow, OpenCV, and Protobuf using the command prompt. Finally, I had to compile the Python file which initiates the object detection.
The object detection which takes place in my setup is somewhat complicated. First, the executed Python file takes in the image from the pi camera to process. Then, TensorFlow and Protobuf are used to communicate the tensors of the image with the pre-trained model. The pre-trained model returns a confidence value of how sure something is that object. The Python program then draws boxes on parts of the image where the confidence threshold is greater than 0.3. A tensor is a multi-dimensional array which is used to compare the image to the categories defined in the model.
Setting up the raspberry pi with Raspbian, and connecting the camera was straightforward. However, the steps which came after were different. I messed up the steps of installing TensorFlow and ended up corrupting the ‘pip’ versions when troubleshooting. My pip and pip3 had to compatibility issues which could not be fixed easily. I had to get reinstall Raspbian again on the SD card. Additionally, the process of installing TensorFlow and Protobuf was painfully slow for it took more than an hour for some commands. I also ran into a problem with the Python file, which I took from an online tutorial because I did not have the matplotlib module to import. However, the program turned out to to work without the import so I commented those imports out. Through this milestone, I learned more about tensors, protocol buffers, and openCV which perform crucial back-end tasks to make object detection possible.
Starter Project
For my starter project, I chose the Big Time Watch because I wanted to practice soldering, and I was interested in how time was kept on electronic devices. The Big Time Watch is a big acrylic watch which is capable of telling the time. The watch uses a pre-programmed ATmega328 processor, a 32 kHz crystal oscillator, a 10kΩ resistor, two 10μF capacitors, a button, and a 7-segment display. The time in this watch is kept by the quartz in the crystal oscillator, which oscillates at a constant frequency of 32,000 times per second when electricity flows through. The hardest part of the project was soldering the display and microprocessor, which had many vertical pins. I made a mistake when soldering the crystal oscillator because I did not leave enough space for the oscillator to bend down, but because it did not have a significant effect on the whole design, I left it as is.