
Wearable Sound Reactive Equalizer Skirt
Engineer
Sureena H
Area of Interest
Cognitive Science
School
Monta Vista
Grade
Incoming Senior
I am an incoming senior at Monta Vista High School, and I am interested in Cognitive Science. I love to play field hockey (goalie), to sing, to act, and to take part in musicals. BlueStamp has fueled my interest in engineering, and my main project is the Wearable Sound Reactive Equalizer Skirt. I hope you enjoy my website!
It’s not a crime not to know, it’s a crime not to want to know.
It’s not a crime not to know, it’s a crime not to want to know.
Demo Night Presentation
Tuesday, July 17th, 2018
REFLECTION
Over my time at BlueStamp, I have continuously made exponential leaps forward in both my engineering knowledge and my social knowledge. I am beyond grateful that I got to this program and I know I will take the knowledge and apply it to the rest of my life. Just by knowing what a transistor or an electrolytic capacitor is, little bits of information like that make all the difference. I learned the difference between certain types of LED’s, how to wire an entire project together, and how fiber optics work. The coolest problem that I encountered was when my LED’s were not lighting up, and I think it is because of the way I solved it. I did basically everything like check the code, the voltage, and the last LED. Of course, the problem was the one thing I did not think it could be, that the LED was broken. My favorite memory was definitely demo night, just to see everything come together. I was so nervous leading up to it; my instructors constantly reassured me that everything was going to go great and I can honestly say that it did! The independence that I was given was scary in the beginning, but it turned out to be a great thing because it raised my self confidence; I know that I can do amazing things without somebody’s constant help or approval.
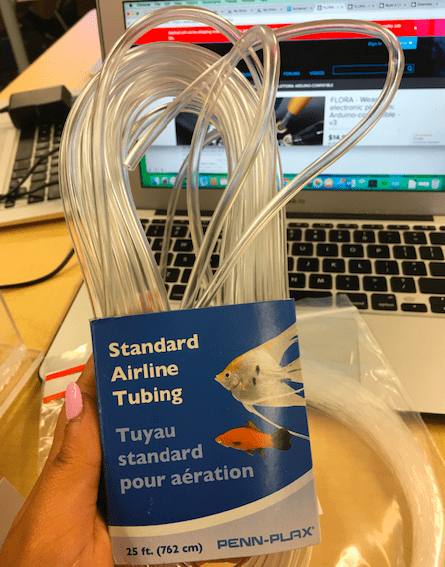
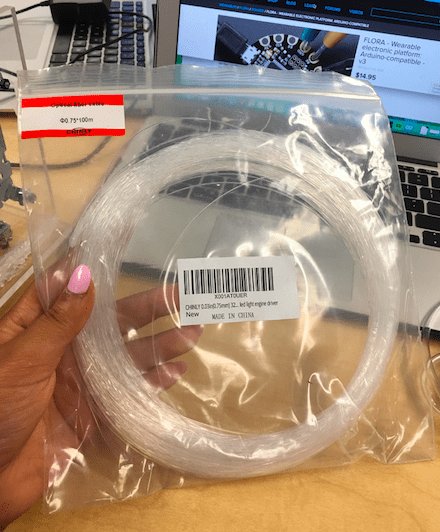
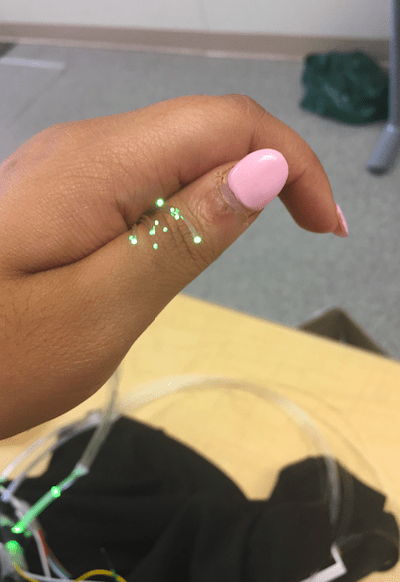
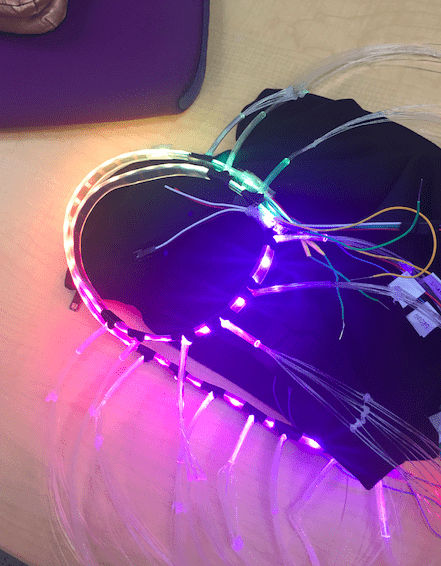
Final Milestone
My final milestone was incorporating optical fibers to mimic sleeves. I did this through getting a pack of 60 WS2812B LED’s that are encased in a silicone protective sleeve. I faced many problems during the process, starting with optical fiber bundles. I originally wanted to put about 20 optical fibers into one tube, but I was only able to fit about 12, with some variation. The next problem was also a design problem; the amount of bundles on each arm had to be modified. After that, I had a problem with providing power to my LED’s on my arm, so I got another battery and started to work it out with a breadboard. Once I got it working with a breadboard, I realized that I did not need the extra battery, so that was about a two day long detour. The next problem I encountered was a way to get my fiber bundles to stick onto the protective case of the LED’s because any sort of glue or tape did not work. What I ended up doing was putting the bundles in heatshrink, and heating it so it would tighten around the case of the LED’s. From there, it was a very tedious process connecting my LED’s to my microcontroller on my skirt because I needed to cut wires that connected the two “arms” together, wires that go down my back and onto the wires of the skirt. One way I made this easier was by cutting electric tape and labeling the wires either GND, VBATT, or INPUT. Over the course this project, I learned the importance of incrementally testing your materials because it ensured me that my entire project worked at every step of the way.
Final Milestone Pictures

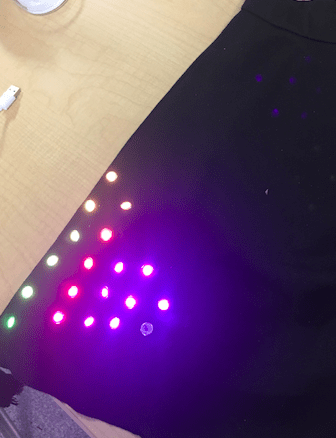
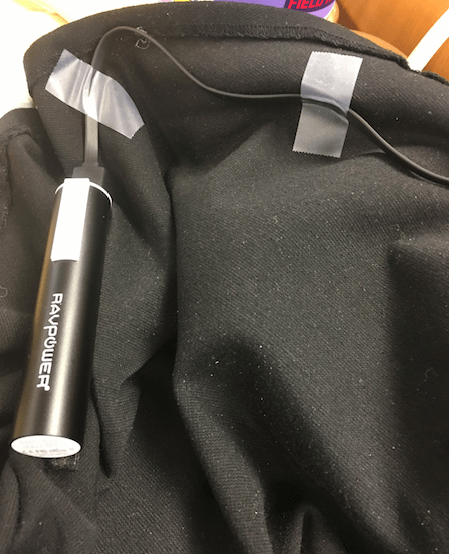
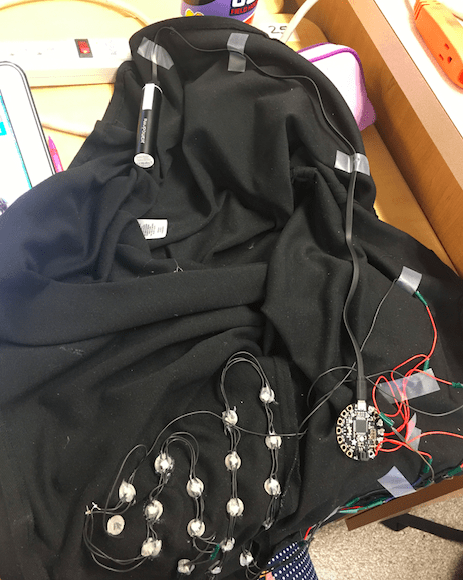
Milestone #3
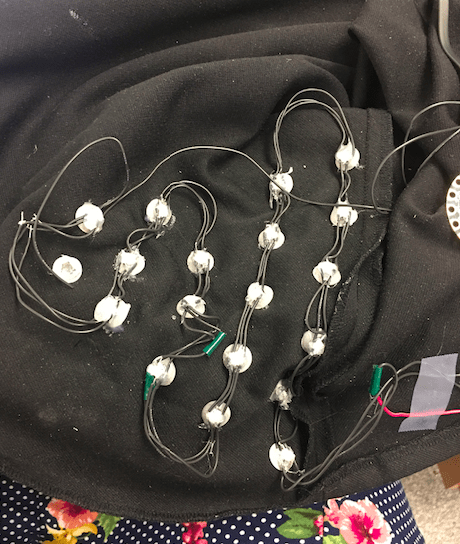
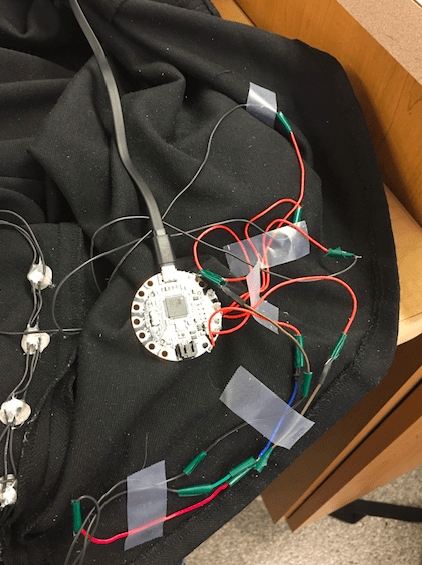
My third milestone was to incorporate all 19 LED’s, microcontroller, microphone, and power bank into my skirt. Before that, I had to solder all my wires onto my microcontroller, and glue the connections so they would not budge. After doing this, I found that the microphone started to work more efficiently, and it is due to the connection being more intact. I soldered the wires around certain pins of my flora microcontroller, pins that were defined in the code. I started by cutting small holes in the correct pattern that I wanted my LED’s to be in, and put the eyelets in them and hold them down with tape. A problem I encountered with that was tape was not strong enough to keep the eyelets in place, so I found the correct size washers and used those instead. Then, I checked my LED’s one more time, and I started gluing my LED’s in. Another problem that I encountered was that when I had them all glued in, my last two would not work. Recognizing that this mimicked my last problem where if one LED was not working, it would prevent current from flowing to the others, I methodically took out the hot glue, and took out the LED that was not working. Since I already had a place for that LED, I filled in the hole with glue, and I will get more LED’s to put into my skirt later. Then, I used sticky back velcro and attached my microcontroller, microphone, and power bank straight onto my skirt. Lastly, I taped all the wires down, so if someone decided to wear it, they would not mess up the wires. My next steps are all modifications, learning how to do more with my microcontroller, and possibly incorporating fiber optics.
Pictures of Milestone #3
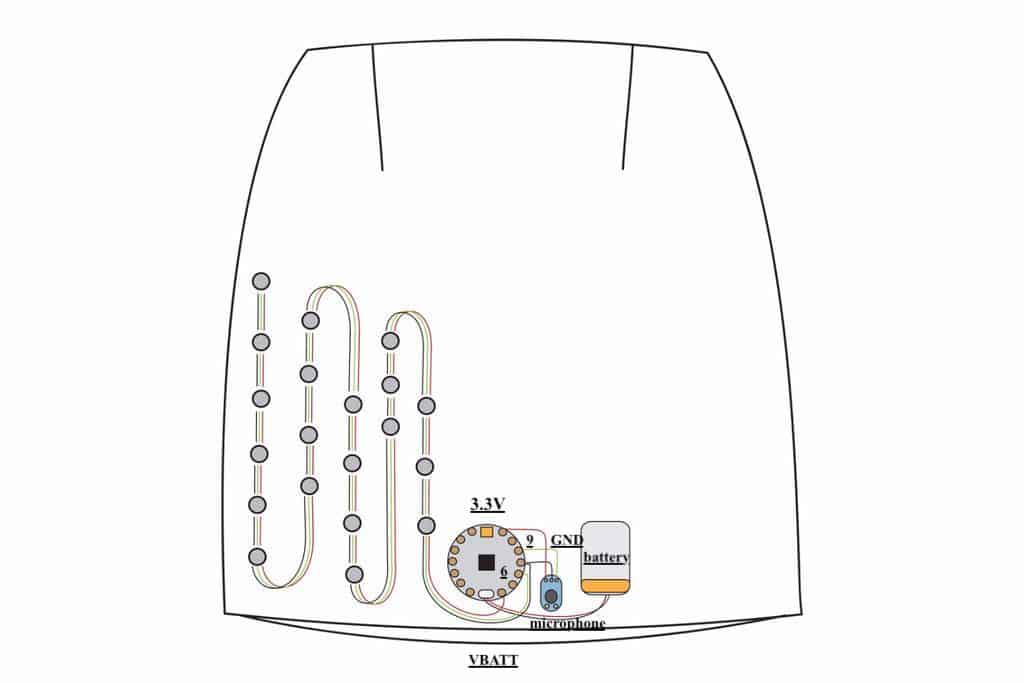
Schematic of my Skirt
Milestone #2
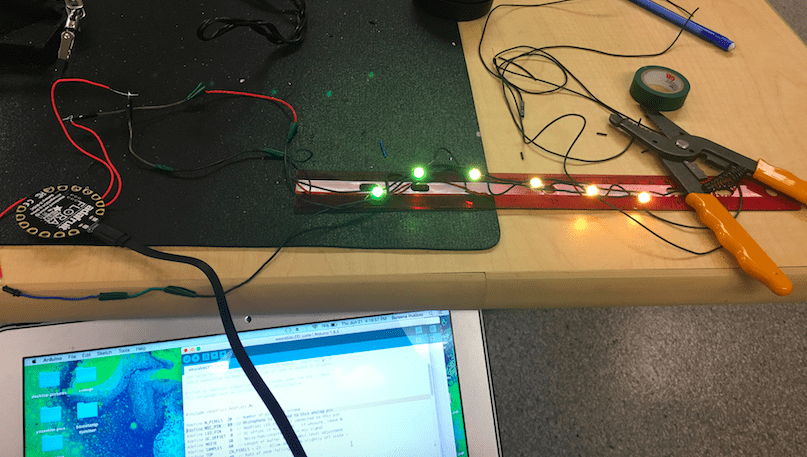
My second milestone was to solder all 20 WS2812B LED’s onto my wires, to connect my microphone to the microcontroller, and to have them work together. One problem I had right off the bat was that I did not understand the code, so I searched up arduino C, and spent along time trying to figure put what my code was even doing. I am glad that I did this because now I fully understand what each part of my code is doing. The way I soldered all the LED’s was through repetition. I would strip the two wires for ground and power, put a dot and a line on my LED, tin the wires, solder the two wires to my ground and power pin, cut a separate wire to connect to my data in and data out pins, and soldered on to those. A problem that occurred once I finished soldering all of my LED’s was that 8 of them were not working. I tried troubleshooting the code, the last LED, and checking the voltage of the LED’s that were not lighting up. The first LED was broken, restricting current from flowing to the rest of the LED’s. After that, I connected three flexible wires to my microphone, and connected them to my microcontroller. A problem I faced for the microphone was that two wires that I had soldered to different places were touching, shorting out the microphone, rendering it not working. I used a multimeter to check for voltage across the analog pin and ground, searched up why my electrec microphone would not work, did all of that just to realize that I was shorting out the microphone. For the next steps, I will cut out holes in my skirt, put eyelets into the holes, put the LED’s into the holes, and hot glue to openings, so they look more aesthetic.
Pictures of Milestone 2
Milestone #1
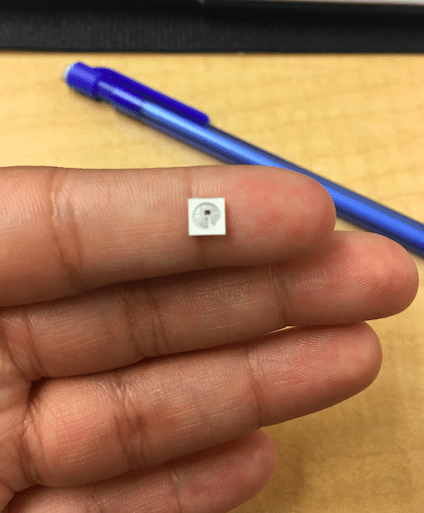
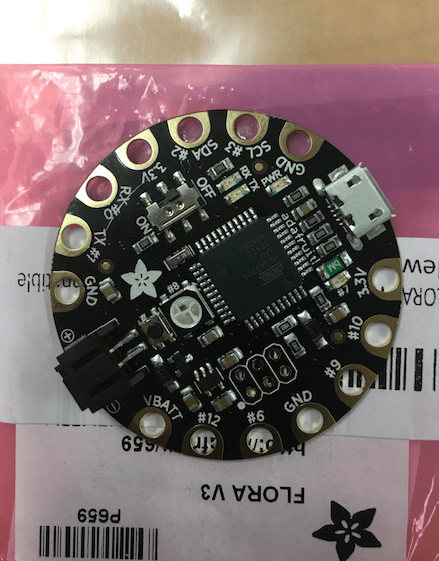
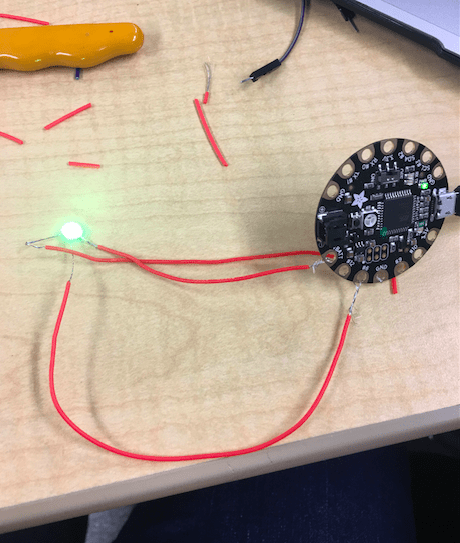
My first milestone was to solder three RDG WS2812B LED’s and to connect them using three wires. To do this, I soldered the three LED’s to the wires, and the wires to wires attached to the microcontroller. I attached wires to the microcontroller without soldering them on because the microcontroller should be one of the last things you solder. Two wires had to be long, to accommodate all 20 of the LED’s, so I had to figure out a way to solder them while not messing up the wires or the LED’s. Also, there are four pins on the LED, and I had to make sure that I was soldering the right ones together. To ensure that, I put a small dot with fine tip marker on the back side of the LED to signify the ground pin, and then I put a down arrow, to signify which way was the data in pin. That made it a lot easier to solder the LED’s on. Another challenge was trying to test out the LED’s, since I do not want to solder anything down to my microcontroller. To troubleshoot that, I searched up ways to connect wires to a flora microcontroller without soldering, and found out I can just wrap wires around the needed pins. I searched up which pins are which, and then wrap wires around those pins. Overall, I learned a lot about my flora microcontroller, soldering efficiently, intuitive ways to making soldering easier, and the 4 different ports on the LED itself. For the next steps, I will finish soldering on all of the LED’s, hook up my microphone to the microcontroller, cut holes in my skirt, and fill it in with the LED’s.
Pictures of Milestone 1
Starter Project – LED Light Organ
My starter project is the LED Light Organ, a circuit that lights up based on the sound around it. If a song is playing, and the battery is attached, it will light up based of the volume of the song. I enjoyed this project because it taught me about electrolytic capacitors, transistors and the importance of their position, IC sockets, and the orientation of an LED. An electrolytic capacitor is a capacitor that is polarized, and the orientation matters. The orientation of the transistor is important because transistors have three pins, an emitter, a base, and a collector which have to be soldered in the right way, so when I soldered them in the wrong place and position, it would not work. The IC sockets control the timing and variance of the LEDs. The orientation of an LED matter because LEDs only allow current to flow in one direction. Throughout the entire project, I definitely learned the importance of a positive attitude. Through the grueling parts of the project, I kept a positive attitude, and I feel like it sped up my project.
Excellent work! Happy to see such a neat project that includes LEDs, fiber optics, and a unique perspective on wearable tech! Definitely a very marketable idea.