Reflection
I really enjoyed creating this project because I learned so much about engineering and got a practical experience before college. I had no idea what soldering was before this program, but I was still able to create a TV-B-Gone without any experience. I struggled at times with my main project, but I learned many problem-solving skills that I can apply in the future. At first, I was worried about using wires and an Arduino, but I was able to get the hang of it and that was one of the easier parts of the project. BlueStamp has inspired me to focus more on coding and using Arduino more, or even making an app. I also have more engineering skills, so I create more projects or even improve on my temperature/humidity monitor. I hoped to use the readings to control different appliances, but I ran out of time, although I could work on that in the future. Overall, BlueStamp helped me acquire computer science and engineering skills, and now I have the confidence to create new projects and expand my horizon.
Final Milestone
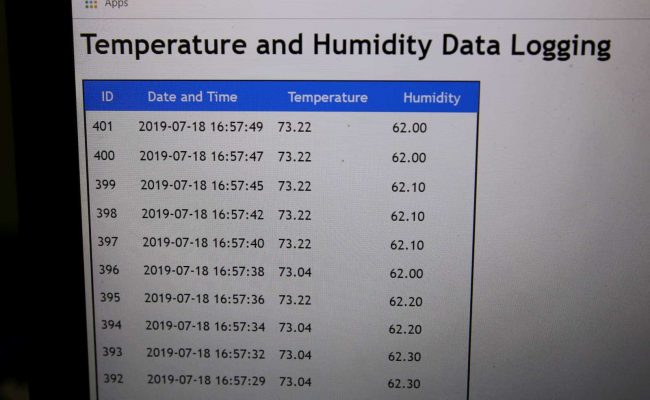
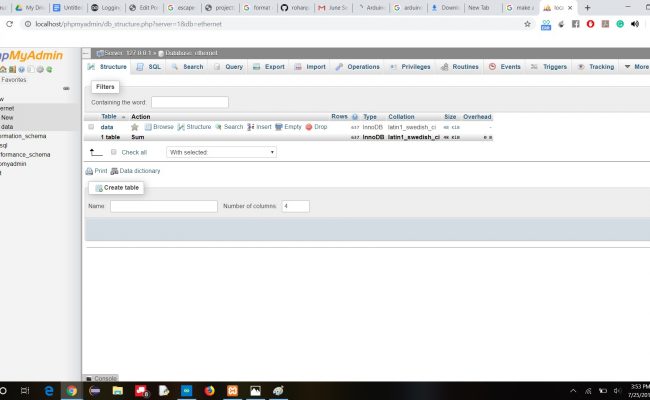
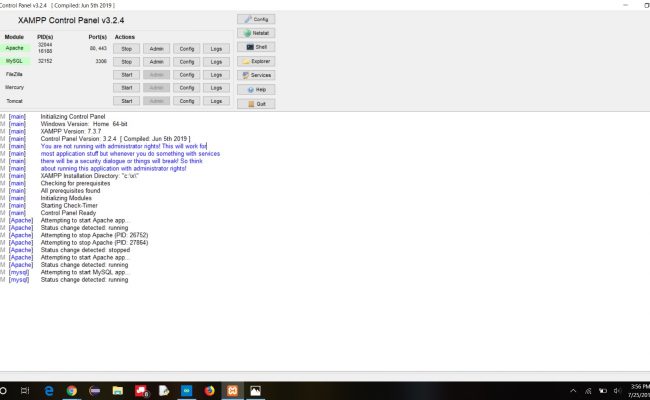
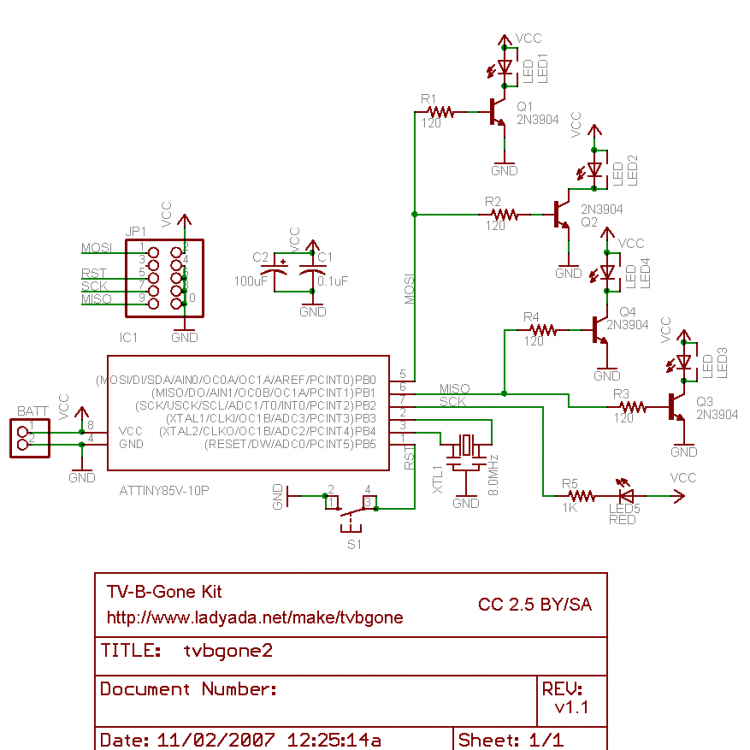
My final milestone was adding data logging to my temperature and humidity monitor. I used an application called xampp to create a database using PHP and SQL code. I also added to my existing Arduino code because I needed to connect the readings from the sensor to the database. My main challenge was figuring out how to send the weather information to the database. Some of the code was in the wrong folder, and there were extra lines of code that I needed to add that were never mentioned. I also had trouble creating the table on the database because I had never used xampp or SQL/PHP before. I enjoyed learning how to use databases and debugging my code.
First Milestone
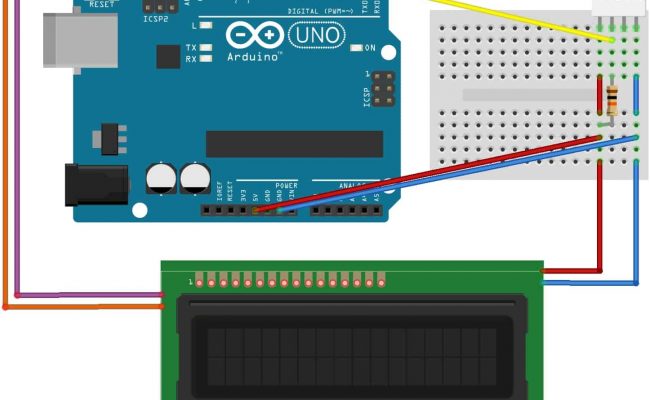
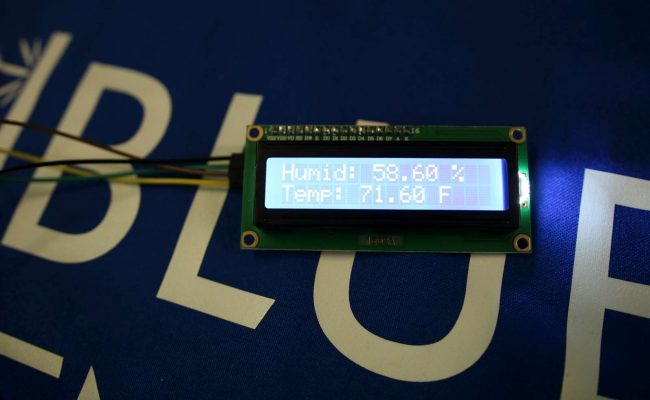
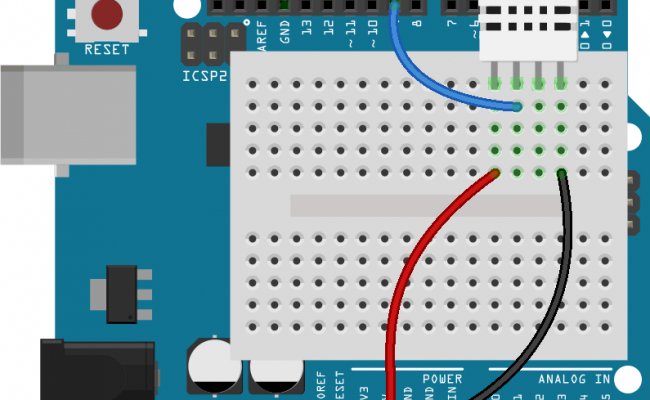
My first milestone was creating my temperature and humidity monitor and displaying the results on an LCD. I used a DHT22 sensor to get readings of temperature and humidity and the Arduino code displayed them on the LCD. The LCD changes frequently because the sensor takes readings every 2 seconds. My main challenge was transitioning the code because it was originally supposed to run on the Arduino serial monitor, so I had to make it compatible to an LCD. Another challenge was connecting the LCD to the Arduino because most LCD’s can connect straight to a breadboard, but mine needed wires. I really enjoyed learning about how to use an Arduino and being able to customize my code. Next, I am planning to make modifications, like adding data logging and controlling appliances.
Starter Project: TV-B-Gone
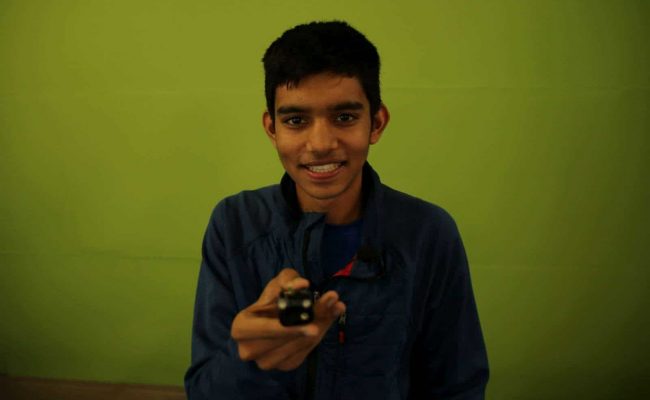
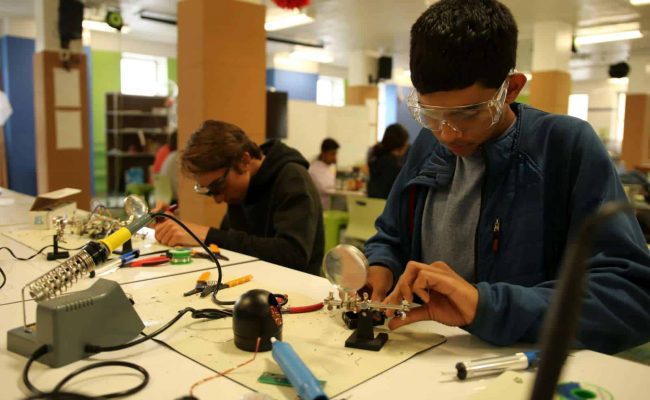
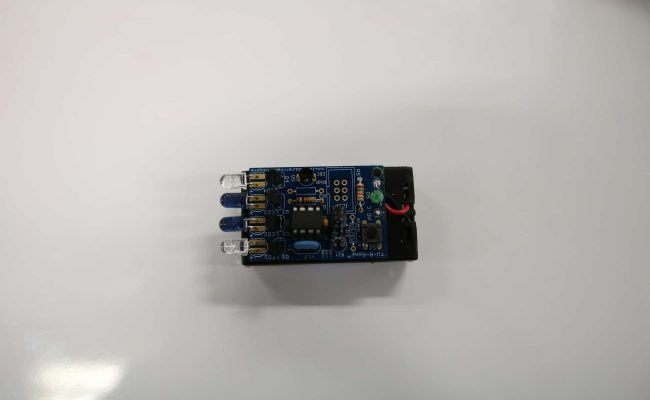
My Starter Project was the TV-B-Gone, which can turn off most types of TVs from a fairly long distance. I soldered all the parts onto the circuit board, which included: transistors, resistors, LEDs, the on button, and the microcontroller. My main challenge was learning how to solder, which was the basis of my project because that is how I connected all of the parts to the circuit board. I also struggled with connecting the wires to the circuit board because they kept fraying and falling off. I am excited to try the TV-B-Gone on all different types of TVs.
#include "SPI.h"
#include "Ethernet.h"
#include "DHT.h"

#define DHTPIN 2     // what pin we're connected to
// Uncomment whatever type you're using!
//#define DHTTYPE DHT11   // DHT 11
#define DHTTYPE DHT22   // DHT 22  (AM2302)
//#define DHTTYPE DHT21   // DHT 21 (AM2301)
#include
#include
// Initialize DHT sensor for normal 16mhz Arduino
DHT dht(DHTPIN, DHTTYPE);

LiquidCrystal_I2C lcd(0x27, 2, 1, 0, 4, 5, 6, 7, 3, POSITIVE);  // Set the LCD I2C address, if it's not working try 0x3F.
byte mac[] = { 0xDE, 0xAD, 0xBE, 0xEF, 0xFE, 0xED };
byte ip[] = {192, 168, 1, 4 }; //Enter the IP of ethernet shield
byte serv[] = {192, 168, 1, 2} ; //Enter the IPv4 address
EthernetClient client;
void setup() {

  lcd.begin(16,2);
  lcd.backlight();
  Serial.begin(9600); //setting the baud rate at 9600
  Ethernet.begin(mac, ip);
  dht.begin();
}

void loop() {
  // Wait 2 seconds between measurements.
  delay(2000);
  lcd.setCursor(0,0);
  float hum = dht.readHumidity();
  // Read temperature as Fahrenheit
  float temp = dht.readTemperature(true);
  if (client.connect(serv, 80)) { //Connecting at the IP address and port we saved before
    Serial.println("connected");
    client.print("GET /ethernet/data.php?"); //Connecting and Sending values to database
    client.print("temperature=");
    client.print(temp);
    client.print("&humidity=");
    client.print(hum);
    client.print("\r\n");
    client.print("Host: 192.168.1.2\r\n");
    client.print("User-Agent: arduino-ethernet\r\n");
    client.print("Connection: close\r\n\r\n");
  }
  else {
    // if you didn't get a connection to the server:
    Serial.println("connection failed");
  }
  lcd.setCursor(0,0);
  lcd.print("Humid: ");
  lcd.print(hum);
  lcd.print(" %");
  lcd.setCursor(0,1);
  lcd.print("Temp: ");
  lcd.print(temp);
  lcd.print(" F");

  client.stop(); //Closing the connection


}
