During my time at BlueStamp I learned a lot about how to troubleshoot my problems and diagnose them. Running into many problems, both small and large, helped me improve my troubleshooting skills. At the beginning of my time here I thought that this project would take me the full 6 weeks but by the end of the 6 weeks I had made the project in 3 weeks and gone into modifications. This showed me that if I applied myself and put my mind to it despite not having a tutorial or monitor to display into I could succeed. I learned a lot about how to solder, measuring out to make sure you only have to cut once, and most importantly troubleshooting. I ran into problems with software, hardware and even had a few problems that there was little to no actual documentation on. Through this I found that as long as you keep pushing and keeping attacking the problem eventually you will have a breakthrough.
Modifications
For my modifications I wanted to have 2 working joysticks and a panel that would work with the rest of my arcade. Some problems that I had were with the wiring of the joysticks when I didn’t know where to wire things. I didn’t know where to plug the buttons in to get them registered as buttons on my microcontroller. Once I got that to work I went to set up both remotes and changed the device index again and got both joysticks setup and working. After that I started to construct a panel to hold the joystick and the buttons. The measuring of the buttons and joystick to create precise holes took a long time but once I had that I was able to make measured out holes and a nice arrangement for my panel. After that I started to measure out the lengths of my boards to make a box to hold the wires in. I drilled some holes into the box to make sure that I could connect my power source. I then used hot glue and wood glue to secure the boards.
Second Milestone
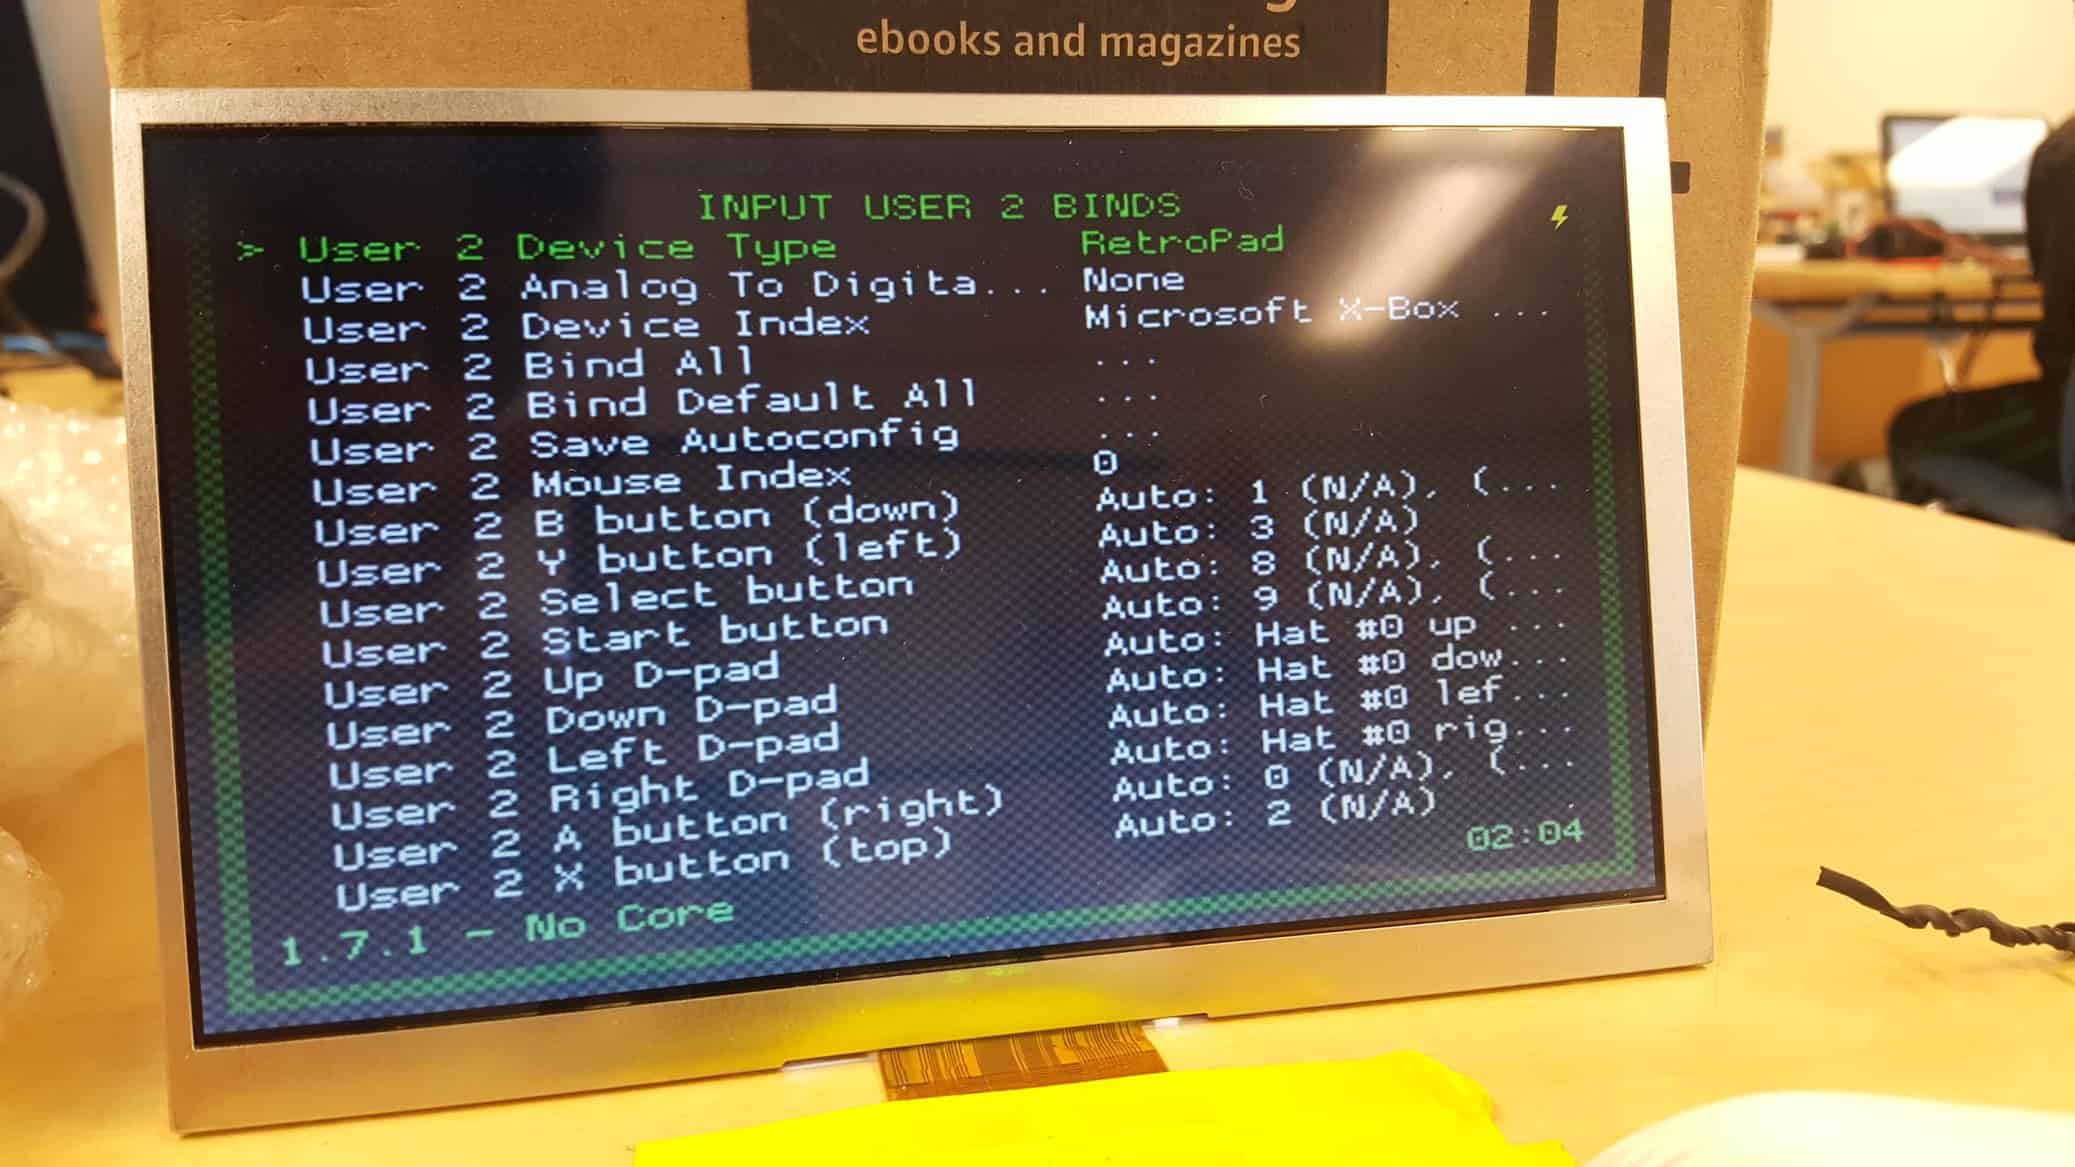
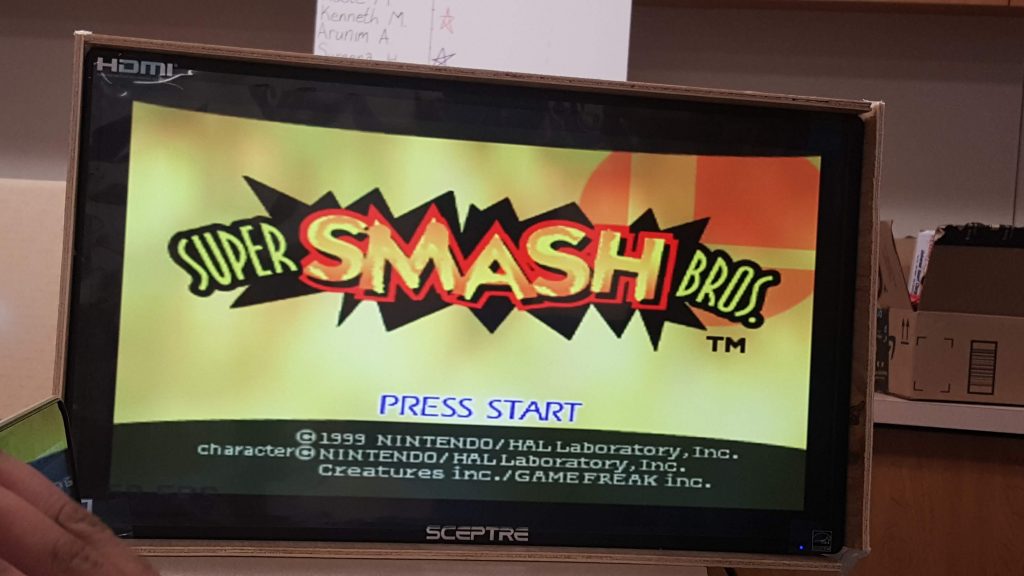
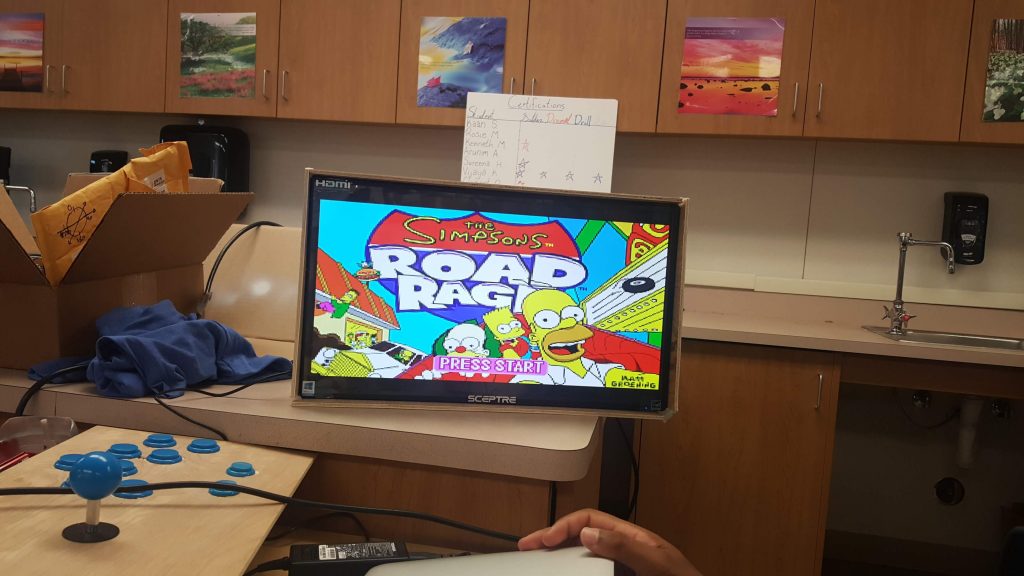
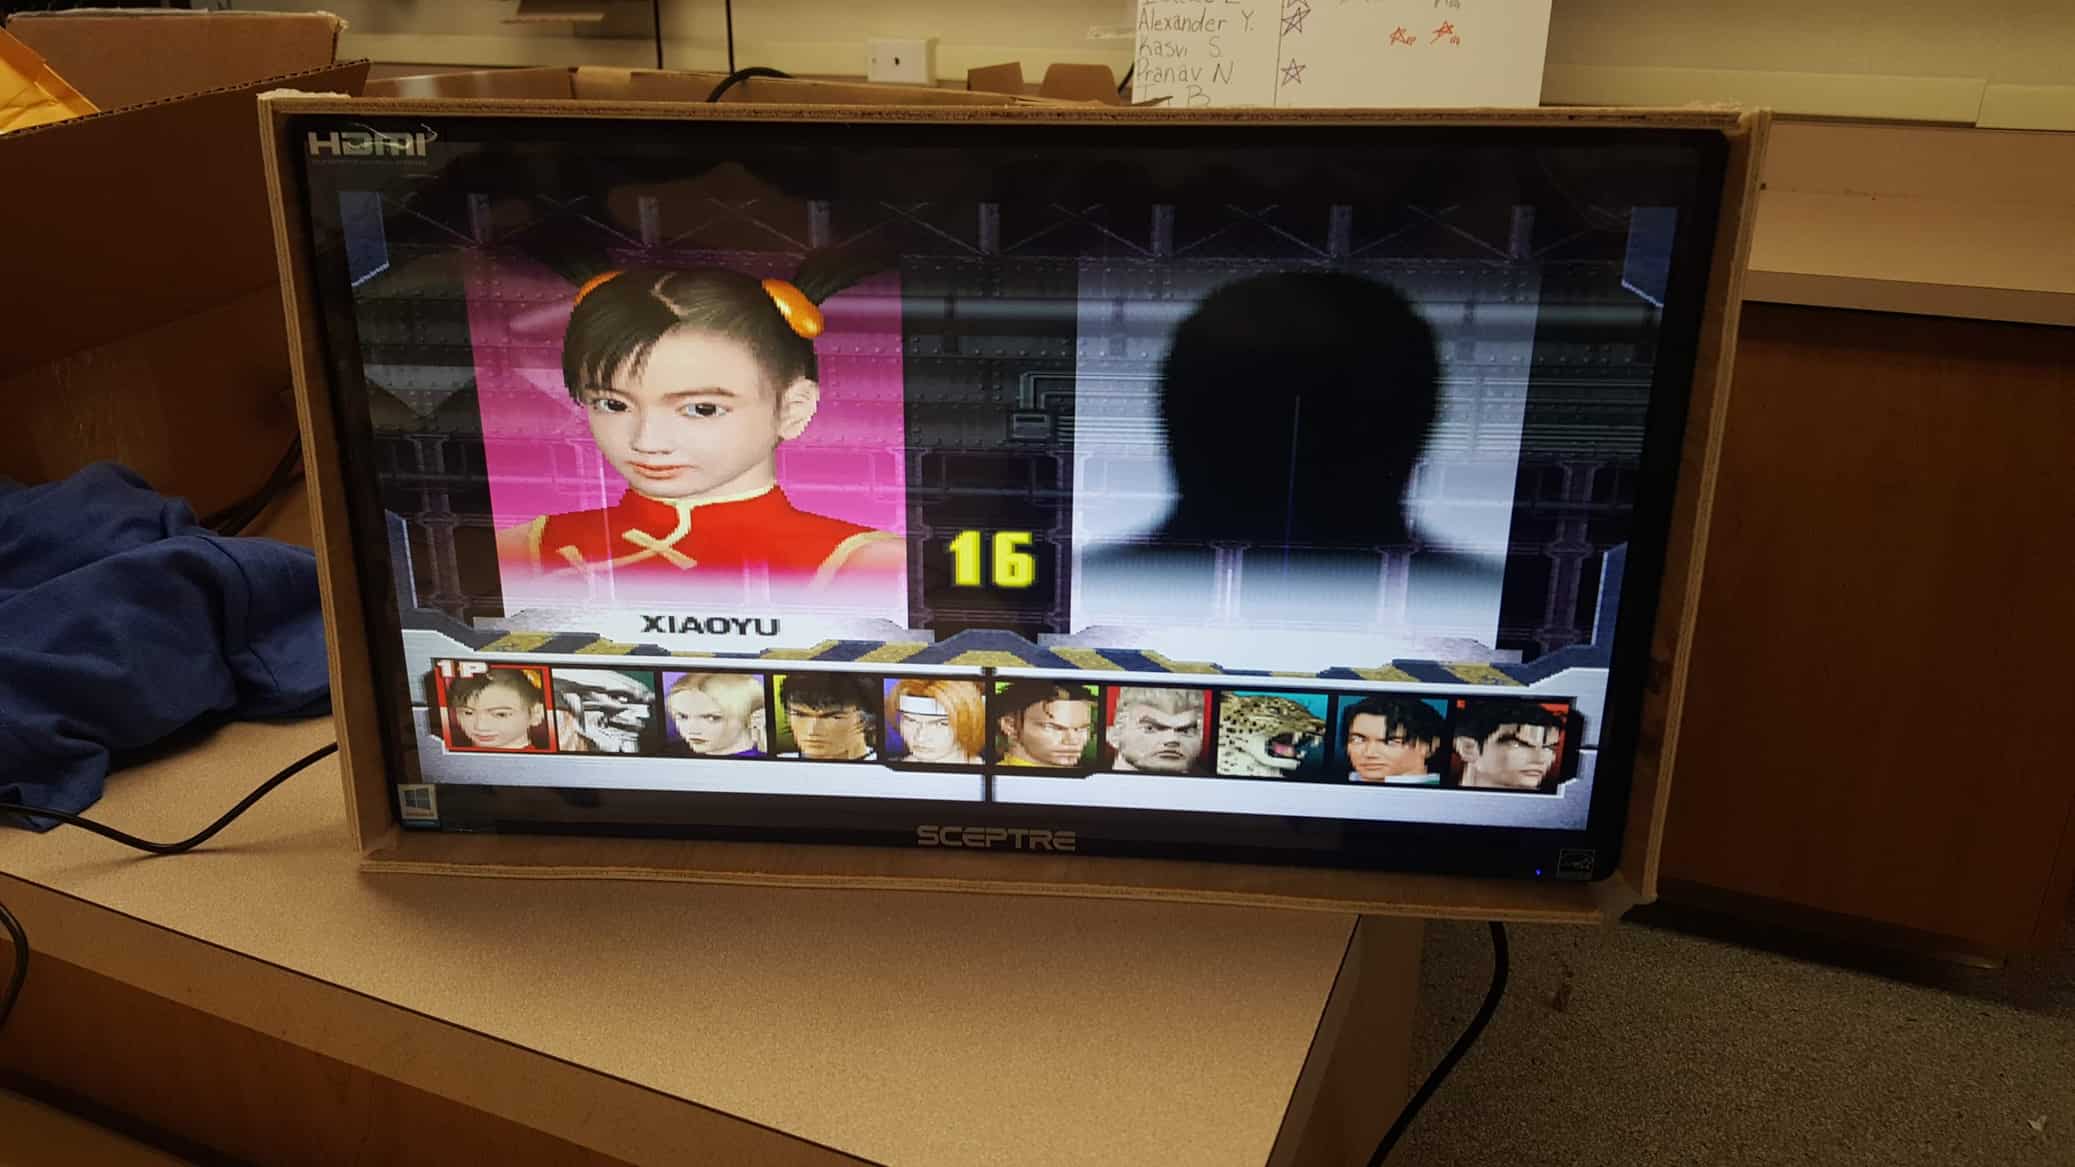
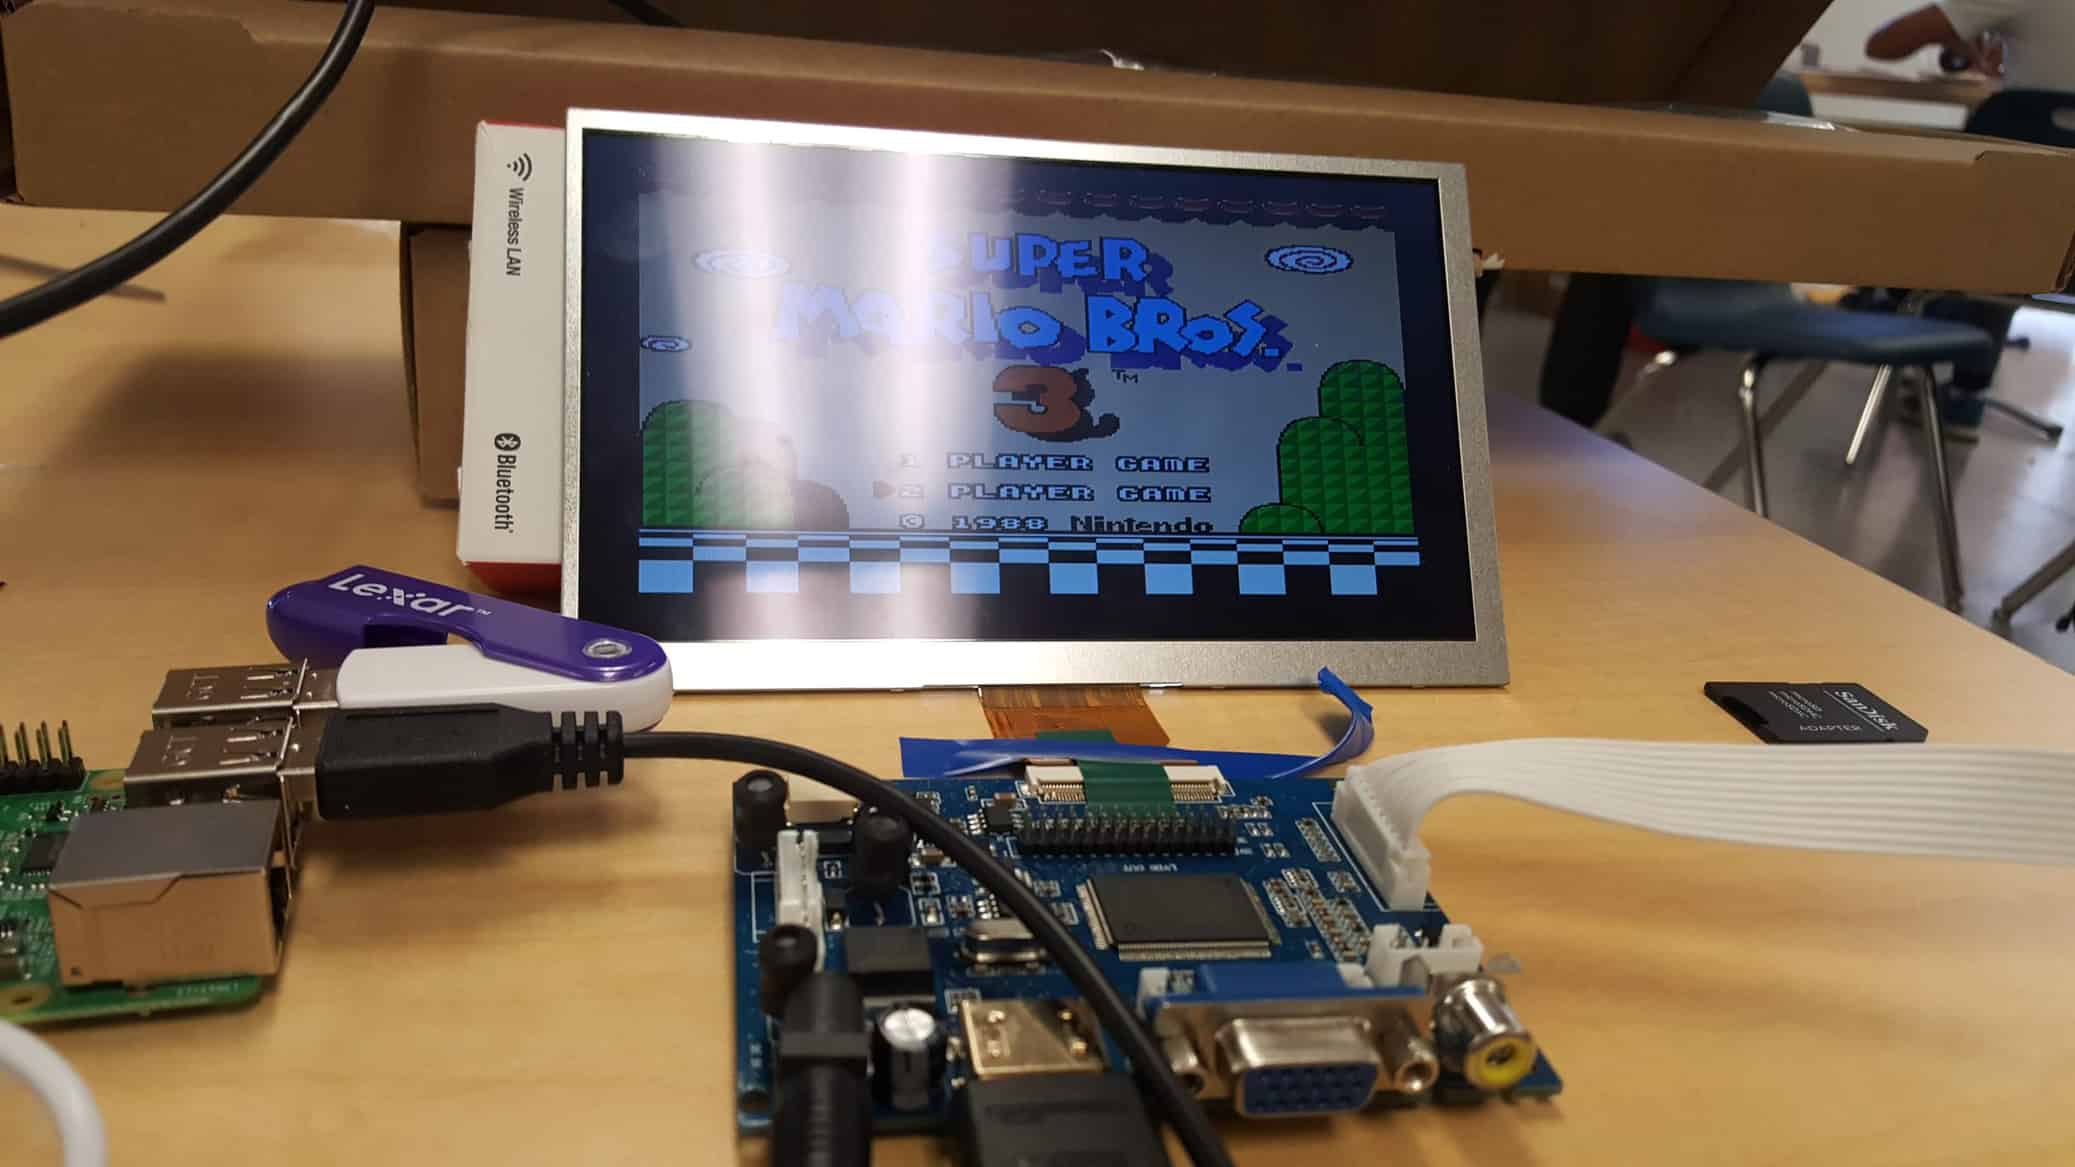
For my second milestone I wanted to have 2 Xbox controllers working with my emulator and be able to have them both play at the same time. Initially I tried to do this with a keyboard and an Xbox controller. I thought it worked when I tested the controllers with Mario Bros 3 but when I tried it with Chip and Dale, a game in which both characters are on the screen at the same time, it didn’t work. The keyboard was controlling both players. When I looked up why this was happening I found out that the keyboard always controls the first player. So, when I had set it to the second player it was controlling both the second player and the first player. I switched the players so that the the keyboard was the first player and the Xbox remote was the second player. I again tested with Chip and Dale as well as Mario Bros and both the remotes worked and controlled separate characters. From there I connected another Xbox remote and changed the device index from keyboard to Xbox controller and I bound(set) all the controls. Once that was working and both controllers worked irrespective of each other, as tested by Mario, I tried it with Super Smash Bros on the N64. Once that worked I set the controls for all my games. For some extensions I plan to wire up an arcade controller.
First Milestone
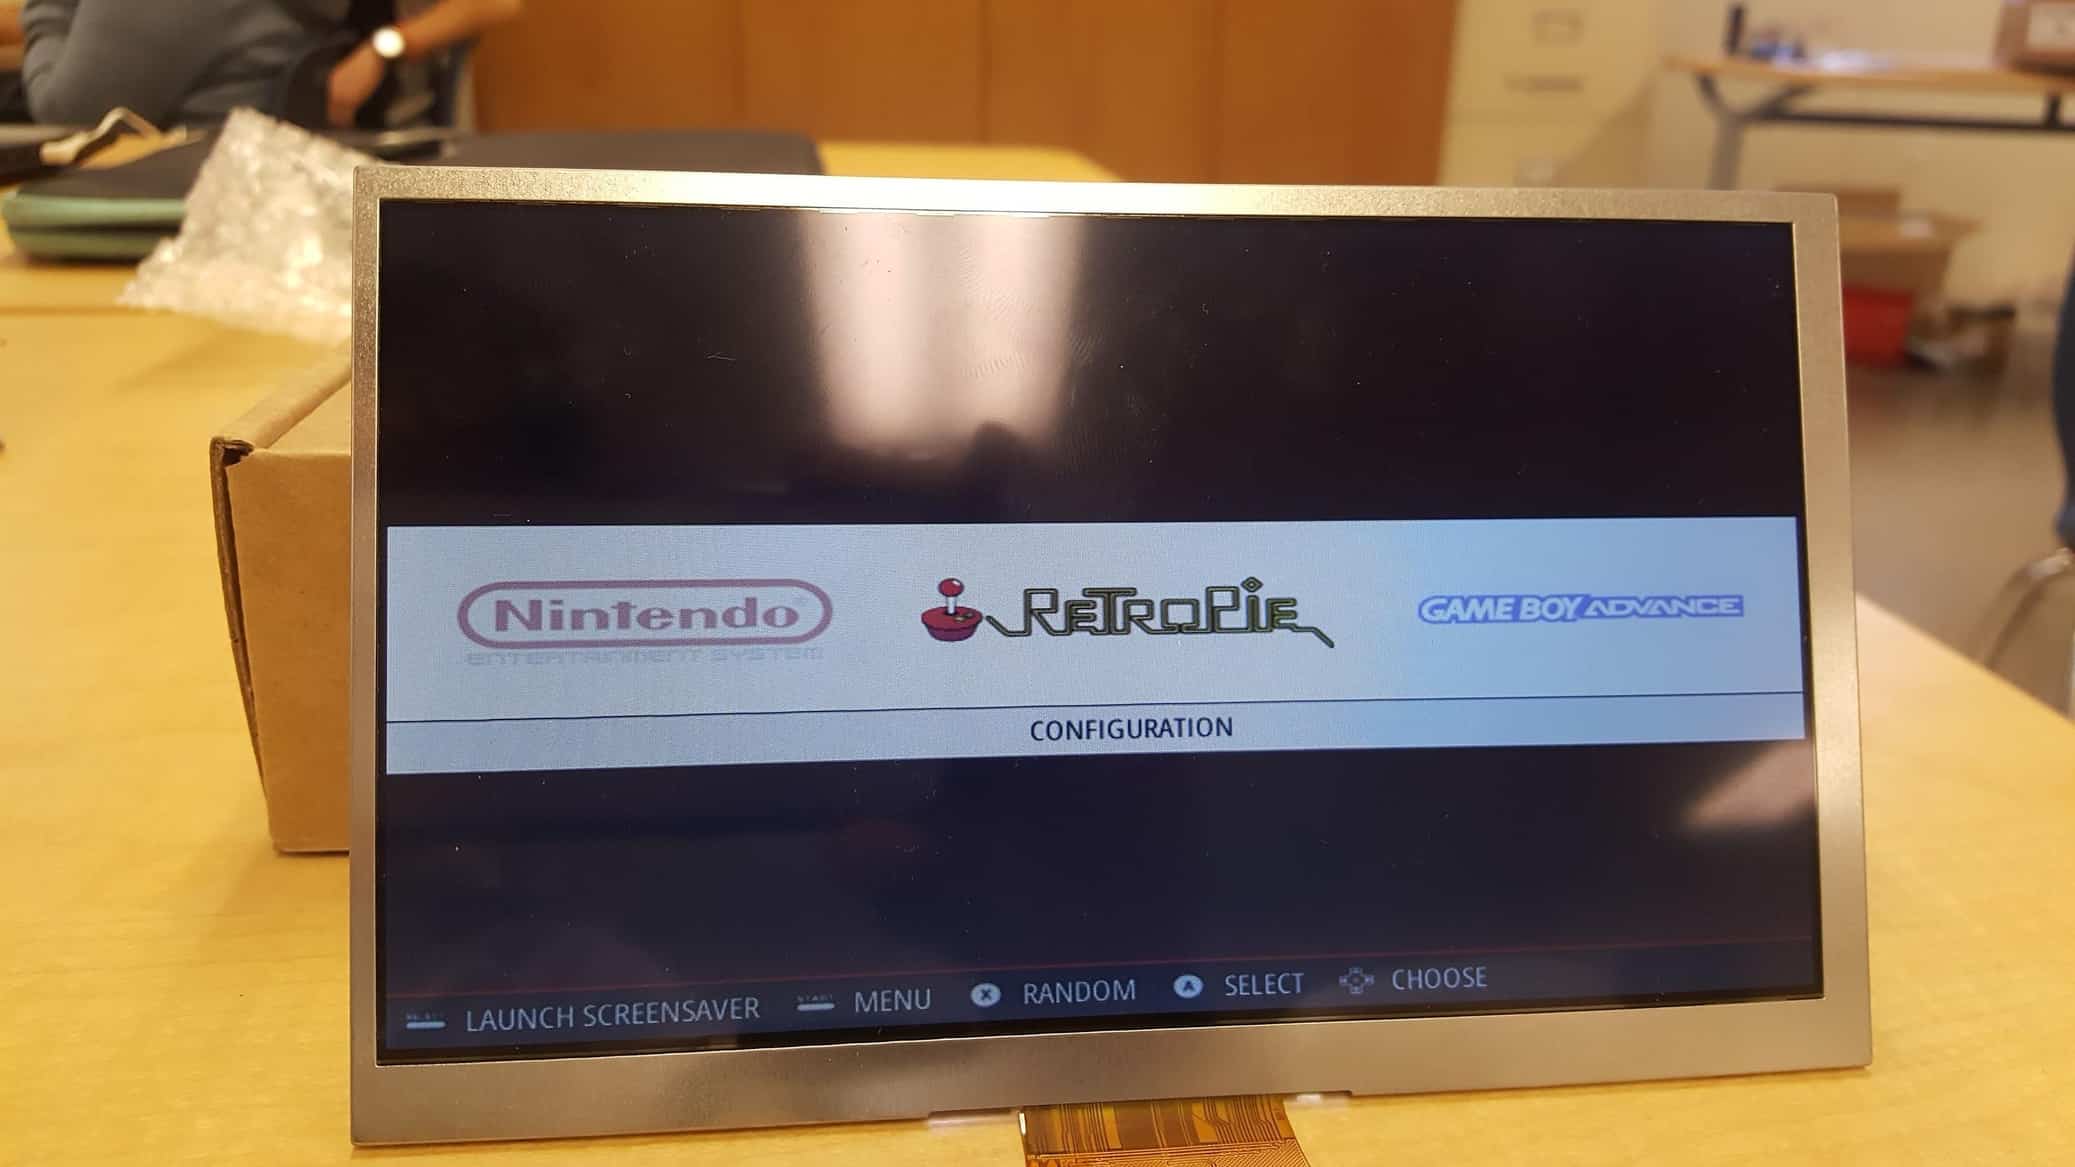
For my first milestone I wanted to have playable games and a working controller. My working controller in this case was a keyboard. The games that I have are Pokemon FireRed, Pokemon Emerald, and Super Mario Bros. 3. I had a lot of problems trying to display my Raspberry Pi on my monitor. First I had to learn how ribbon cables work. I wasn’t sure if my monitor was even working so I tested with my computer to make sure it worked. Once my monitor was up and running I started to have problems with my Raspberry Pi. I was unsure that my Raspberry Pi would display on my monitor because I was having a lot of problems having anything display. I thought that my Raspberry Pi had its OS properly installed but it wasn’t so I went back and rewrote my OS onto the same SD card but instead of NOOBS(New Out Of Box Software) I used Raspbian. Even this didn’t work and I decided to use the Raspbian image file because I felt more comfortable with writing images. Writing images is similar to how disks work. However even that didn’t work so I used a different software called Etcher. This somewhat worked but a file was missing. I found this out because the Pi was blinking a green LED a certain amount of times. Once I figured out what the LED meant and which file was missing I added it in and my Raspbian was working and displaying on my monitor. Now that I knew that my Pi could display to the monitor I installed RetroPie, the software that allows you to play games. I set that up with my keyboard the downloaded my games onto a USB stick. Once the games were loaded onto the Pi I was good to go. For my next milestone I plan to have my games working with a normal controller.
Starter Project
As mentioned in the video the way the MintyBoost works is it takes the power from the batteries then transfers power to the USB connector. The way it boosts the power from the 3V provided by the batteries to the 5V required for the USB connector is the power inductor. The power inductor is basically a coil of wires that boosts the power from low to high voltage. The capacitors help smooth the transfer of the current from the batteries to the USB connector. The diode ensures that the flow of power only goes in 1 direction. The resistors make sure you don’t fry the MintyBoost and/or your phone. The ICE chip controls the flow of electricity and make sure you only get as much as you need. The chip holder helps make sure you don’t fry the chip.