
I’m Reese, class of 2016. As an aspiring engineer, I joined this program to define my interests in the field and gain some basic experience in mechanical and electrical engineering. I go to James E. Taylor High School during the school year. The following are in chronological order starting with the most recent posts:
6/27/14 – My last day was devoted to perfecting my presentation of my finished products and creating a schematic of my modified MintyBoost.
6/26/14 – With my extra time, I brought some old solar yard lights from home with the intention of converting the natural gas lamp to solar power in the front yard. Unfortunately, it was not to be; one and a half days were not enough to figure the whole thing out. I did learn, however, that it is possible to avoid using the light sensor (which if used would require programming) by using PNP transistors to shut off the current flow to the LED when the solar panel produces power and on when the solar panel is not producing any power at all (when the sun goes down).
6/25/14 – As my second project, I chose to do a fun little project: the “Spy Catcher.” I completed it in less than three hours; it was only soldering and a bit of fastening of wires via screws. Now I can set it up in door ways to detect breaks in infrared light, breaks in magnetic fields, and the introduction of infrared light, such as an incandescent bulb.

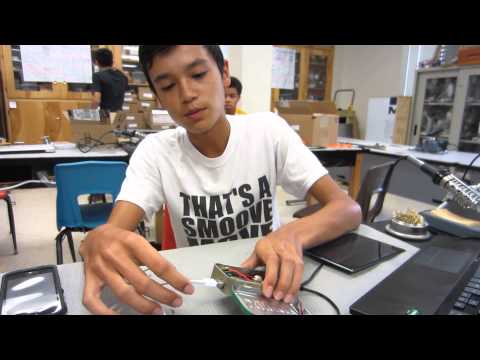
6/23/14-6/25/14 – A one-week student, I decided to do two basic projects with some modifications. The MintyBoost USB charger originally ran on AA batteries. However, I wished to make a convenient and practical device that could run on solar power when needed. And there began the Solar MintyBoost project. At first, the goal was to get the solar panel to charge the AAs. Unfortunately, the charger chip was not compatible with anything but the lithium ion polymer battery from the same company. I then shifted focus to the incorporation of that battery, which also meant a change of tins. Fortunately, the LiPo charger chip could take both solar and USB power, which made the MintyBoost so much more convenient even than the AAs. The tricky part came when it was necessary to attach all of the parts securely to the tin without a short occurring, not to mention the risk of breaking off when plugging in a device, which did occur in the first small tin. The short problem was solved with the addition of some electrical plastic, and of course electrical tape. With some nifty Dremel work on the tin creating holes for every port, and some trial and error, everything was secured with a combination of superglue and duct tape. I am very satisfied with the product, and I can’t wait to put it to use.

Solar MintyBoost Mod Project
Parts List:
- Large Altoids Tin
- USB/DC/Solar Lithium Ion Polymer Charger
- 6V Solar Panel with DC plug
- MintyBoost kit
- 2500 mAh 3.7 V LiPo Battery
Schematic:

MintyBoost Mod Schematic

Charging Unit of MintyBoost Mod Schematic
Instructions:
- Follow MintyBoost Kit instructions, but do not attach to AA battery holder or small Altoid tin.
- Solder large electrolytic capacitor to the charging chip via three inch long wires. Do not solder directly to chip.
- Splice a JST connector to the MintyBoost wires originally intended for the AA battery holder.
- Use a Dremel tool or tin snips to cut holes for the USB, DC, and mini USB ports.
- Apply electrical tape or plastic to the bottom and sides of the large tin to prevent possible shorts.
- Attach parts with a combination of duct tape and super glue, or double sided adhesives.
- Plug the lithium polymer battery into the “BATT” port on the charging chip, and the MintyBoost into the “LOAD” port.
Possible Problems and Solutions:
- if iPhone doesn’t recognize the MintyBoost, try soldering the two middle pins of the USB of the MintyBoost together. If that doesn’t work, make sure the connection of the lithium battery to the charging chip is secure. Unplug it and then plug it back in. If that still doesn’t work, take a multimeter and measure the voltage input of the solar panel to the charger chip and to the battery, and the output of the MintyBoost to the phone.
- if the booster chip of the MintyBoost is getting too hot, look for a short. Make sure no pins or wires are in contact with the metal sides of the tin.