Hi, my name is Omar. I’m a rising sophomore at KIPP Sunnyside High School in Houston, TX. I had a starter project and a main project. My starter project was a voice changer because it is always amusing to hear someone’s voice differently. My main project was a time lapse camera throwie. There is a chip in the interior of my camera that tells the camera to take a picture for every couple seconds and there are magnets on the outside of the camera that stay by sugru. This is my first time I have ever done anything like a voice changer or a time lapse. In my experience I have mainly worked with others, but this program gave me an opportunity for me to be independent on a project I can call my own.

Final Project: Time Lapse Throwie
Here is my files for both the time lapse code, bill of materials, and instructions which are based on this design:
Code:
Bill of Materials:
Instructions:
Schematic:

Mechanical Drawings:

Mechanical Drawing: Bottom

Mechanical Drawing: Top
This is also the setup that should be used when replicating the experiment


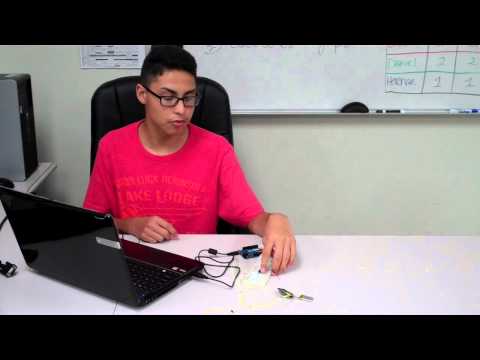
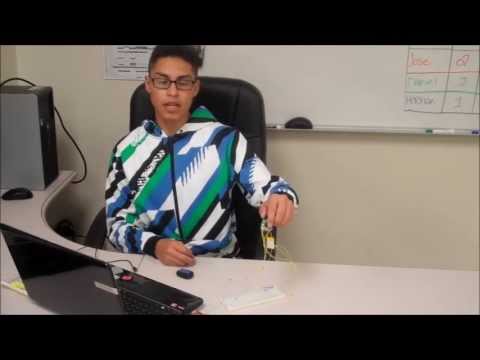
Time Lapse Throwie Milestone 1
In the Time Lapse Camera project the hardware setup was completed. I have the Arduino and camera connected to the breadboard. The thin yellow wires were soldered on to the pins of the camera and the jumpers wires. I used this setup to get measurements on the voltage of the camera by putting a multimeter on the pins of the buttons and LED’s. They got measurements similar to the same project done before me. Here are the pictures:

This is the hardware setup for the time lapse throwie.
Using the same setup I will program the Arduino and ATTiny45 microcontroller to make the camera take time lapse pictures.
I also have the magnets attached to the case using sugru.

Magnets are attached to camera case through sugru
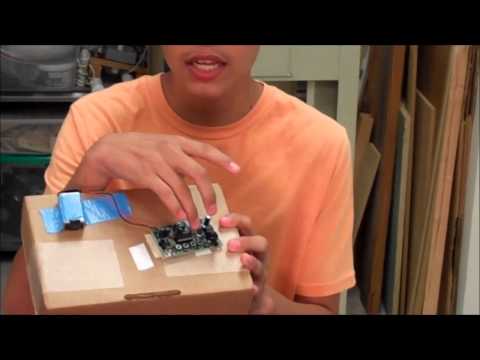
Voice Changer Project
In the Voice Changer project I made a voice changer that had different settings for pitch and volume. When I speak into the microphone of the voice changer, my voice gets converted into a signal that travels through the various components of the voice changer. It travels through the capacitors, chips, buttons and controls, resistors, and LED’s to change the signal which is my voice. When I was making my starter project there was problems with the board as the signal wasn’t getting to the speakers and I had to figure out where it stopped. Towards the end of the path the signal traveling through it stopped because one of the capacitors wasn’t touching the speakers. A piece of metal had to be inserted to connect the two. Also, there was a loud noise emitted from the speaker and I had to move a part so that it would stop and it did.