Raspberry Pi Smart Mirror
Engineer
Omar S
School
Manhattan Center for Science and Mathematics
Grade
Rising Senior
Field of Interest
Computer Engineering
What is a Smart Mirror?
A Smart Mirror is a display mounted behind an acrylic mirror in order to preserve the quality of the monitor’s display and to retain the mirroring effect of the mirror. By connecting a Raspberry Pi to the contraption, you will result in a mirror that can be customized through the use of various modules.
Second Milestone
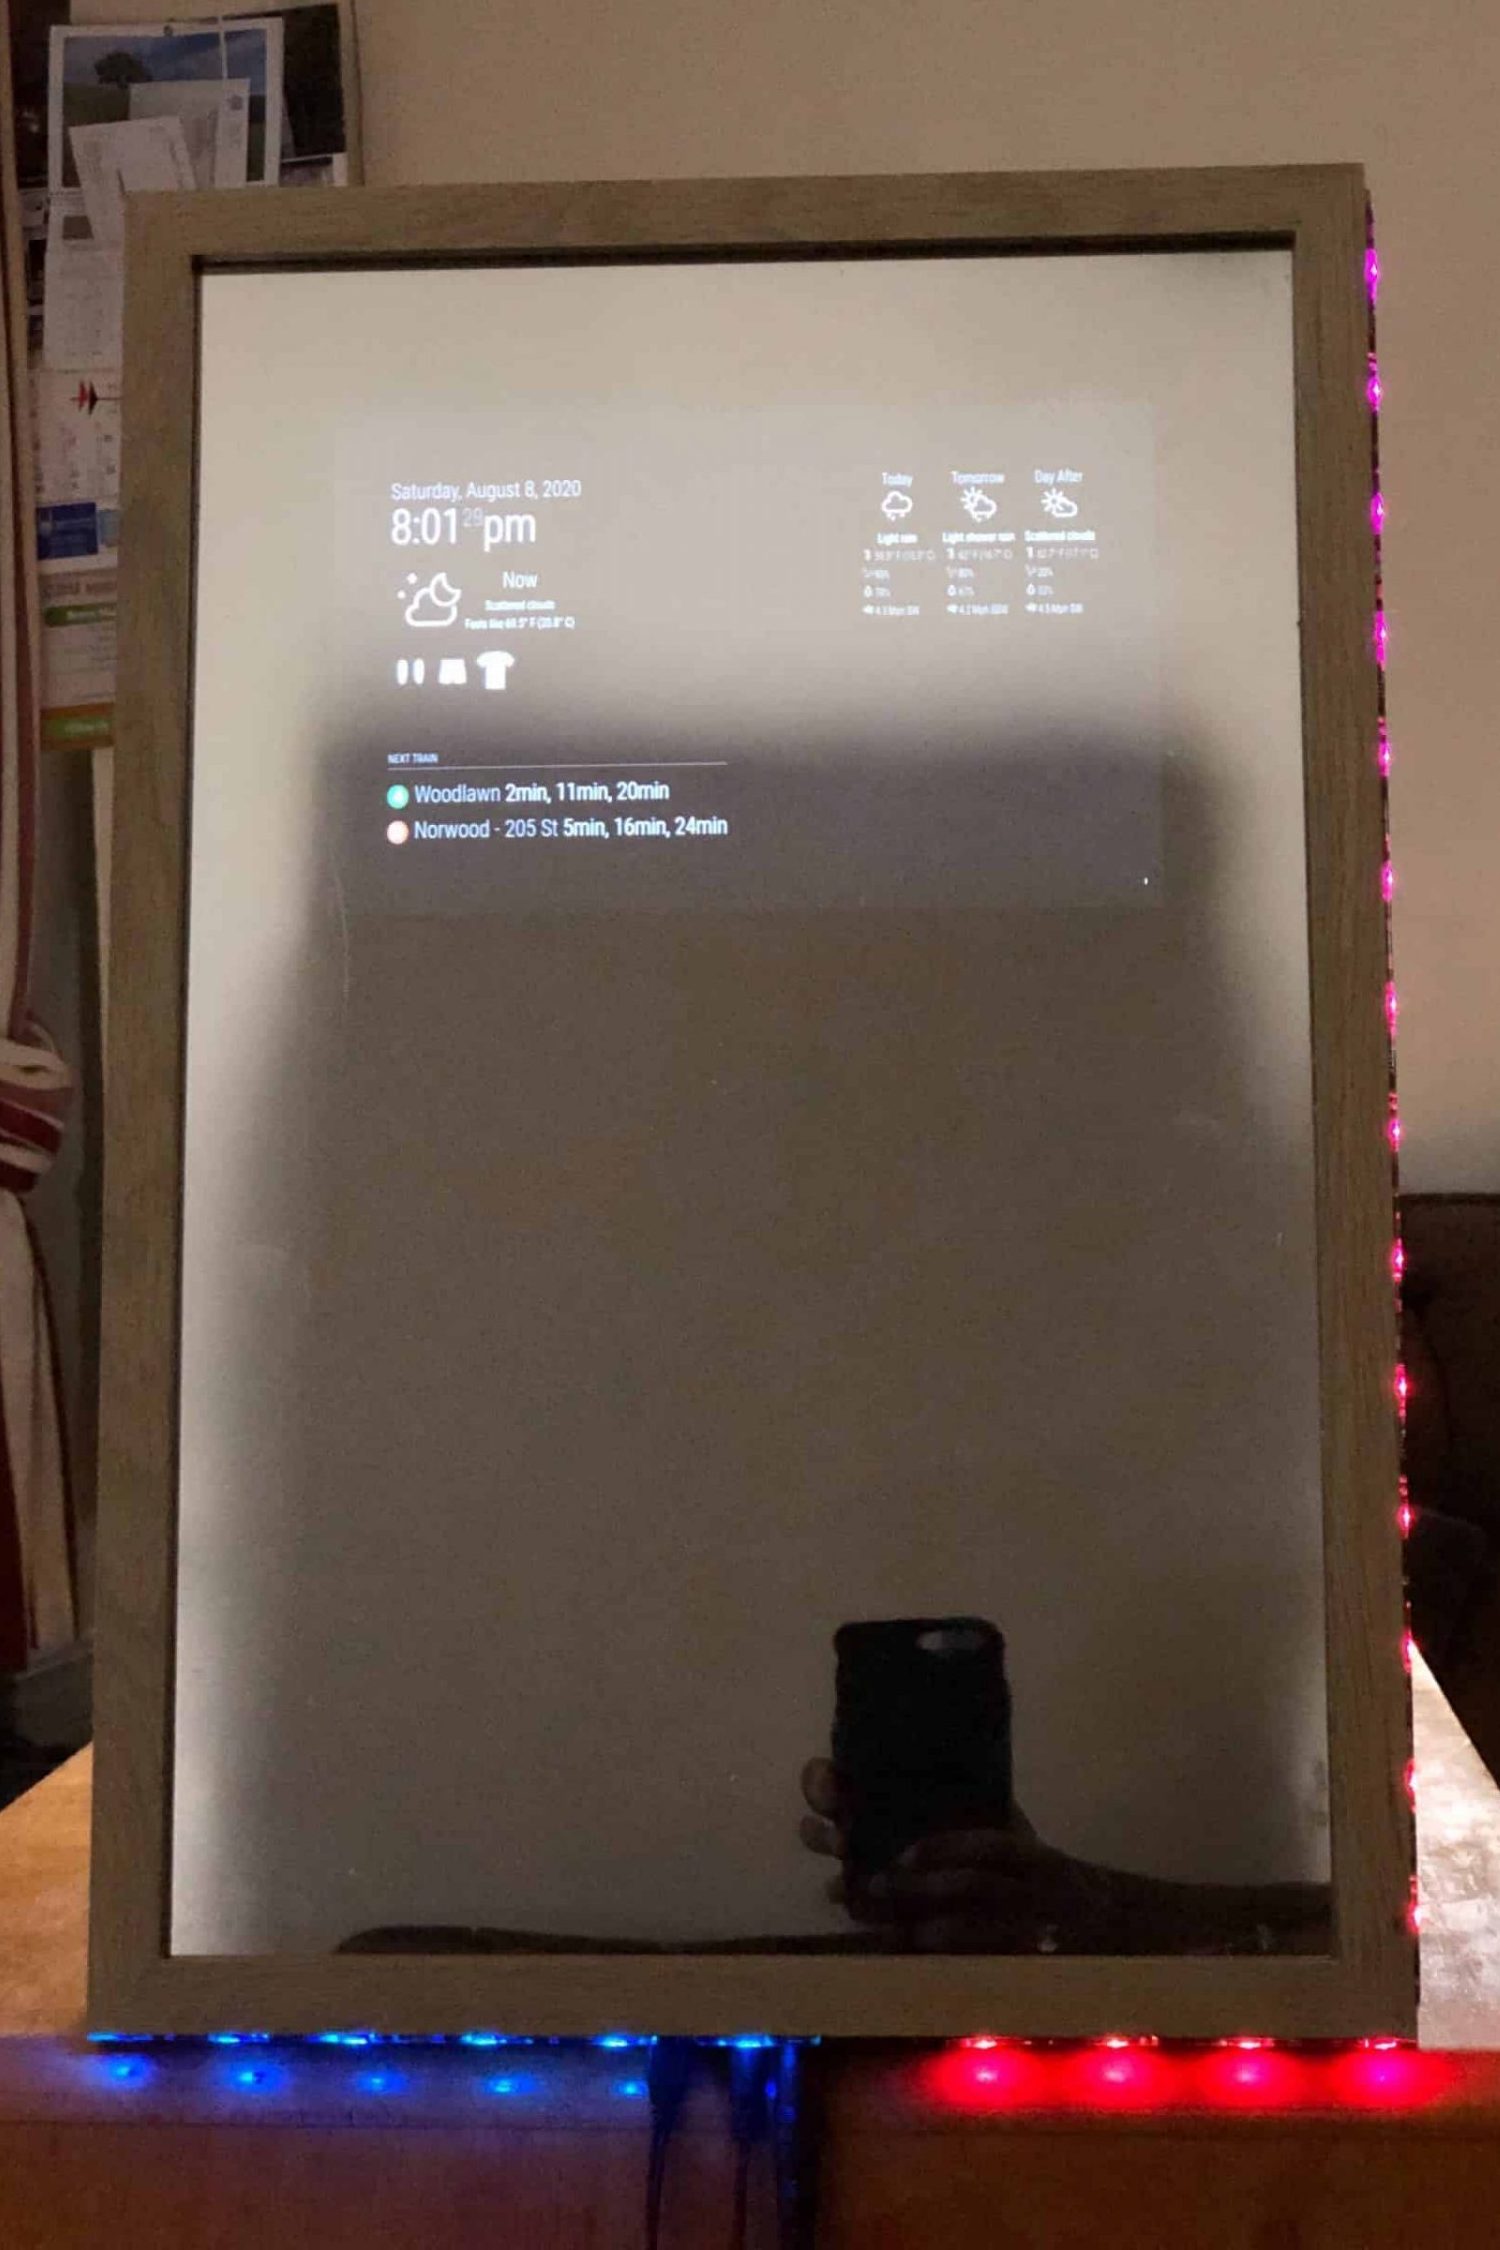
The NYC-transit module is a tool that tells you when your next train or bus is arriving. You can add the station you wish to receive information about, and you can set whether you want uptown, downtown, or both. You can also change the frequency at which the module updates its information.
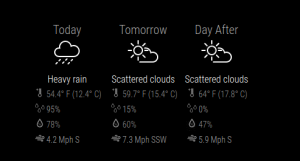
The 3-Day weather module does exactly as it says; it displays the weather over the course of the next 3 days. You can update the module with the coordinates of your general location, in order to tell the weather in that area.
The Weather-Now module works in coordination with the 3Day weather module. This module alerts you of the current weather forecast, versus a future forecast. This module also requires you to upload the coordinates of your general location.
My last module is the WeatherDependentClothes. Depending on the weather(as the name suggests), this module will inform you of what type of clothes to wear using little icons.
All of these modules require data from other sources, such as the MTA API for the information on train/bus schedules, and different weather APIs to supply information about the forecasts. These APIs effectively translate and digest raw data and send it out to people who request that data. The new data that is easier for the programs to comprehend and display in their own way.
An issue that I ran to was that whenever I rebooted the raspberry pi, its IP address would change, and the MagicMirror software required you to have the IP address up to date, so I would have to manually update the IP every time the raspberry pi was rebooted. In order to work around this, I set the raspberry pi to a static IP, which allowed the IP of the pi to remain consistent. With this static IP, I no longer need to constantly update the IP for the software, since now the IP is always constant.
First Milestone
The first step is to use the imaging software to image Raspian onto the SD card, and after, insert the SD card into the Raspberry Pi. After going through the basic setup of the Pi, you have to install the Magic Mirror software using the terminal. The terminal is a powerful tool that gives you full access to the Pi, through the use of commands, versus using a graphical interface. After installing a JavaScript framework called nodejs, and setting that up, I can download the MagicMirror software with a couple of commands. The Raspberry Pi is now set up with MagicMirror!
Smart Mirror
The smart mirror looks awesome! You obviously put a lot of hard work into this and it definitely paid off. All the modules look clear and I love the Weather-Dependent-Clothes module the most. Setting the Raspberry Pi to a static IP was a very strategic move, and the LEDs tie everything together nicely. Great job!!