Autonomous Robot that uses Deep Learning to Track and Chase an Object
A robot built using Raspberry Pi that applies deep learning to detect a ball. The robot is autonomous and chases the object without crashing into walls.
Engineer
Nitish B
Area of Interest
Robotics and Deep Learning
School
Lynbrook High School
Grade
Incoming Junior
Third Milestone
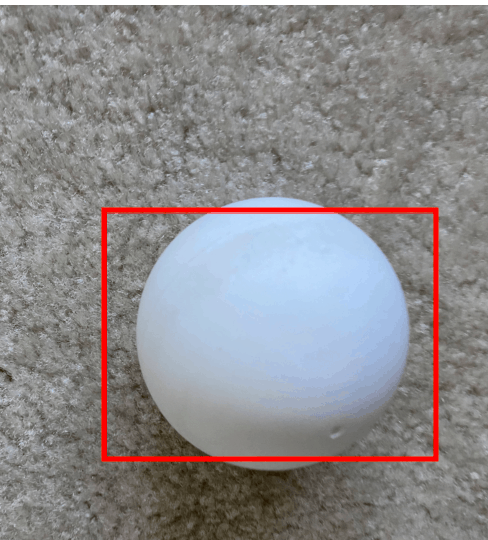
The third milestone was the most important part of the project. I had to create an object detection model that could detect my custom class of white sports bal, and be light enough to run on the Raspberry Pi. This was very challenging as there was minimum instruction on this online. I followed these steps:
- Take pictures and use software to label coordinates of the white ball
- Create yolo object detection model
- Run it using opencv to figure out speed and accuracy
- Create different/better model accordingly
The biggest challenges were creating a custom model and implementing it on the Raspberry Pi. Online instructions either used pre-made models for raspberry pi, created very heavy/slow custom models, or had tutorials for windows computers.
I labeled my images using labellmg to get their x,y coordinates. I could not do it on my mac laptop because the software is only for windows and linux. Therefore I used an old laptop that no one used for a long time that I scoured for through my house!
I had the goal of training the model on the cloud and use google gpus so I went hunting for a method for creating a custom YOLO model on google colab. Once I found the right type of program, I adapted it to suit my custom needs and let it train for 3-4 hours. I wasn’t really sure how to use this model on the rpi so I thought of ways to adapt it.
I realized the best way to chase the ball with the rpi would be to find the center of the ball then move the motors until the center of the ball is in the center of the frame. For this I looked for ways to use my model and feed it an image every few seconds to get the location of the ball.
I adapted the program so that I could feed it one image and get the prediction. The prediction consists of 3 things– the class, the probability that the image belongs in the class, the bounding box.
Initially, each prediction took a whopping 20 seconds. This is too slow and the robot would walk right past the ball. To fix this I worked on a new model from scratch. I decided to use a tiny-yolo model as it is the most efficient. However it is less accurate so this time I trained the model for 9 hours instead of 3 hours. The prediction speed dropped by a magnitude of 10! It takes only 1.5 seconds now. I retained the accuracy as the model went through 3000 epochs during the 9 hours of training.
Second Milestone
My second milestone was about understanding and applying hardware to build an autonomous robot.
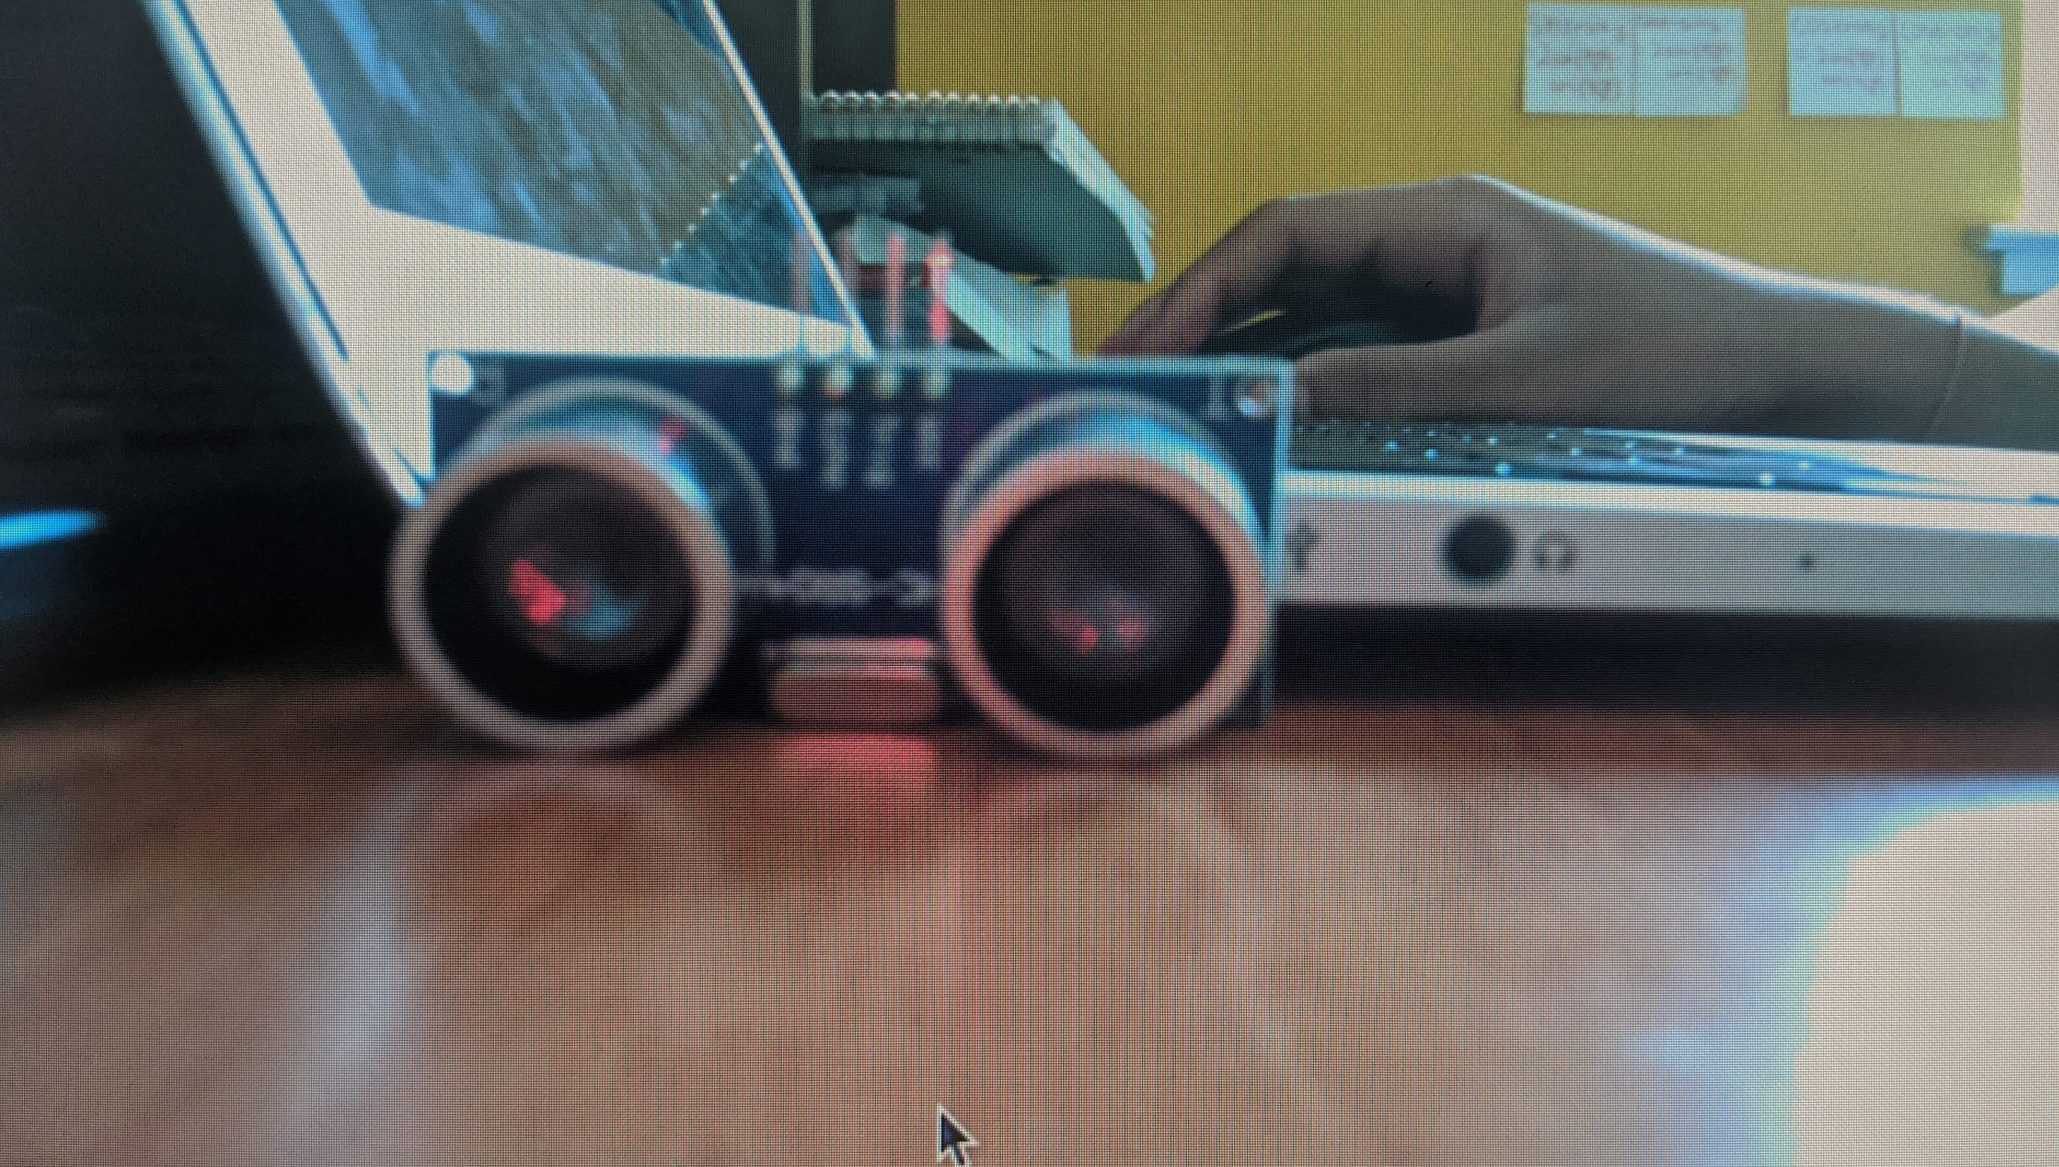
I created a circuit that includes two ultrasonic sensors, a motor driver, two dc motors, the raspberry pi, a battery pack, and four AA batteries. On the way I learned concepts such as power, ground, and communication.
My robot has to pretty much behave like a pet in order to move around without any problems; therefore, I used analogous sensors to the different features of a pet cat. For example, I used the picamera along with ultrasonic sensors as eyes, and motors as legs.
I also used pulse width modulation (PWM) to make the robot turn smoothly and slow down near obstacles. This made movement more accurate as the smooth stop made sure the robot did not overshoot.
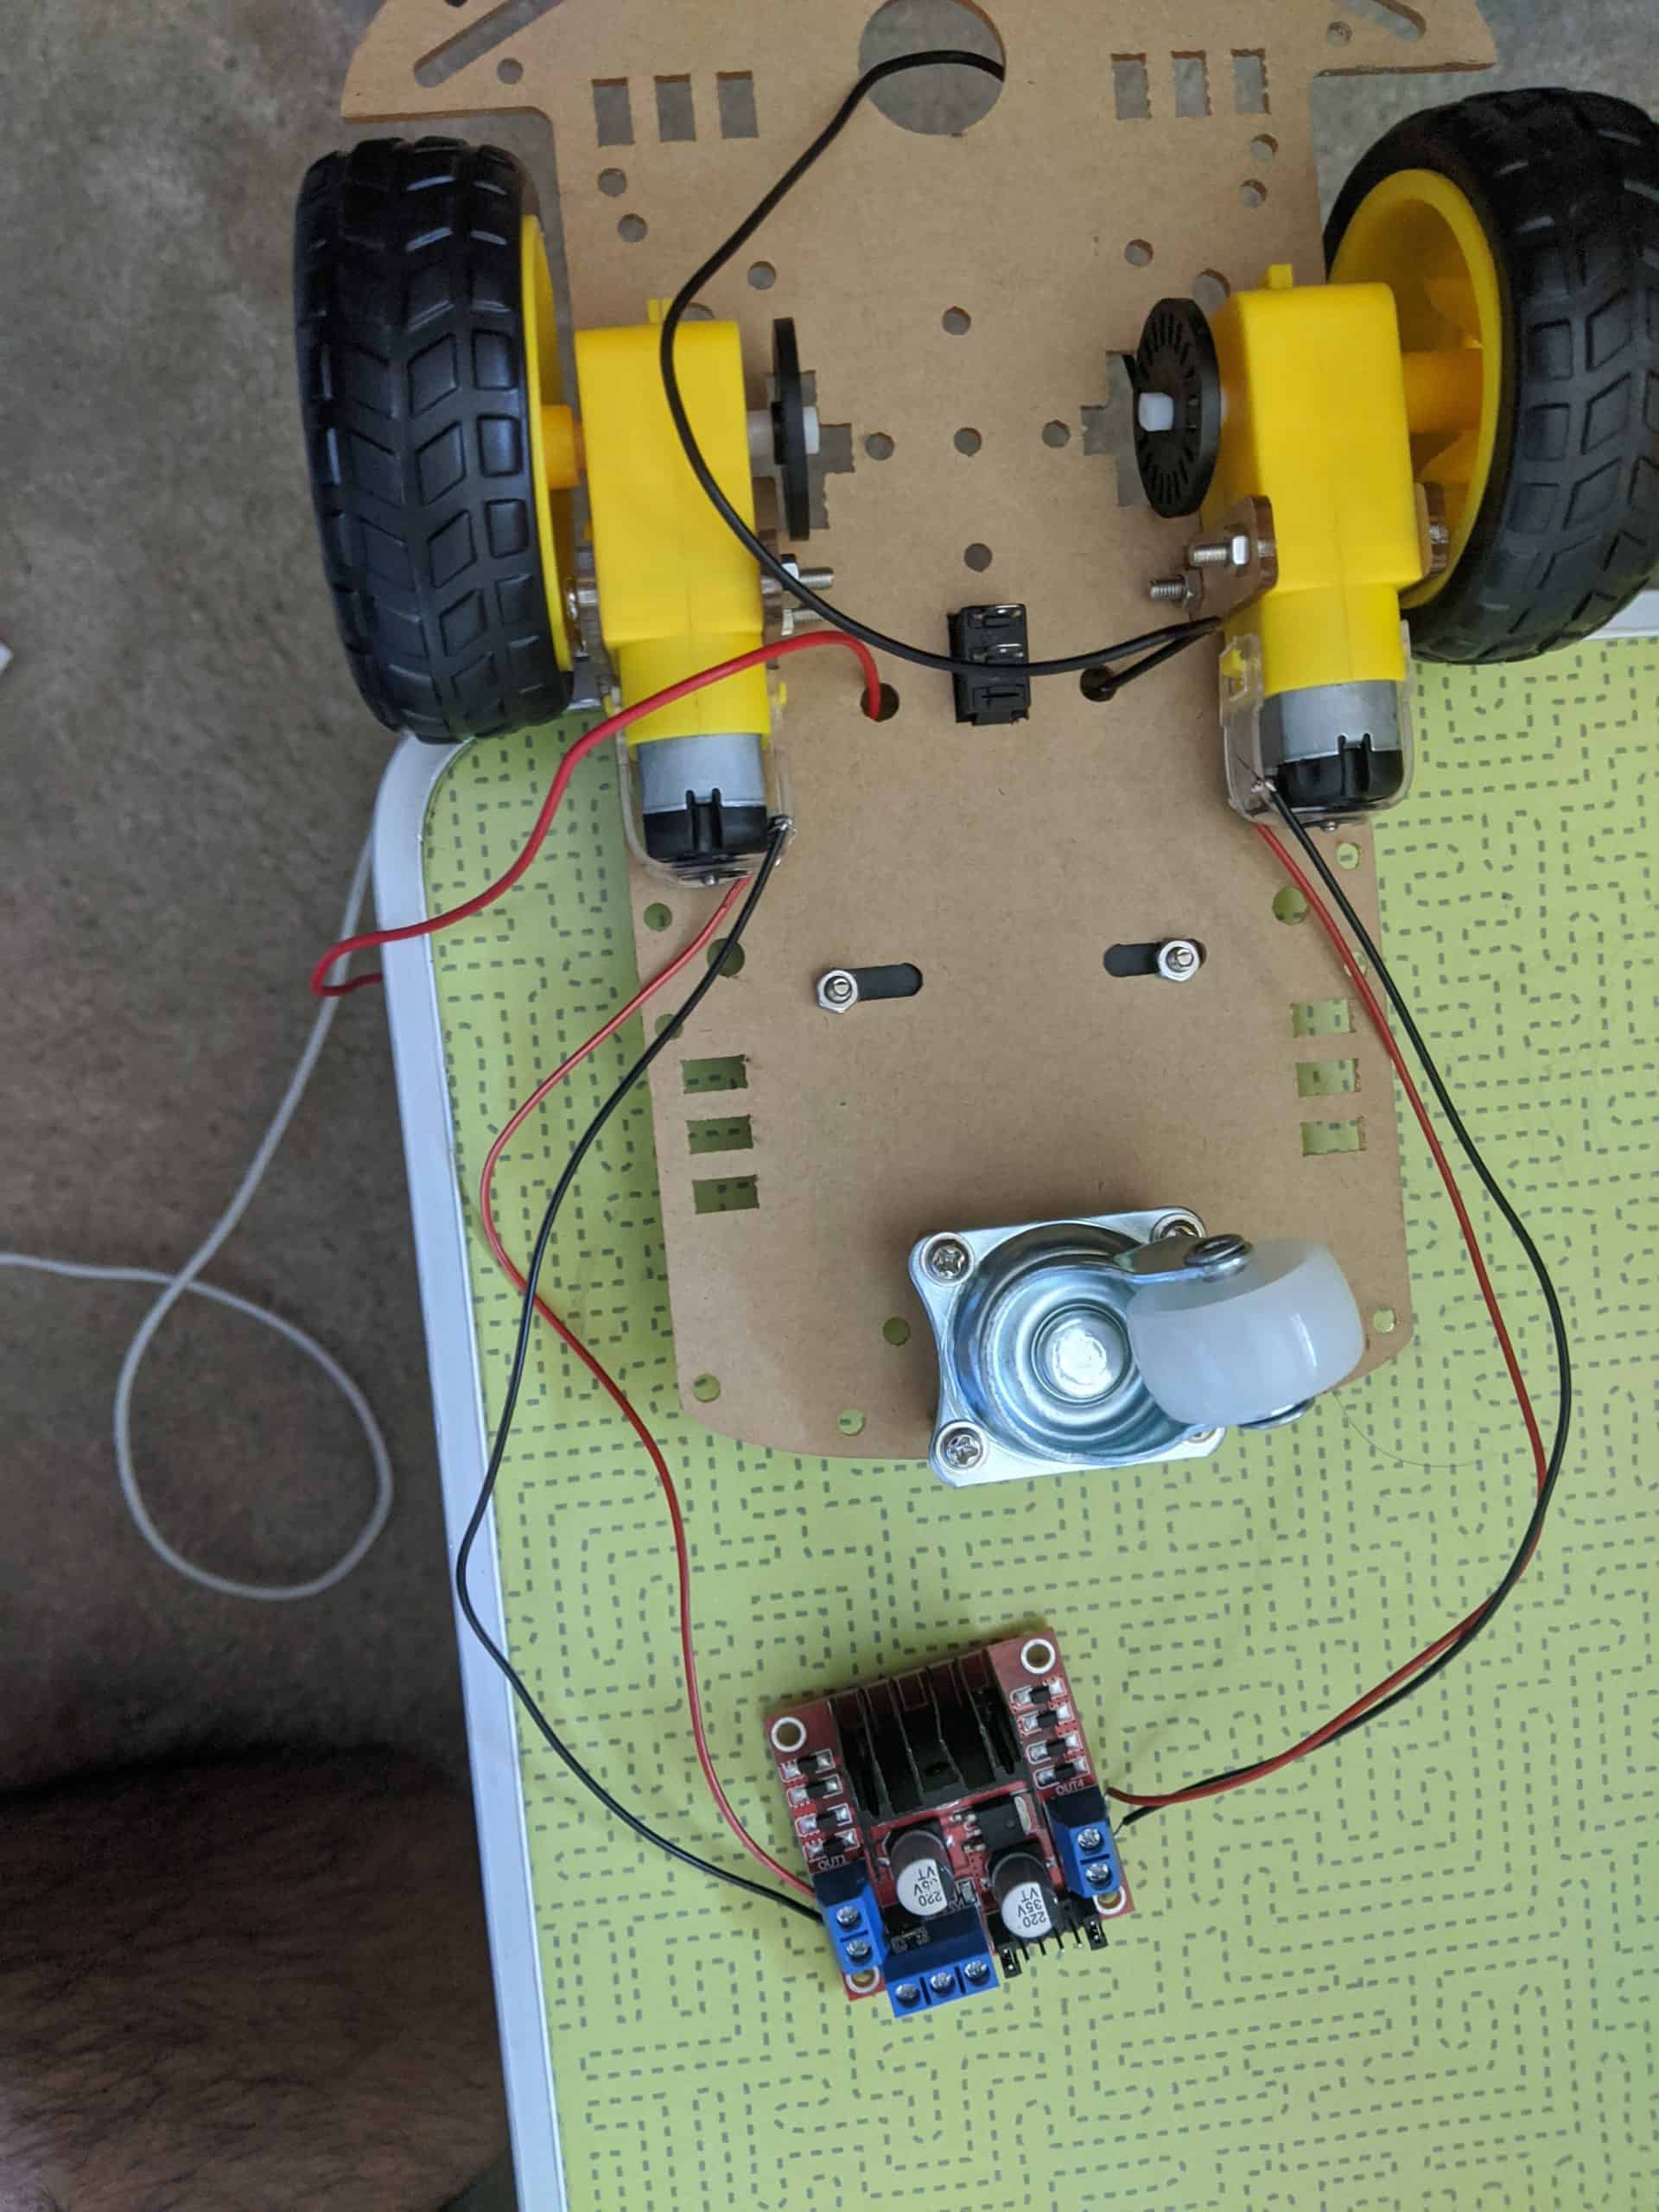
The body of the robot felt small. Therefore I added some height by building a platform with bubble wrap and cardboard and then attaching a box on the top. I did not have a soldering iron, so I made strategic holes in the box for cable management. Finally, I secured everything with zip ties and am happy the spikes sticking out of the top cool cool.

First Milestone
My first milestone had two parts to it:
- Setting up the hardware using the Raspberry Pi
- Creating an image classifier that can track the ball
This first milestone is crucial and expectedly took the most time as it layed a foundation for connecting the hardware and software elements of the project.
First, I set up the Raspberry Pi and the pi-camera. I wrote a simple program to take pictures with python. This experiment would later be very helpful as I need the pi-camera to be working properly and detect objects in real time. Here is a picture I took with my raspberry pi:
Second, I tried creating a neural network for detecting the ball object. I tried it on Google Colab as installing VSCode and Pycharm onto the Raspberry Pi made it very slow and prone to random freezing/crashing. In addition I set up an ssh to make it easier to transfer files with my computer. I worked on transfer learning and created a model. I took pictures of the object, around 125, for training/validation. I ran into many issues. The accuracy was very low so I gave it some more pictures to improve that. However, turns out I hadn’t set up the model correctly. After some debugging, I had >99.9% accuracy using Inception v3 for the base model.


I wanted more control on how the classes and features were set up and test out the model by uploading my own image onto Colab; therefore, I created a new model from scratch. I created a cnn model which also reached >99.9% accuracy and the cool thing about this one is that I can upload an image and get the classification immediately!
