
Arduino Endless Runner Game
For my final project I decided to design and create the Arduino Endless Runner Game. The game involves a character that runs across the screen while avoiding block obstacles by jumping on top of and down from blocks. Modifications that I added to the game include a buzzer for every time the button is pressed and 4 different difficulty levels to choose from. The entirety of the project was a very intensive yet rewarding process all documented below!
Engineer
Nishant M
Area of Interest
Aerospace Engineering
School
Redwood High School
Grade
Incoming Senior
Final Milestone
How it works
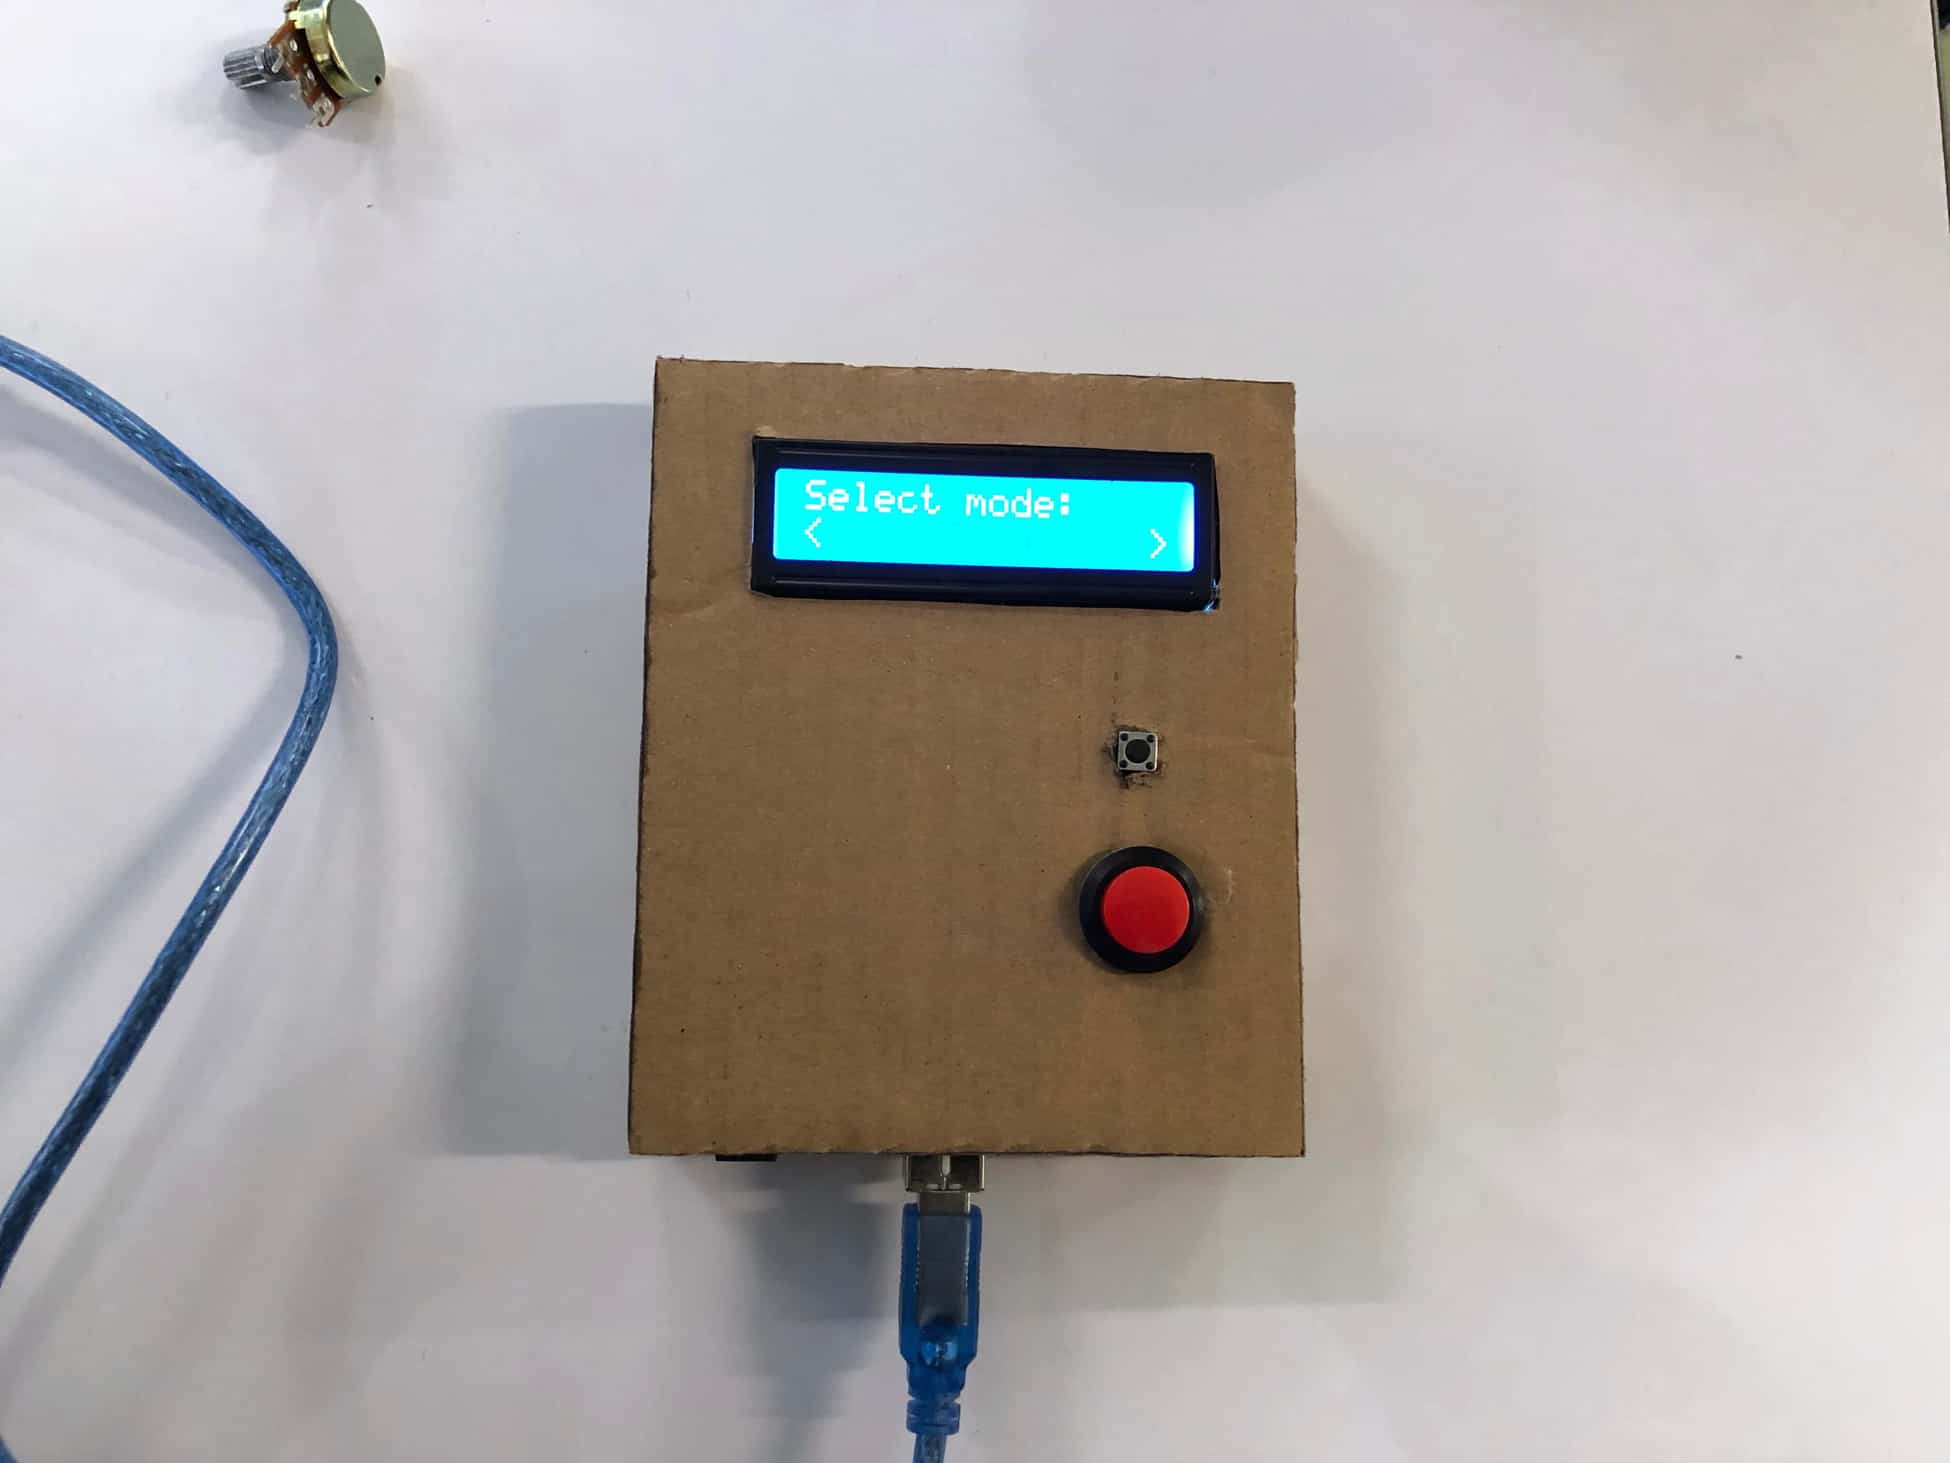
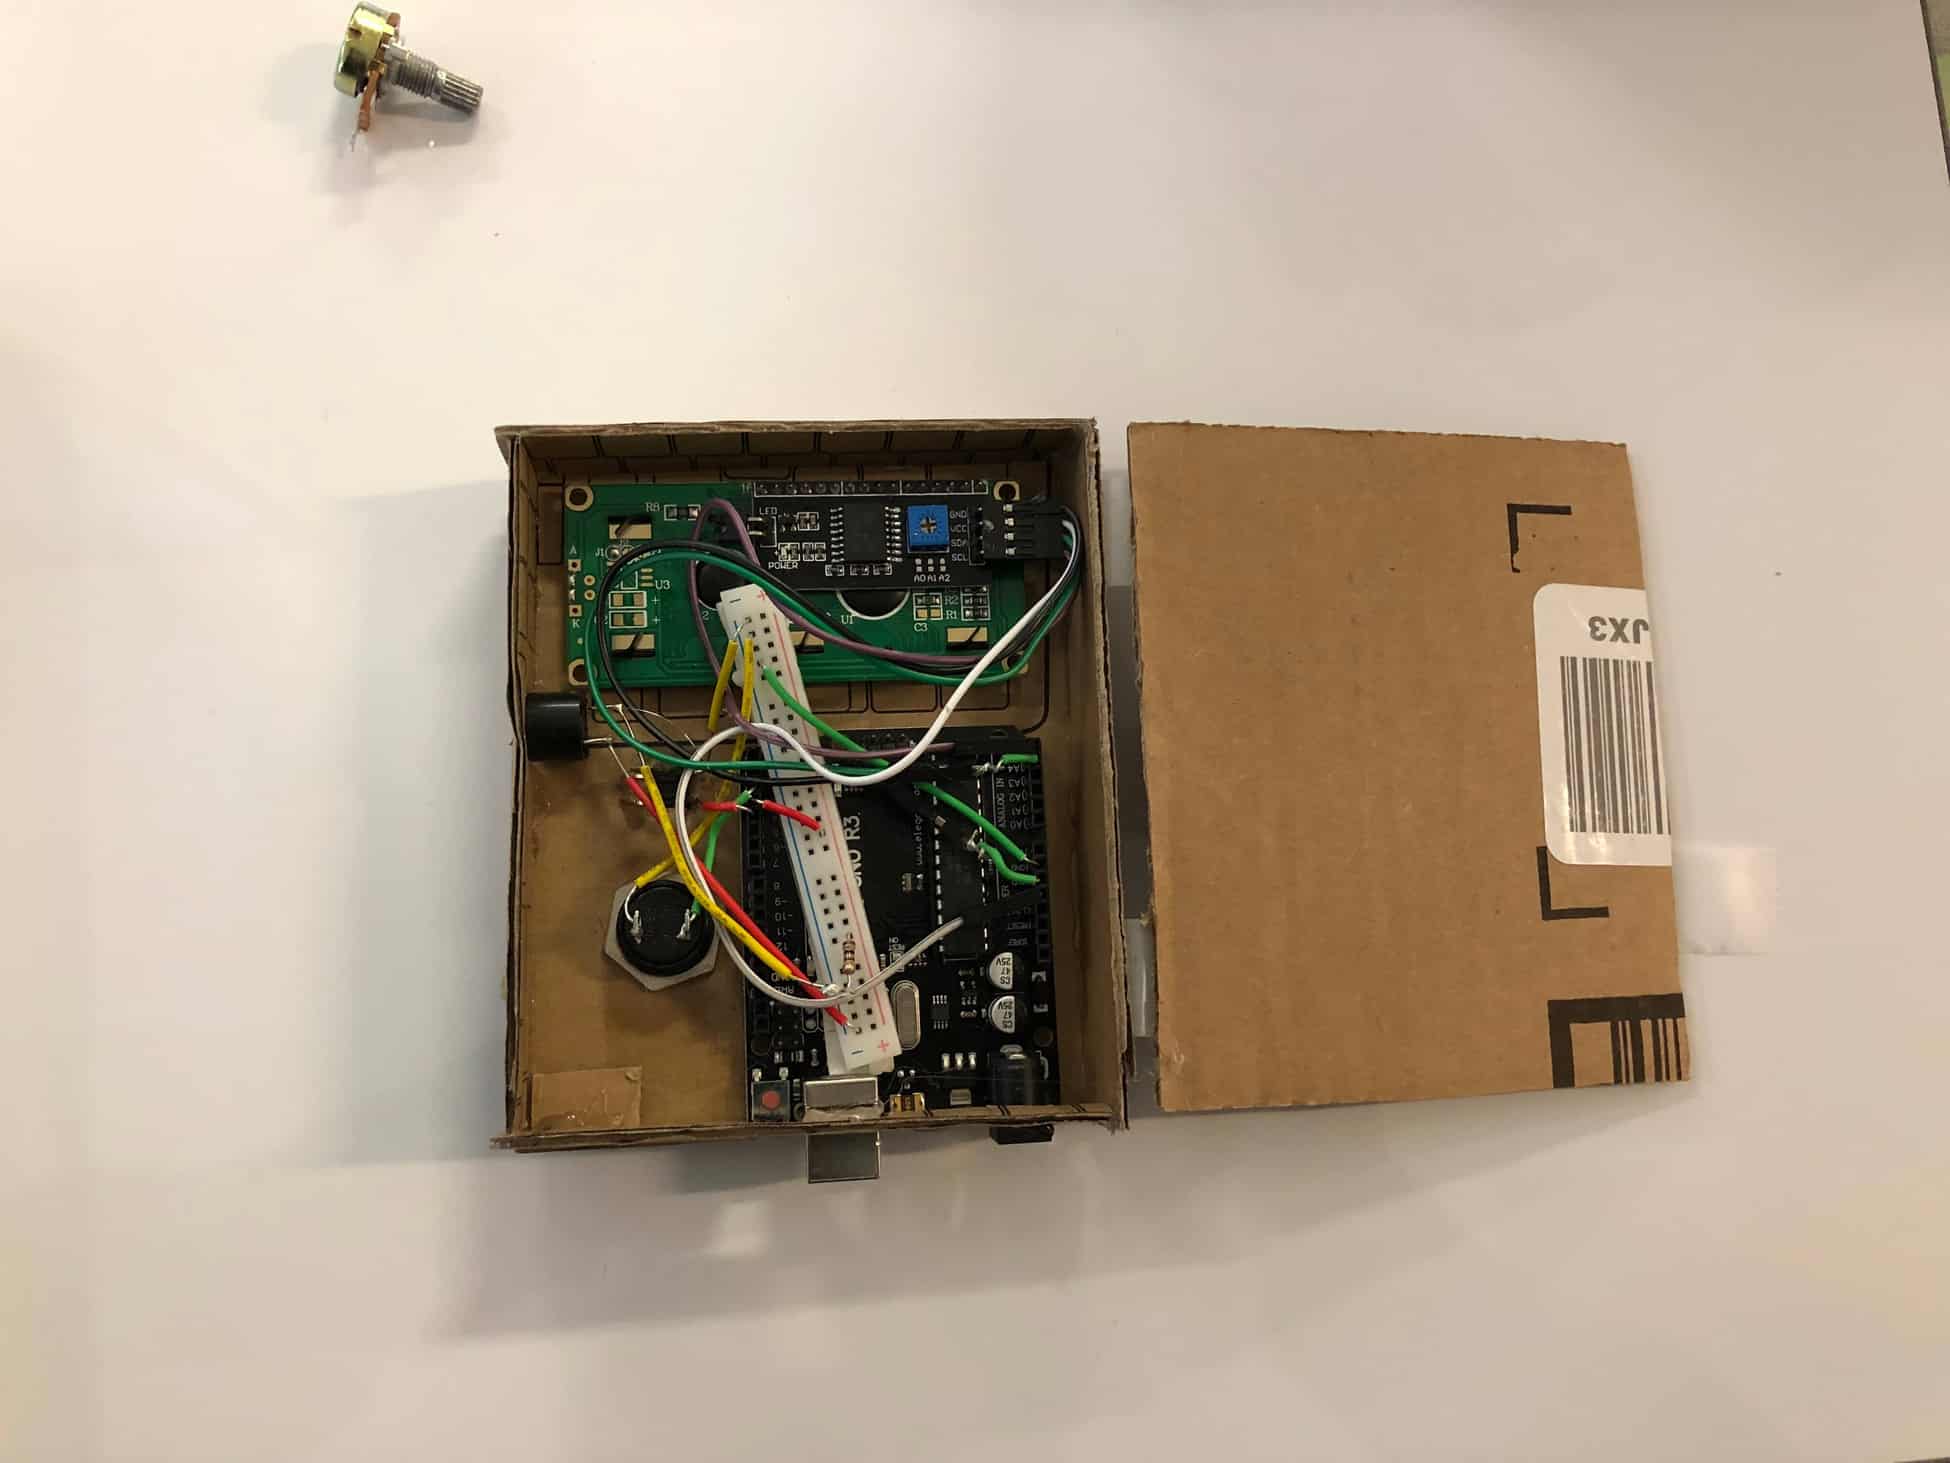
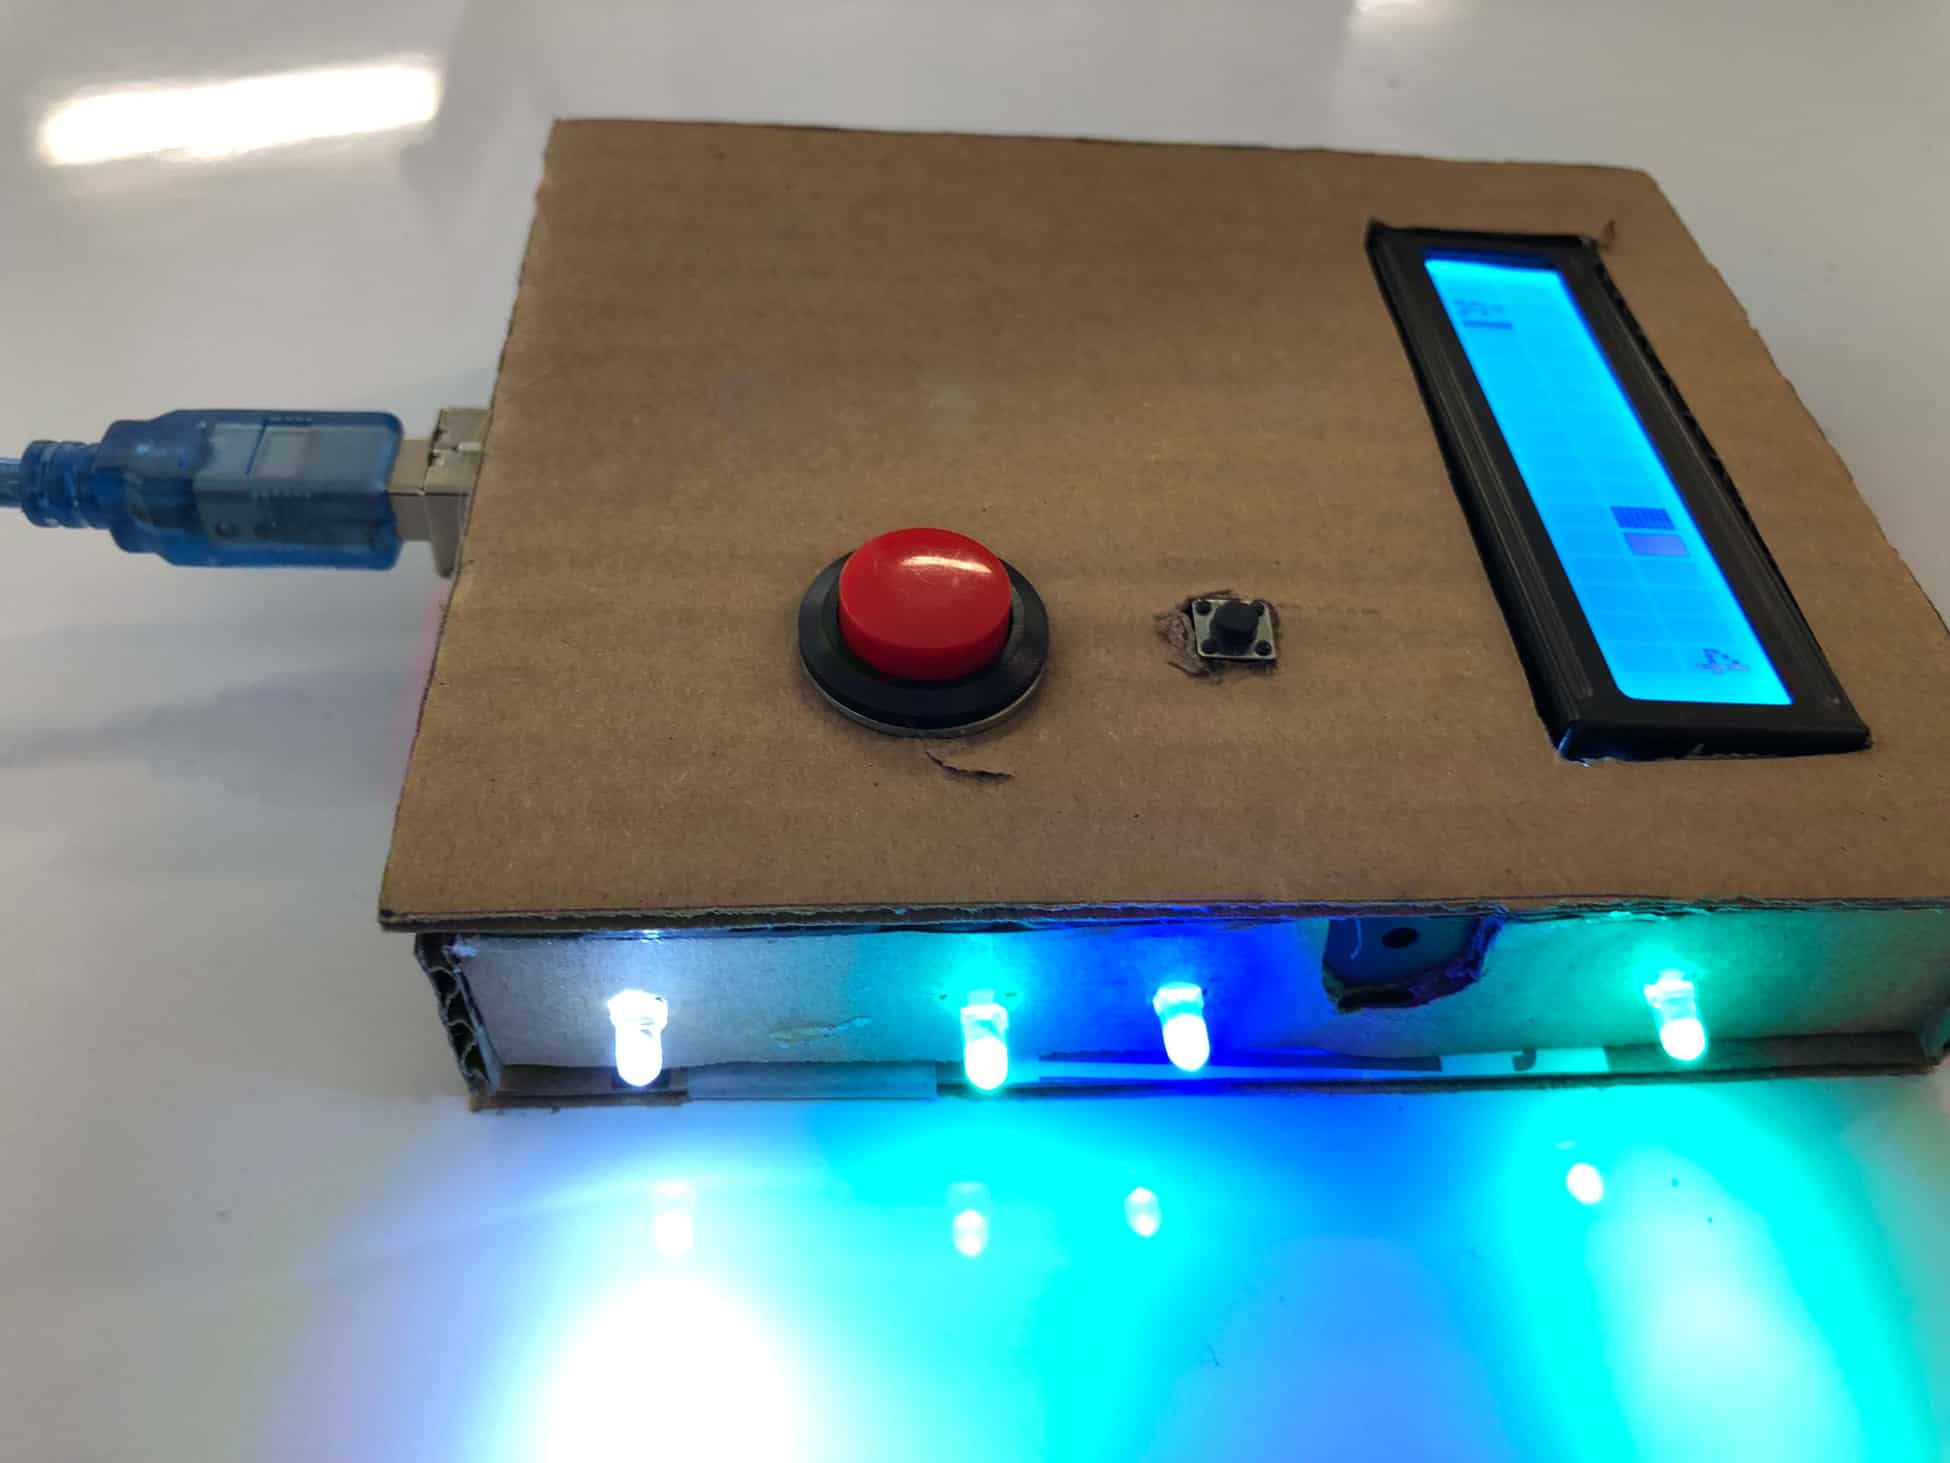
For my last modification I decided that instead of making the game wireless I wanted to choose a more practical modification, like putting all the electronics of the game in a box and making a clean finish. Another part of my last modification was that I added a buzzer sound to the game for every time the button is pressed. In order to do this, I first had to add a connection from pin 3 on the Arduino board to the button and a connection from ground to the button. Next, I had to modify my code. In order to make the buzzer sound every time that the player presses the button, I added an ‘if’ statement. The statement was basically that “if the button was pressed (meaning it was considered false in the code),” then the buzzer would sound with a specific loudness determined by a numerical value in the code. I made these statements for different times when the button is pressed. For example, when the game is first turned on, when the character enters the field, when the player jumps, and when the player hits one of the blocks. All situations required an if statement. The other modification was the box. This was pretty simple, as all I had to do was cut holes in the front of the cardboard for the LCD screen and the two buttons. I also made everything more compact by taking a part of a breadboard off and using it in the box. The helped save a lot of space. One challenge that I faced in the last part of my project was that I was having a lot of trouble making the buzzer go off in different situations in the game. I knew how to make the buzzer sound whenever the button was pressed, I just wasn’t sure how to do it with different situations in the game. I had to use online resources in order to understand how to do this. Another challenge was building the case for the entire game. I learned that it is important to start with a plan and a diagram for how I would build the box because when I didn’t, I ran into many obstacles. Overall I would say that my final project was a success and I had a lot of fun making it.
Demonstration
Diagram
Second Milestone
How it works
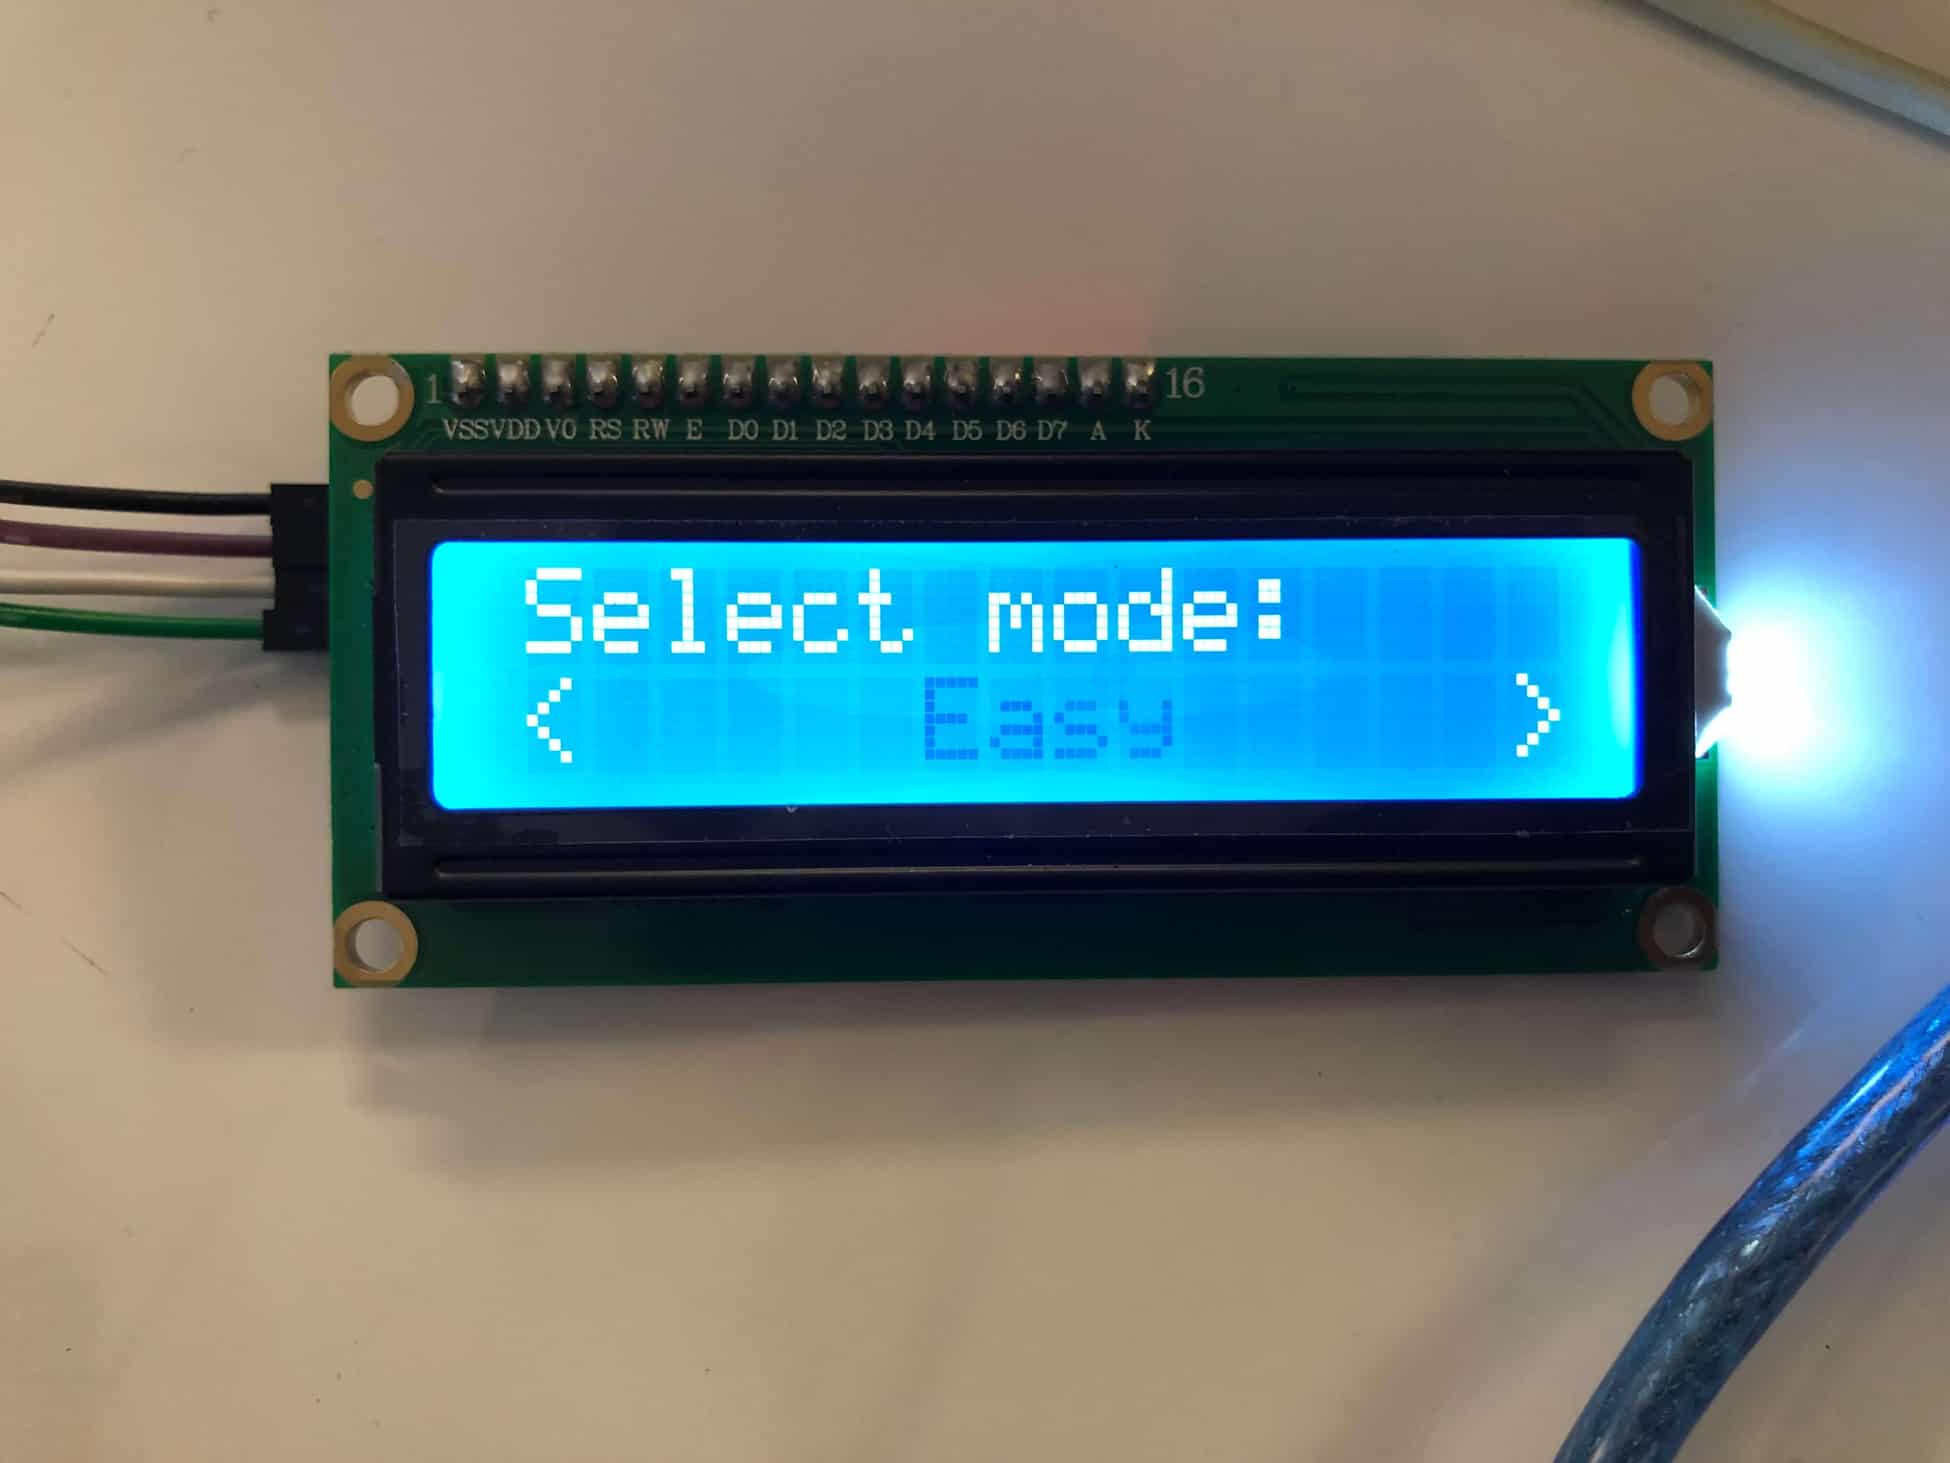
For my first modification, I decided as a part of the menu screen I would add a difficulty selection. The difficulties could be selected on the menu screen from easy, medium, hard, and impossible. I planned that each of the levels would get increasingly faster as the levels got harder. In order to do this, I had to adjust the code. The first step was to print the choices on the menu screen with a simple print statement for all the levels. As for making the game go faster when a harder level is selected, I had to set 4 different cases for each level in the code. If easy was selected from the menu screen, the delay would be set to 70 milliseconds in the loop. If medium was selected then 50 milliseconds. If hard, then 15 milliseconds. If impossible, then 1 millisecond. I also had to connect a wire from a pin on the Arduino (pin 2) to a button for level selection. The challenges I faced for this 1st milestone was writing code for different difficulty levels. Since this was my first time doing this I had to look online for the basic instructions to do it. It ended up working and being rather simple. As for my project in the future, I plan to make it wireless and have a flush setup where the LCD is in wood and the controller has bigger buttons and can be hand-held comfortably.
Demonstration

Diagram

First Milestone
How it works
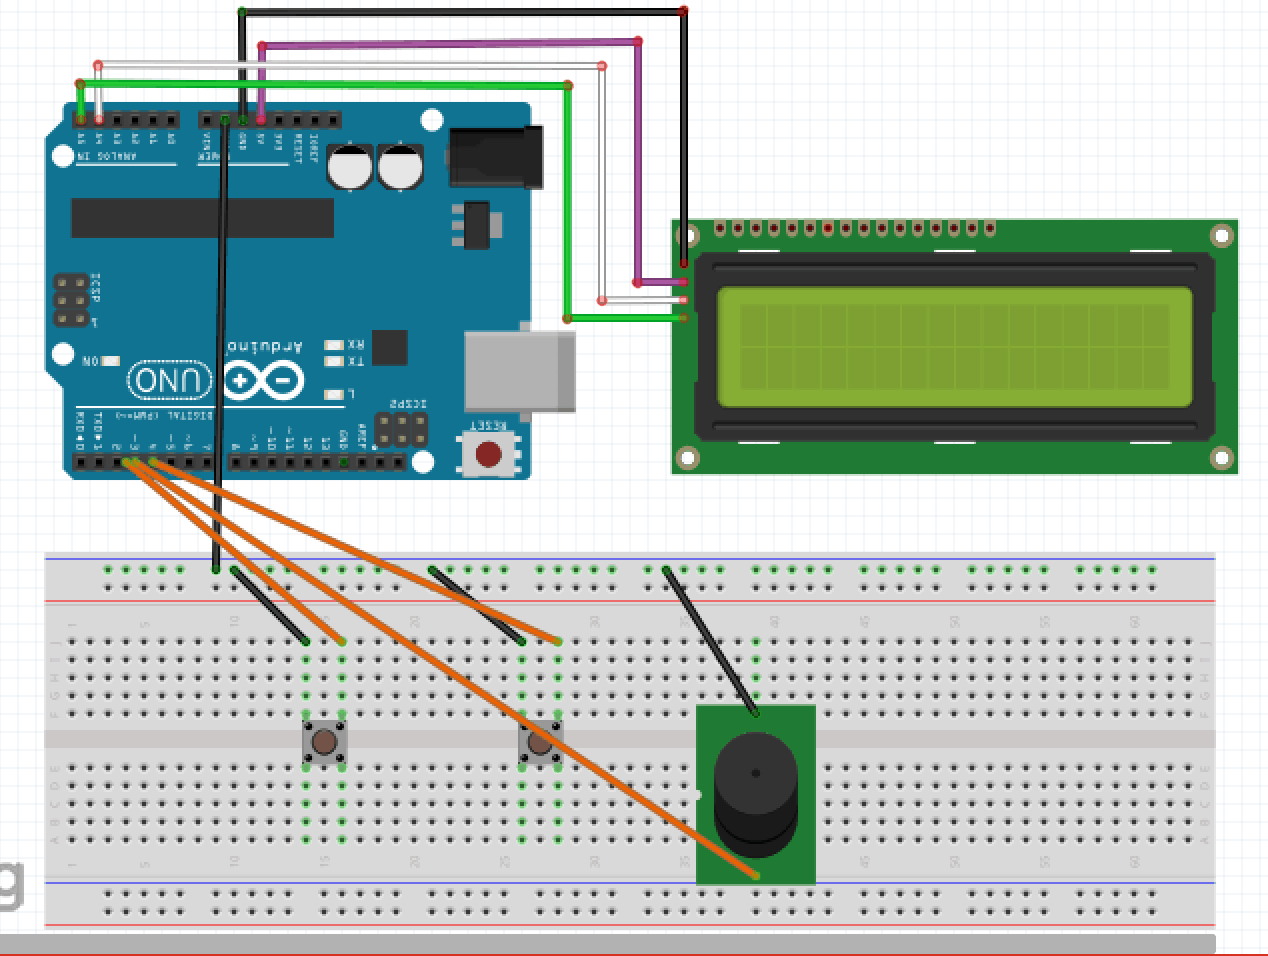
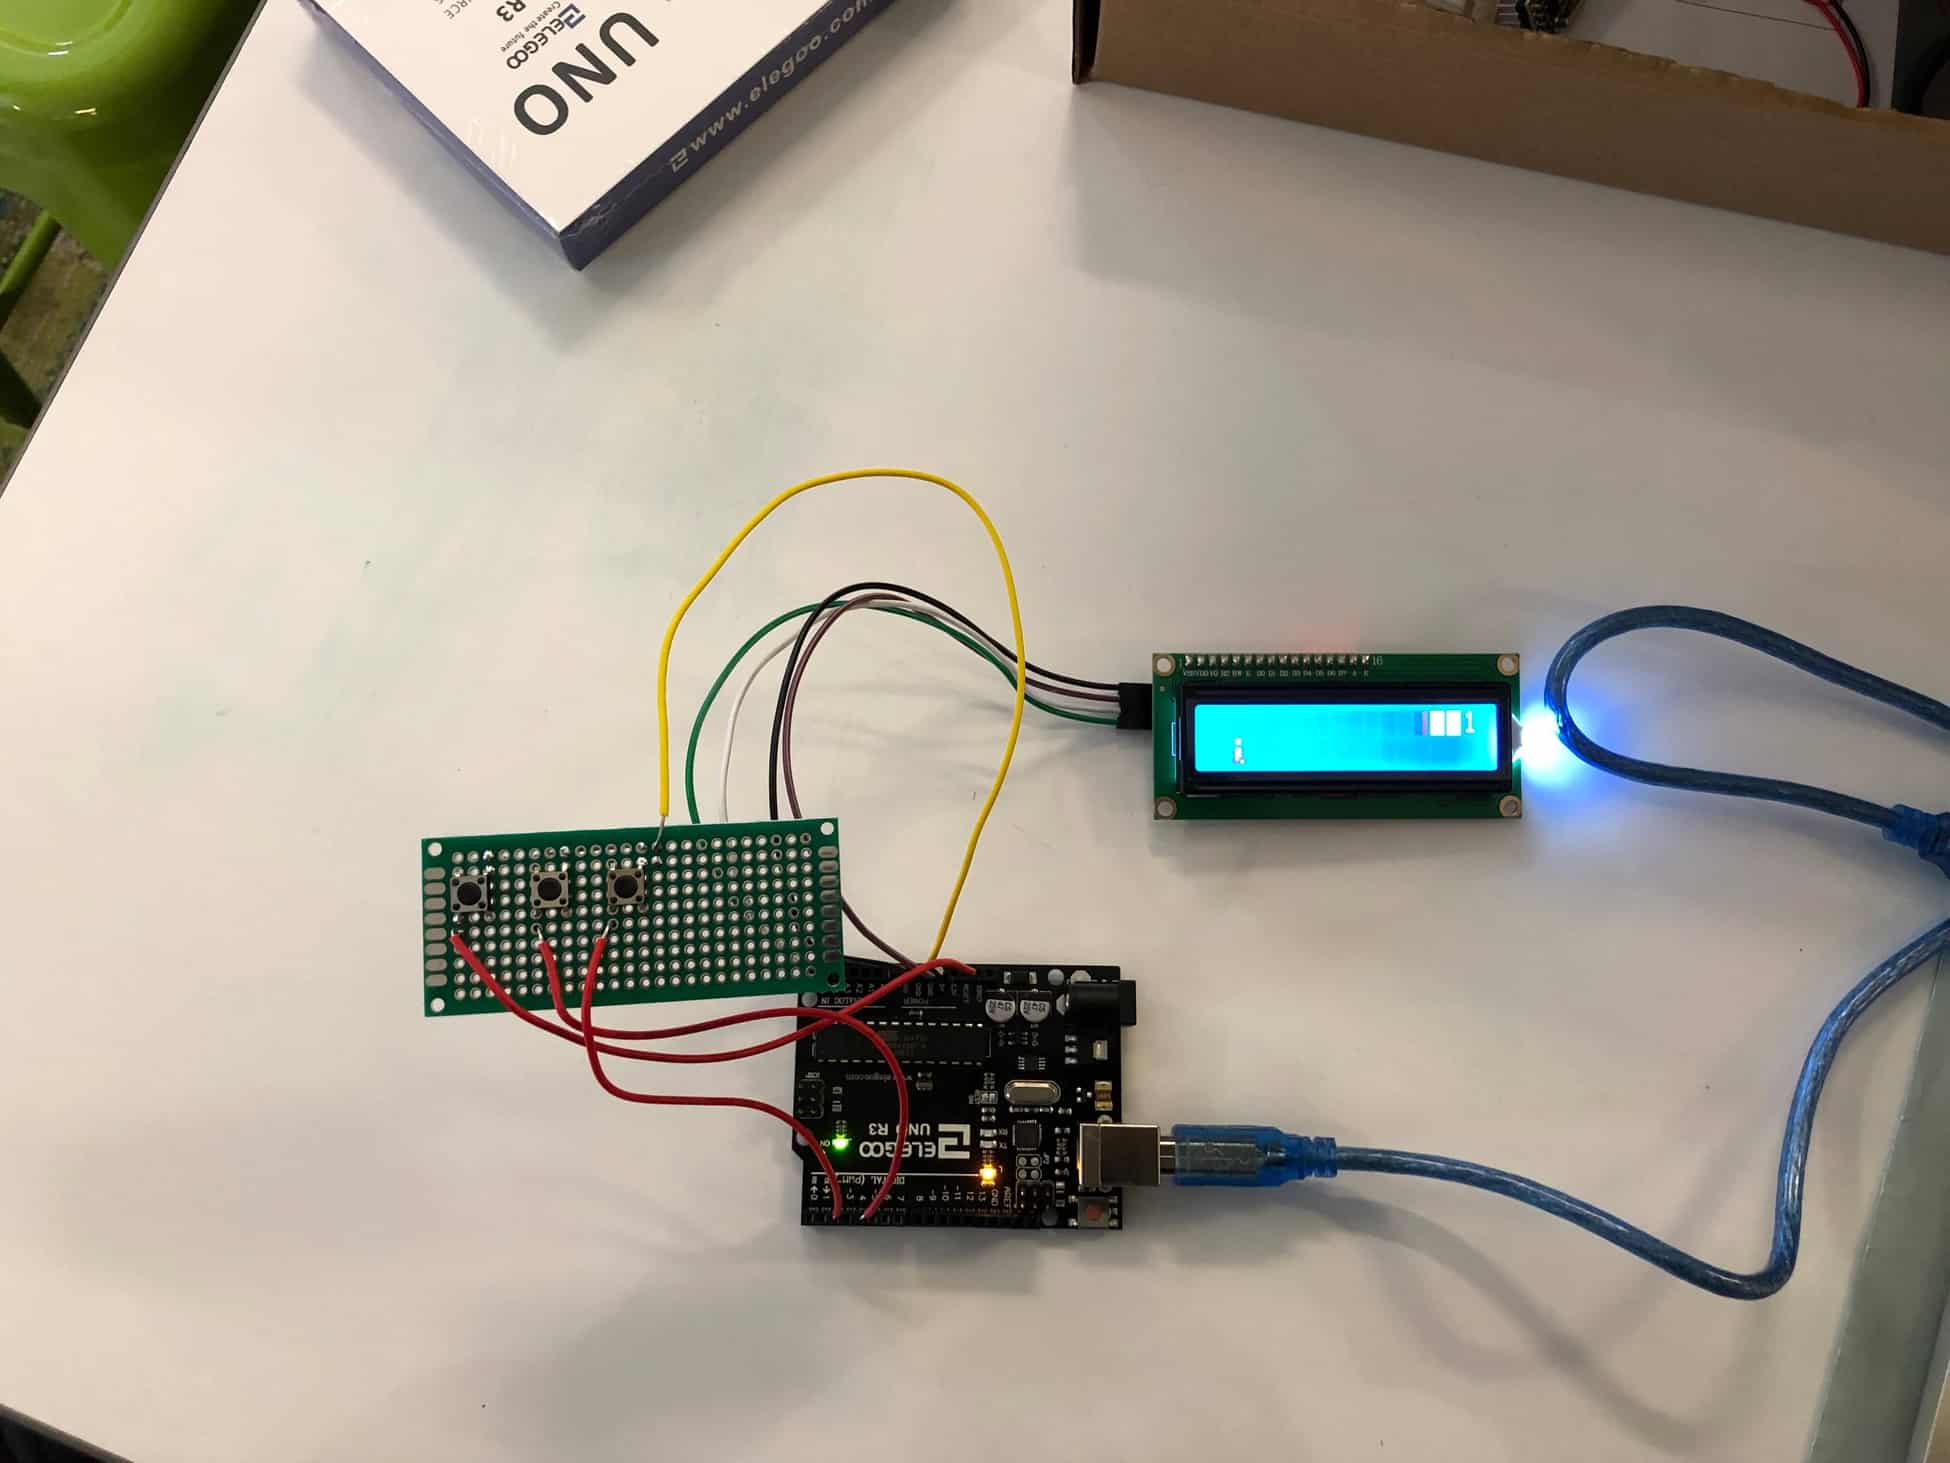
For my intensive project, I decided to make the Arduino endless runner game. This project involves mostly Arduino code. The overview of the project is basically a game where a character runs forever and jumps up and down from blocks to go as far as possible. If it hits the block, then the game is over. In order to connect the LCD screen to the Arduino I used the four pins on the back (GND, VCC, SDA, SCL). Each was connected to the GND, 5V, A4, and A5 respectively. In order to connect the buttons, I brought the ground to one side of each button and used pin 2,4, and reset on the Arduino and connected those to the other side of each button. The rest involved code. I then initialized graphics for the runner positions and the blocks that are on the ground. Put simply, I then made code to move blocks on the upper row of the LCD to the left and similarly to make blocks on the lower row of the LCD to move to the left. While this was happening the code was randomly generating new blocks coming in from the right. In order to do this, it basically selected a random number between 0 and 3. If 0 was randomly generated, then an upper block would be made and if any other number, then a lower block would be made. Additionally, buttons were set to either high or low, and when pressed would move the character up (meaning jumping). Some challenges that I faced during this aspect of the project was the facts that I was coding for an LCD for the first time with Arduino. But in the future, I plan to add difficulty levels to the project.
Demonstration

Diagram
Starter Project – Exploding Star Color Organ Kit
How it works
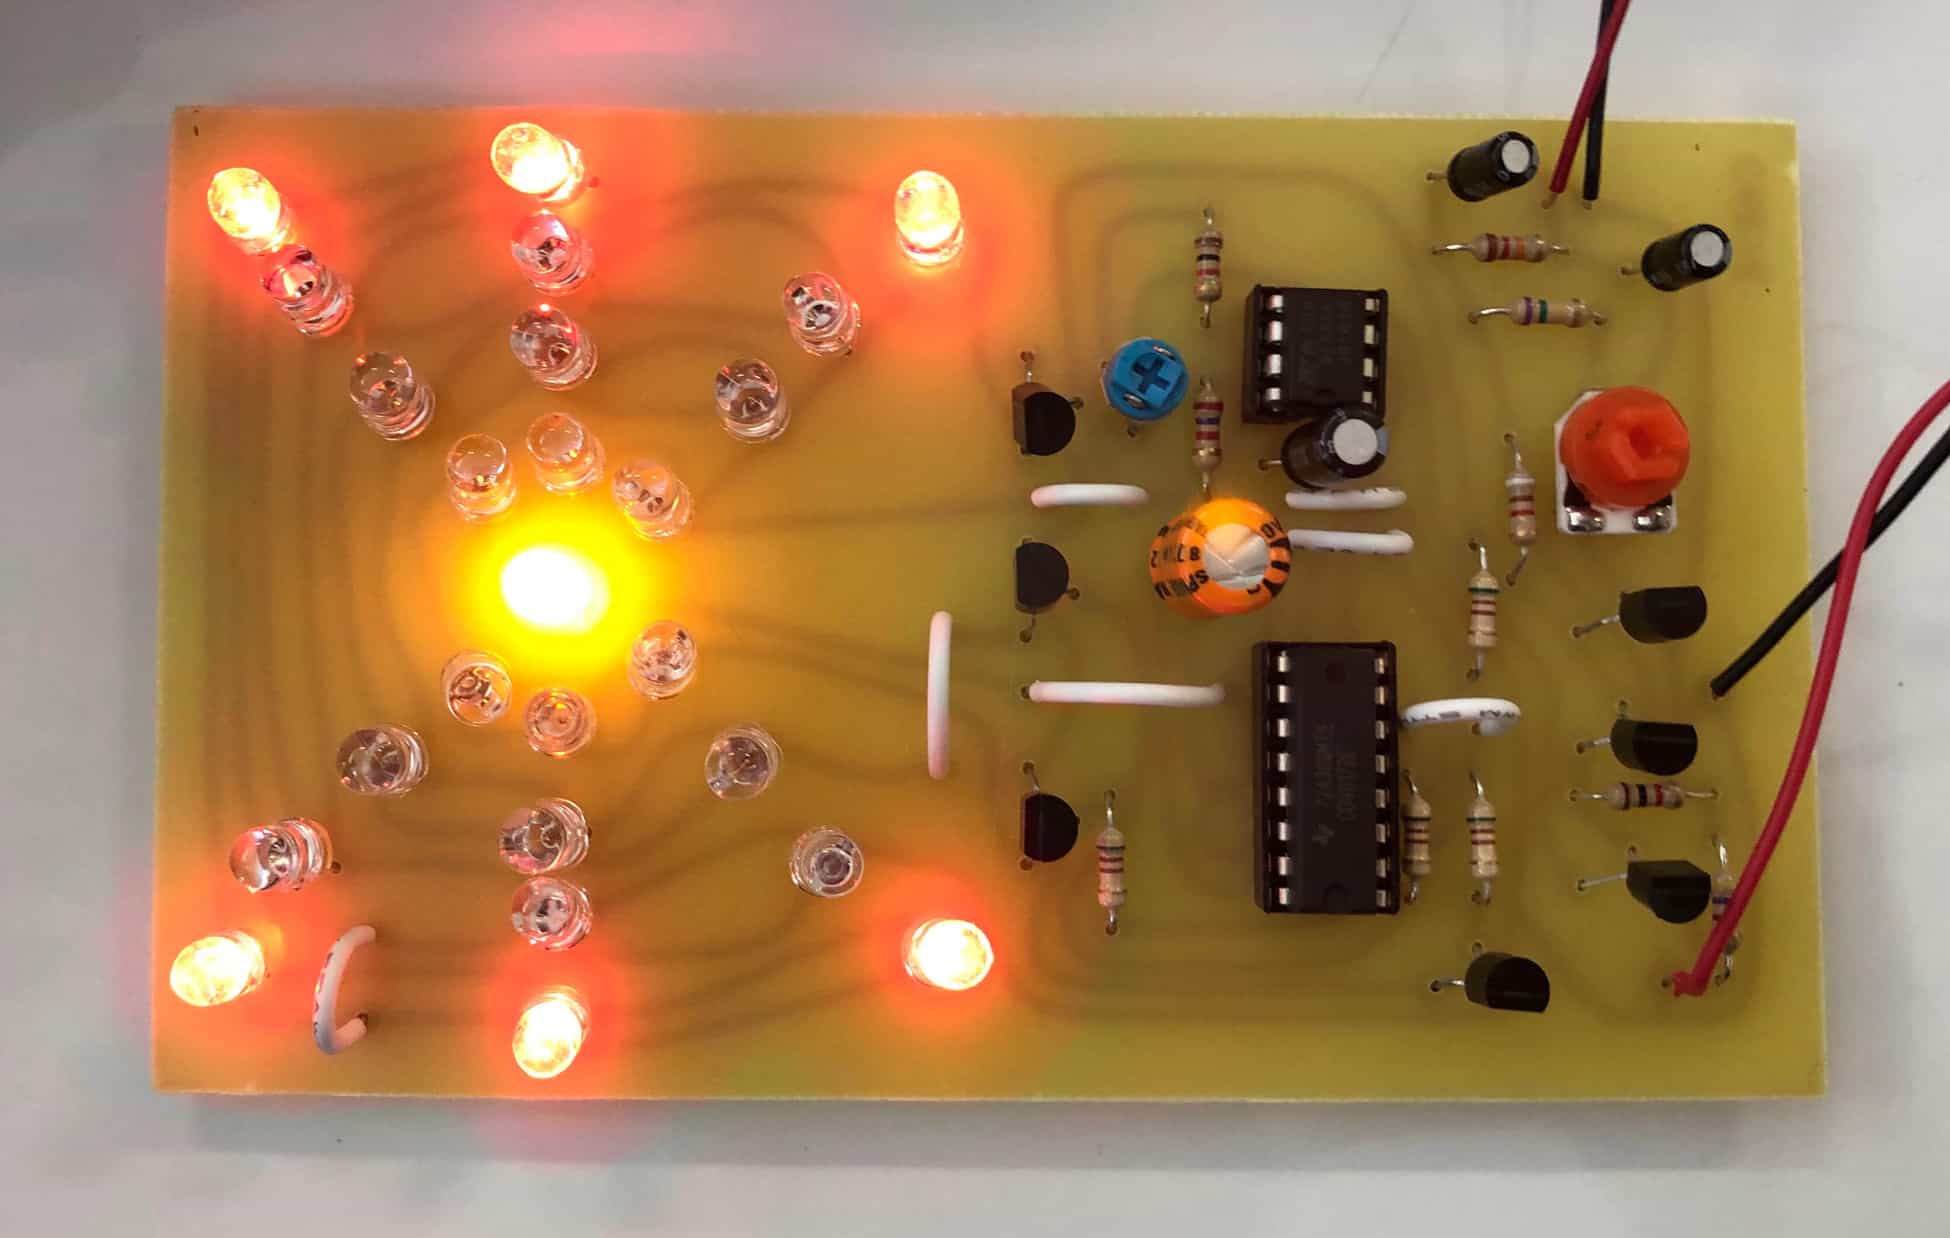
For my starter project, I decided to make the Exploding Star Color Organ. This device is powered by one 9 Volt battery. The microphone on the project converts the sound it picks up into a colorful light display. When the sound is picked up by the microphones, it is then sent to the first 3 transistors. These transistors are important in amplifying the signal strength. This is then sent to the first IC unit. This IC unit converts the sound signal into changes in voltage. This change in voltage is sent to the next IC unit where it determines which LED’s to light up. There are also resistors and capacitors within the circuit which regulate the voltage. Overall, I think the project was a success and I was able to understand what each component of the project was supposed to do and I was also able to practice my soldering skills. I didn’t run into many problems throughout the project besides the fact that at some points I soldered a bit too much.
Demonstration
Exploding Star Color Organ Schematic
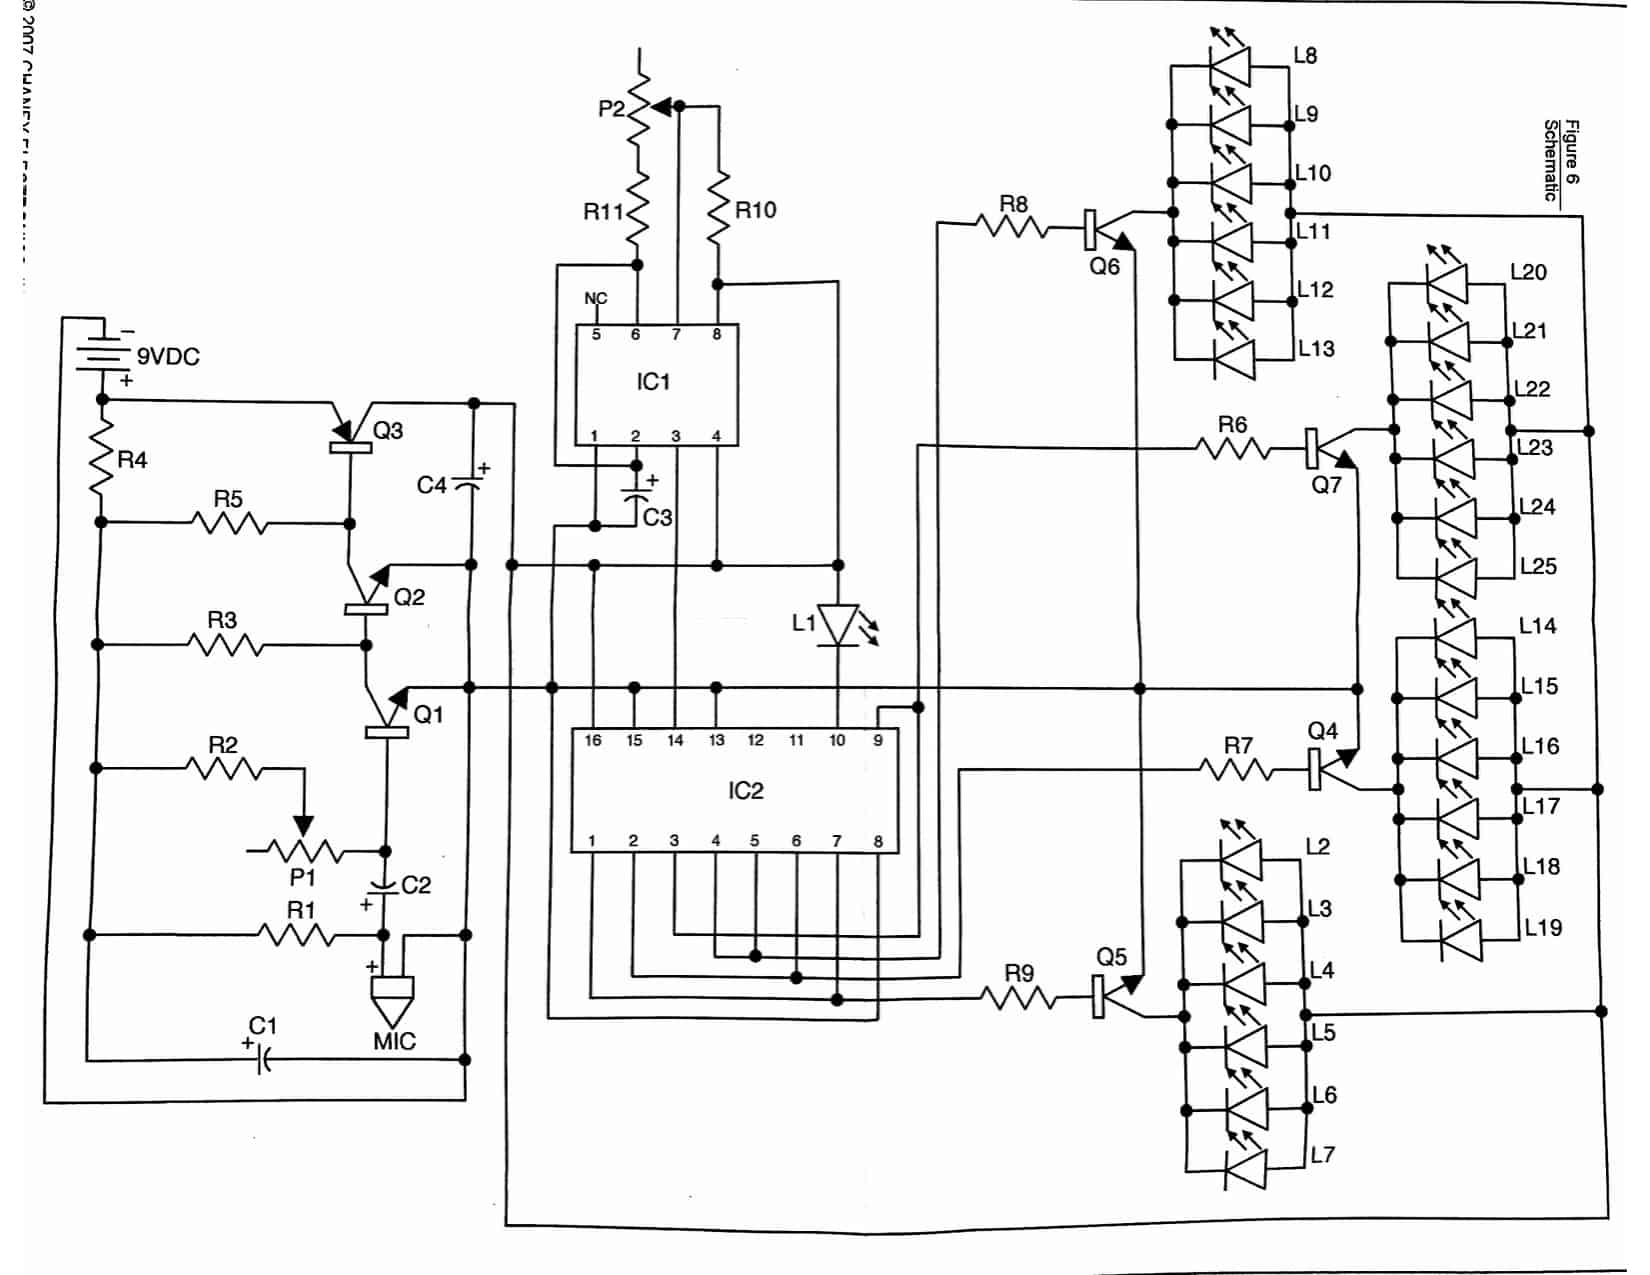
Schematic Source: https://www.goldmine-elec-products.com/prodinfo.asp?number=C6818