Final Demo
Deep Learning Based Model: Malaria Parasite Detection from Blood Smear
Final modification: Interested to create another application for my model (especially to replace manual inspection in a lab context), I retrained previous object detection model using Tensorflow dataset of 1,000 blood smear images of parasitized and uninfected cells. Given any blood smear image, model is able to detect parasitized cells with a confidence interval of around 60-90%.
Image Object Detection
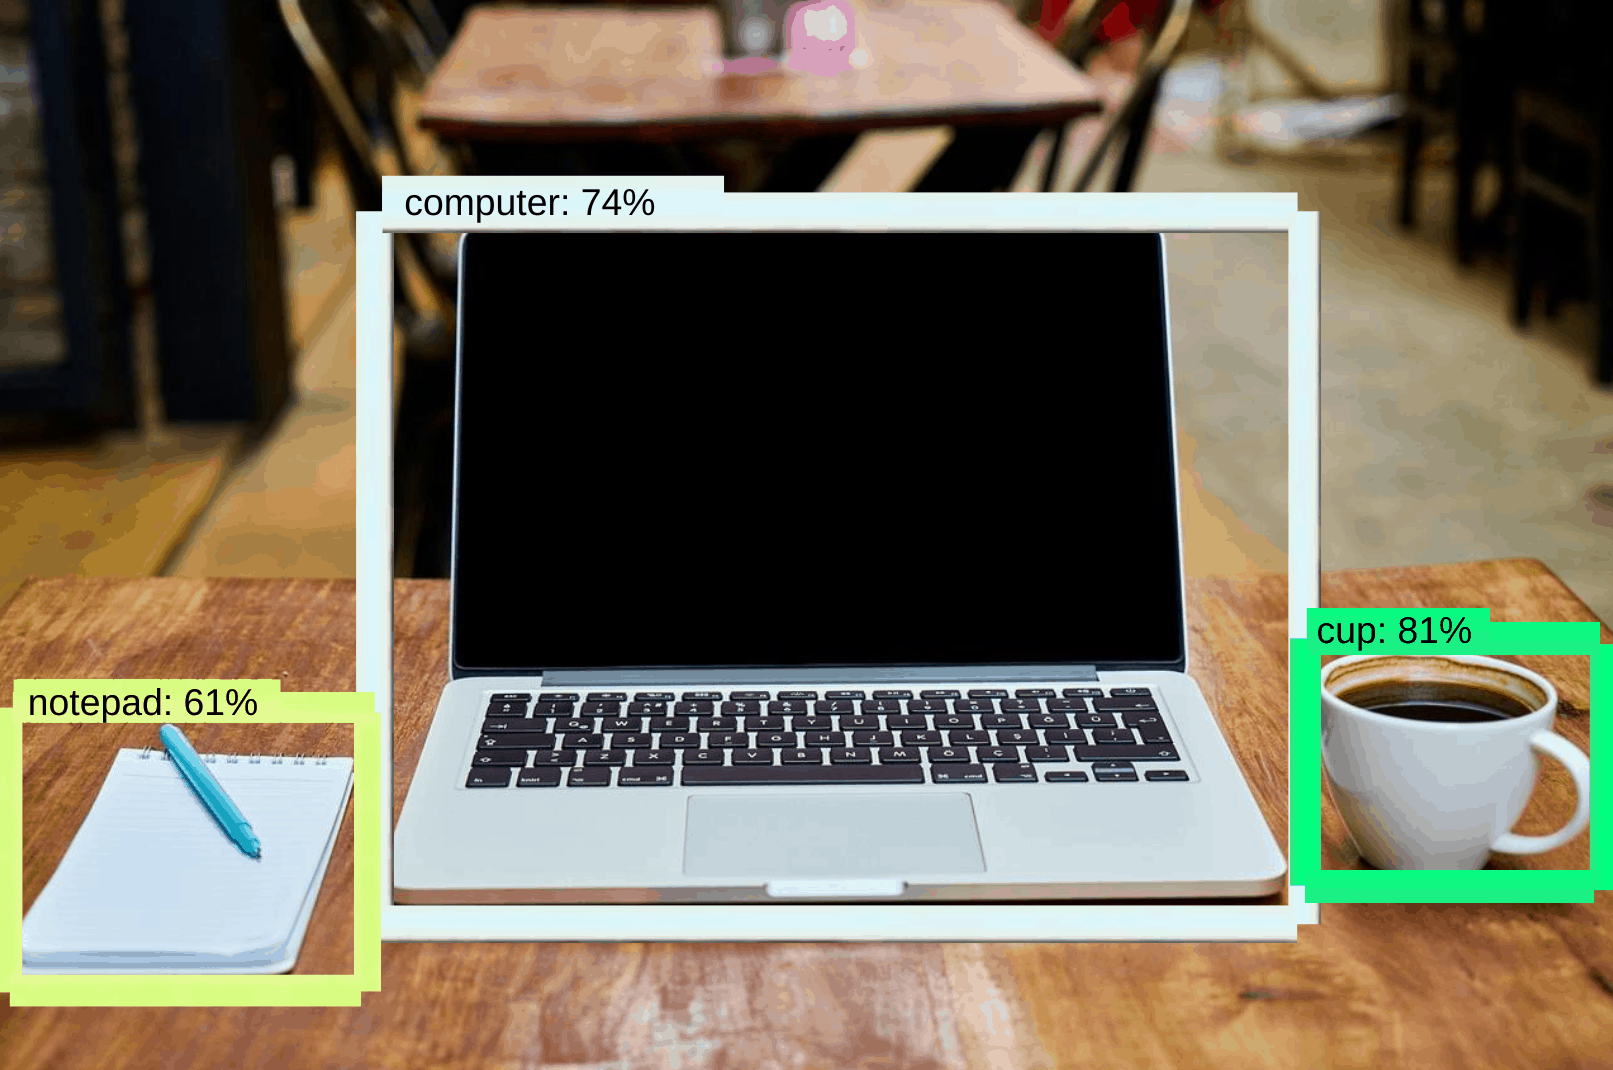
When run on PC/Raspberry Pi, model is trained with a dataset of 1,000+ images and 100 different object categories to detect and classify objects in locally saved images.
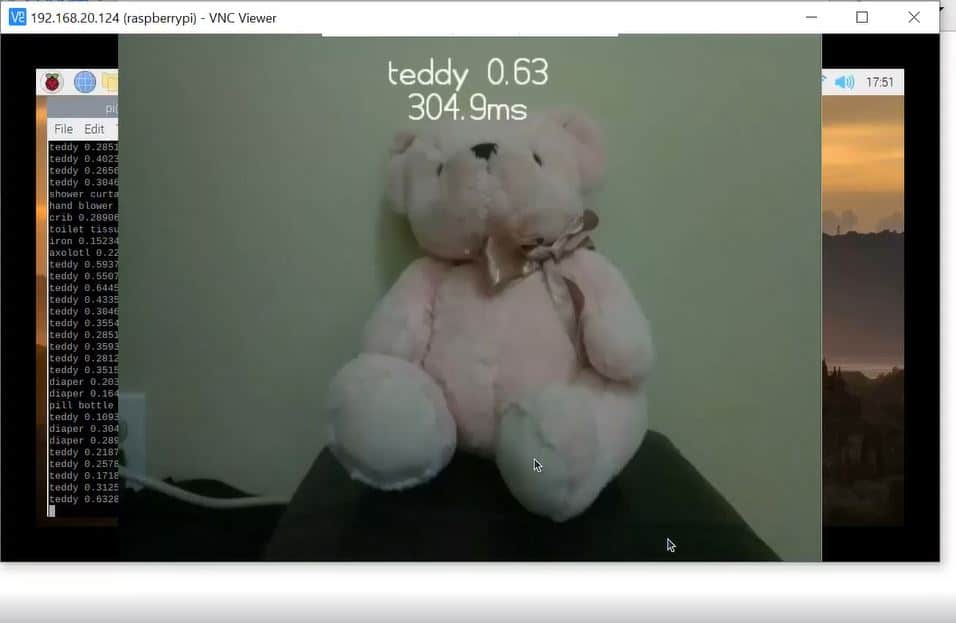
Demo of object detection model run live on Raspberry Pi Camera stream.
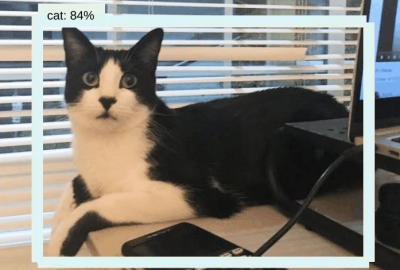
Demo of object detection model run live on PC webcam.
Video and Camera Stream Object Detection
When run on PC/Raspberry Pi, model relies on previous training from 1000 images dataset and is able to render deep learning predictions onto a live camera stream from either the Pi Camera module or a PC webcam.
Project Summary
Final Milestone
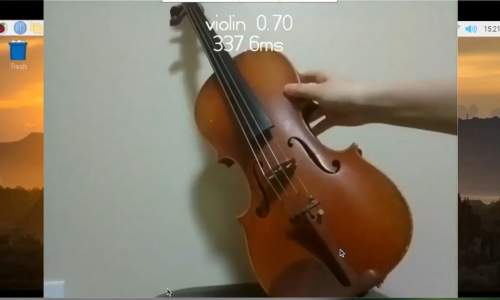
For my final milestone, I converted the trained and saved Tensorflow model on my model to a TF Lite format, imported it to my Raspberry Pi, and was able to run my trained model with the Python file I coded previously.
To convert Tensorflow to TFLite, I used the TensorFlow Lite Optimizing Converter (TOCO). To do this, I installed and configured MSYS2V, Bazel, and some other Python packages that are used for building TensorFlow.
After running the Tensorflow model through the converter, I ended up with the model in a .tflite file format. I also had to recreate a label map for the model in TFLite format.
After importing the .tflite file and label map to my Raspberry Pi via WinSCP, a software that allows for secure file transfer between a local and a remote computer, I ran the .tflite file with my python code from my first milestone. The Raspberry Pi launched a camera preview with the prediction from the model labeled above the object in the camera stream.
Second Milestone
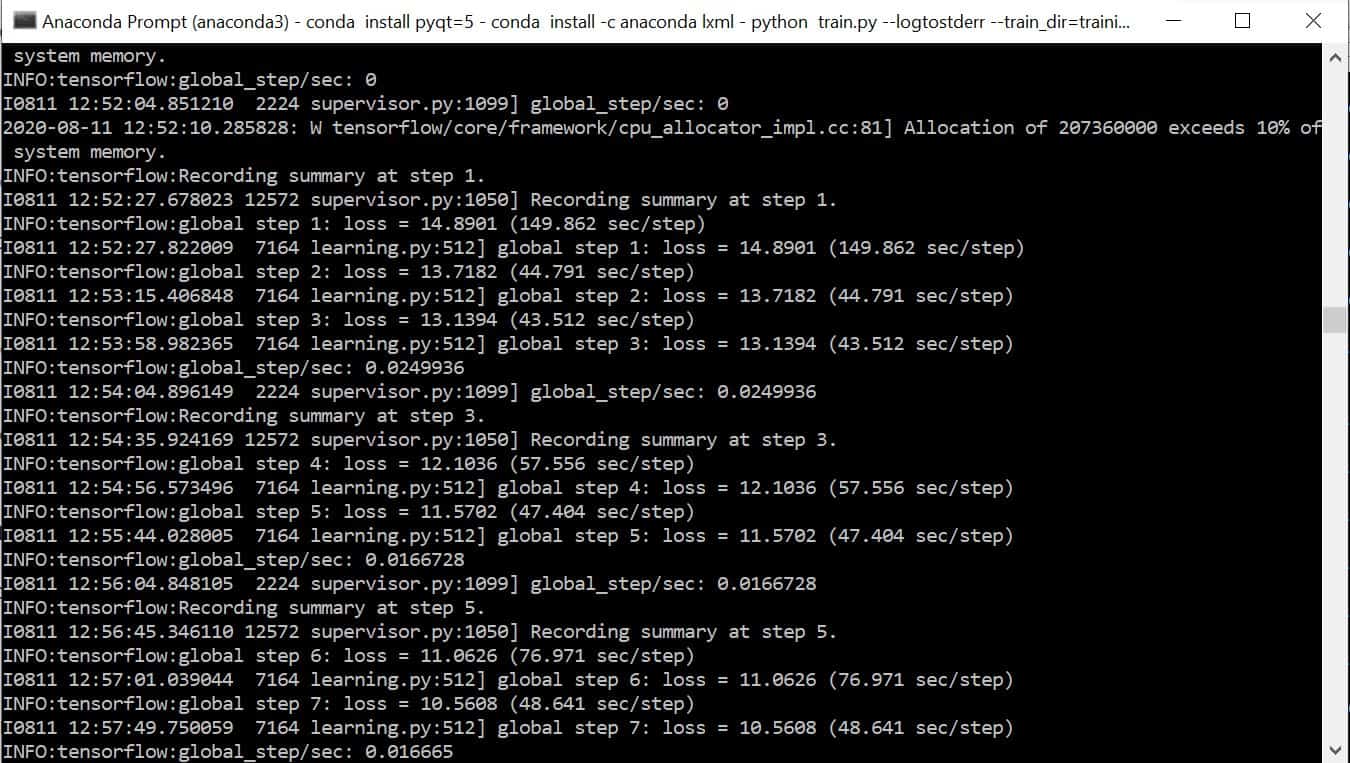
For my second milestone, I custom trained my own Tensorflow model on my Windows PC.
First, I built Tensorflow from source on my Windows 10 PC. In order to have a virtual environment for the Tensorflow training, I also installed Anaconda, CUDA, and cuDNN and set up the Anaconda virtual environment as well as the Tensorflow directory.
To train my model, I used an Imagenet dataset of around 2000 images to train an object detection model to detect 35 classes of images. I used labelImg to annotate images (by drawing bounding boxes around the objcets) and generate xml files, which were converted to .csv files containing all the data for images, which were divided into train or test categories.
After configuring a few python files, including the label map for the different objects the model can detect, I ran the python file to initiate training, which took a few hours. The loss (number indicating how bad the model’s prediction was on a single example) decreased from 45 to around 2.7. After exporting the model as a frozen inference graph, I tested my model out with a test image.
First Milestone
Next, I ran a pretrained model with Tensorflow. I initially connected and configured the Pi Camera, installed the Interpreter class from the Tensorflow Lite API, installed a few Python packages, and ran the example model, which displays a camera preview with the predicted image classification result and its confidence interval.
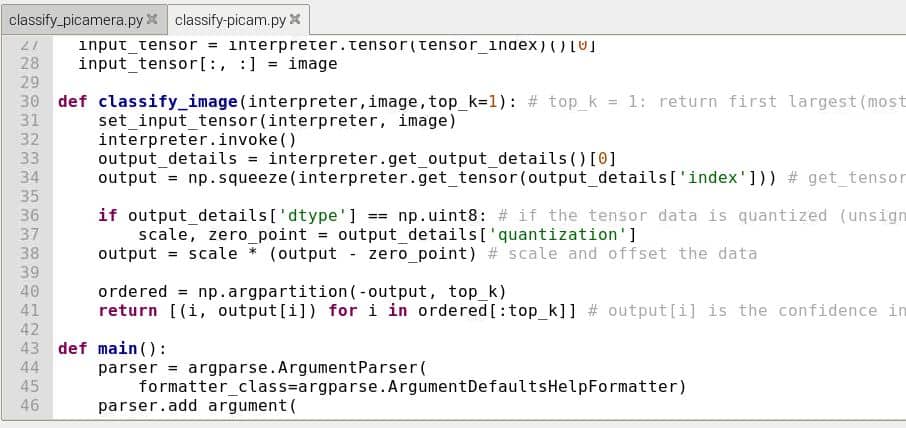
My first milestone was to set up the Raspberry Pi, installing Tensorflow, and running a pretrained object detection model with Tensorflow.
I set up my Raspberry Pi 3B by installing the Raspberry Pi OS onto a microSD card using Raspberry Pi Imager, enabling SSH and VNC, and connecting the Raspberry Pi to my Wifi network through an Ethernet cable. I also applied two heat sinks to prevent the Raspberry Pi from overheating.
After connecting to my Raspberry Pi through Putty, I installed Tensorflow Lite 2 by installing a virtual environment along with NumPy and installed Tensorflow packages inside the virtual environment.
