
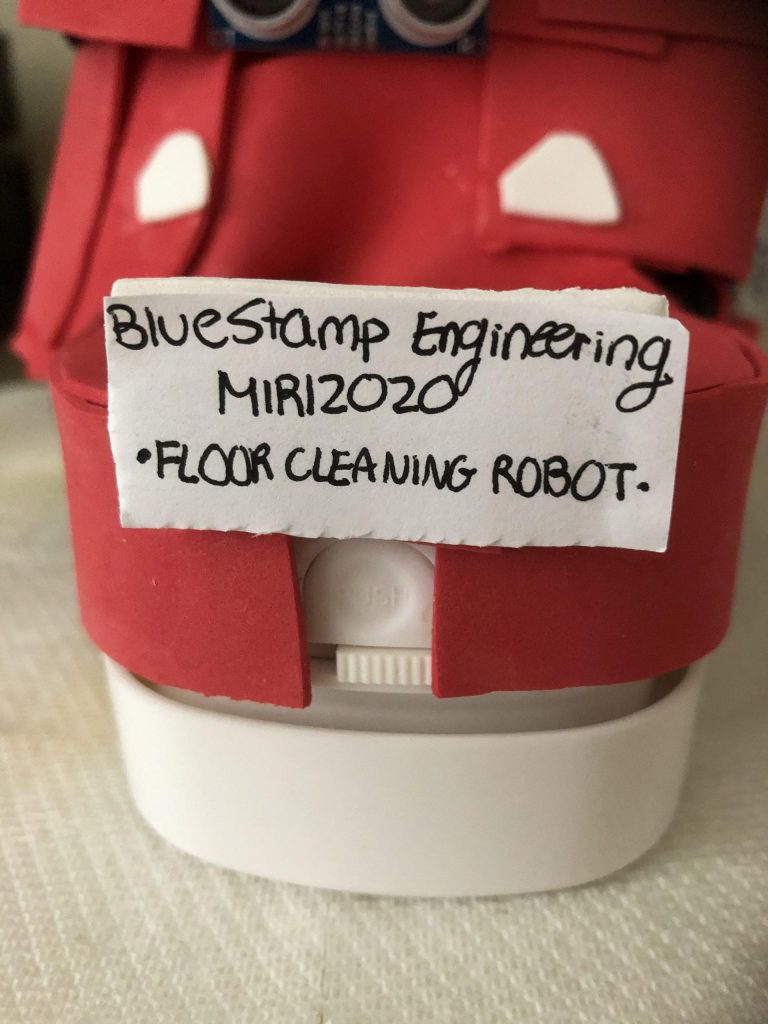
Floor Cleaning Robot
Engineer
Miri H
Area of Interest
Design/Software Engineering
School
SAR High School
Grade
Incoming Junior
MODIFICATION
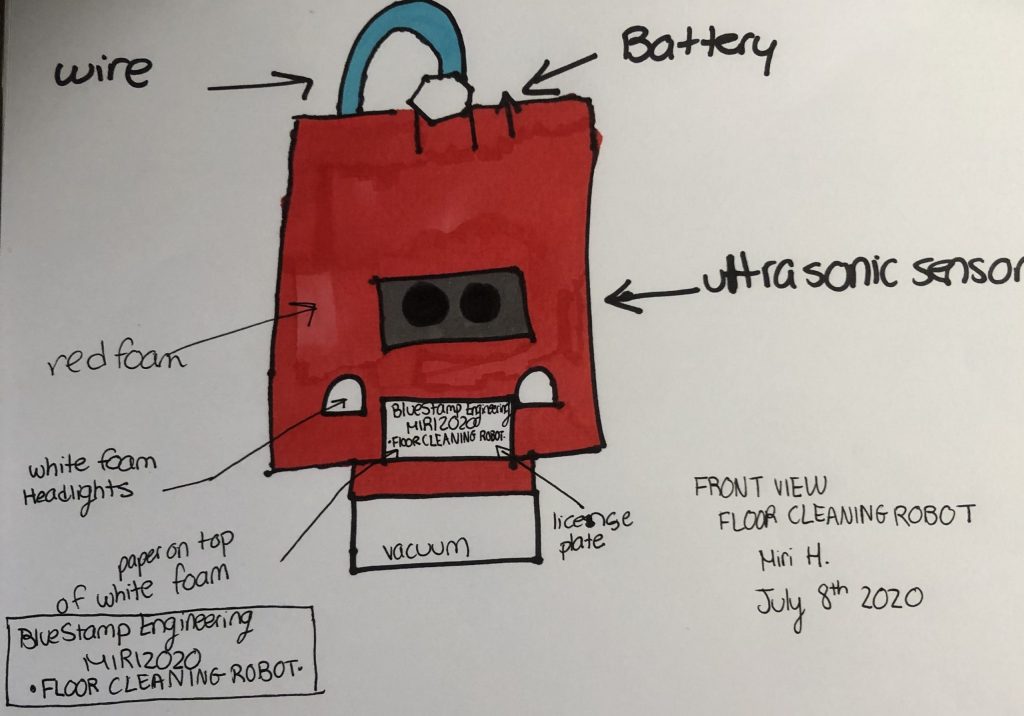
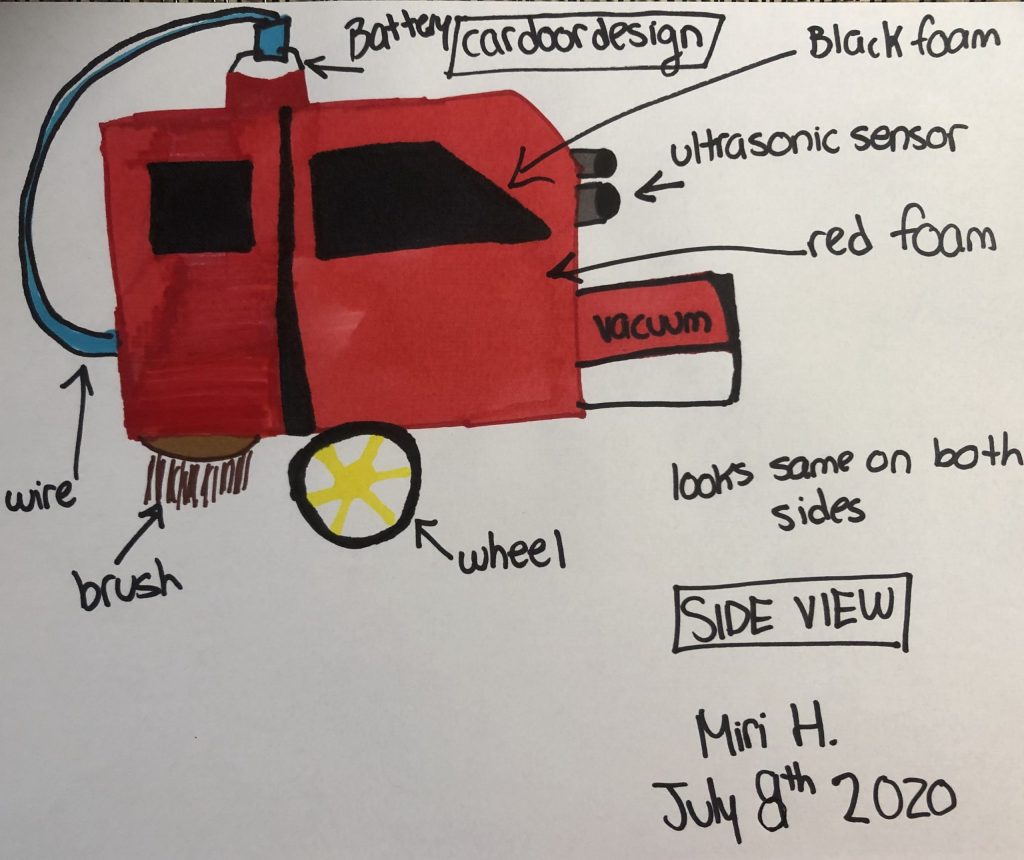
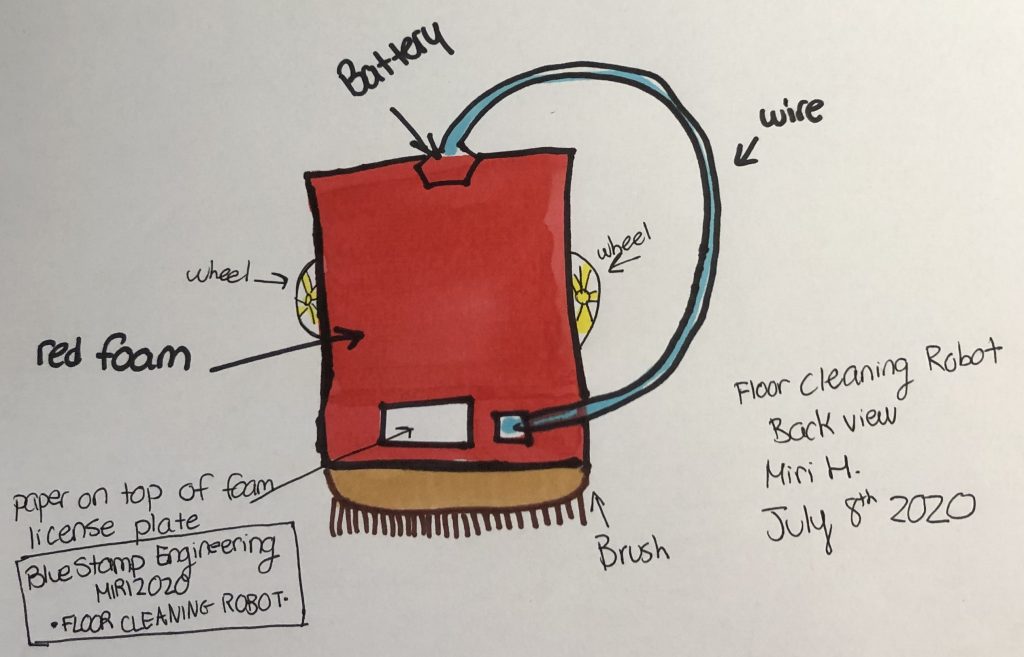
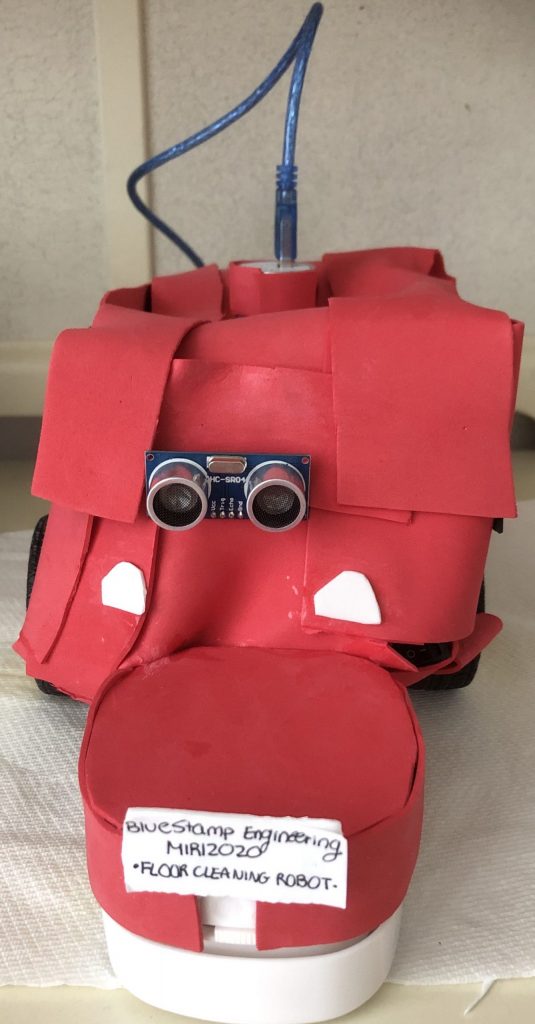
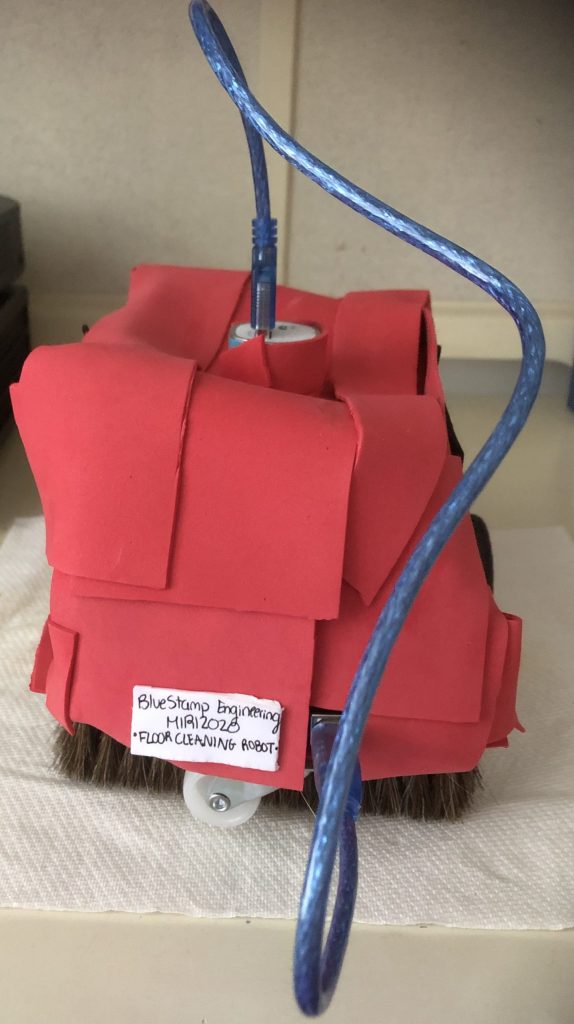
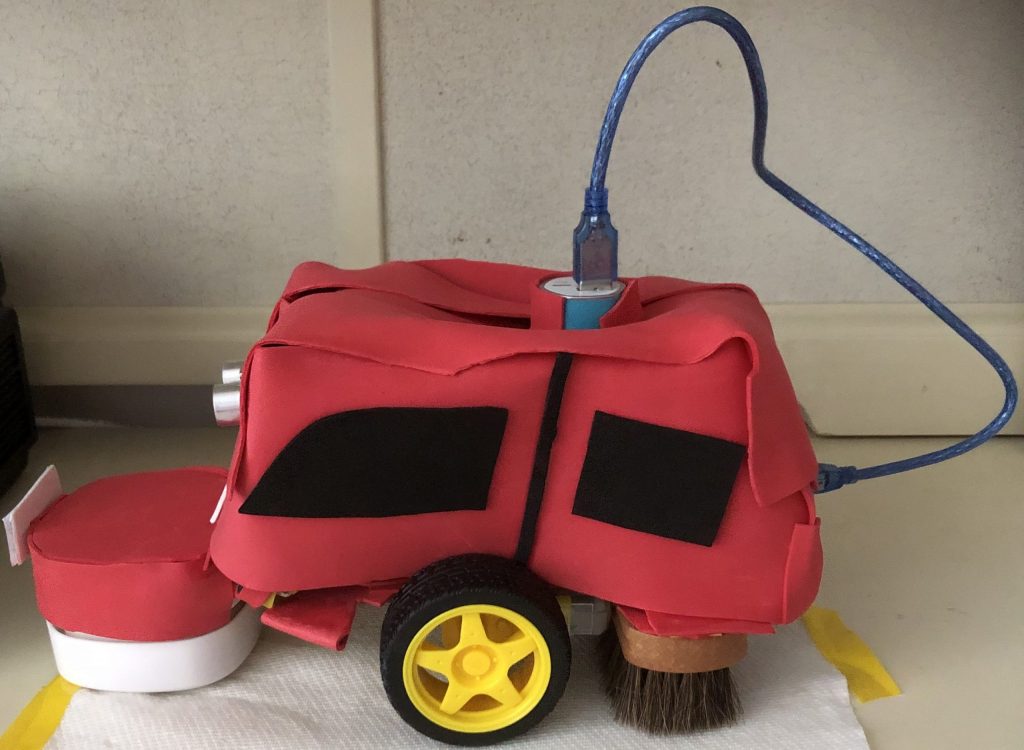
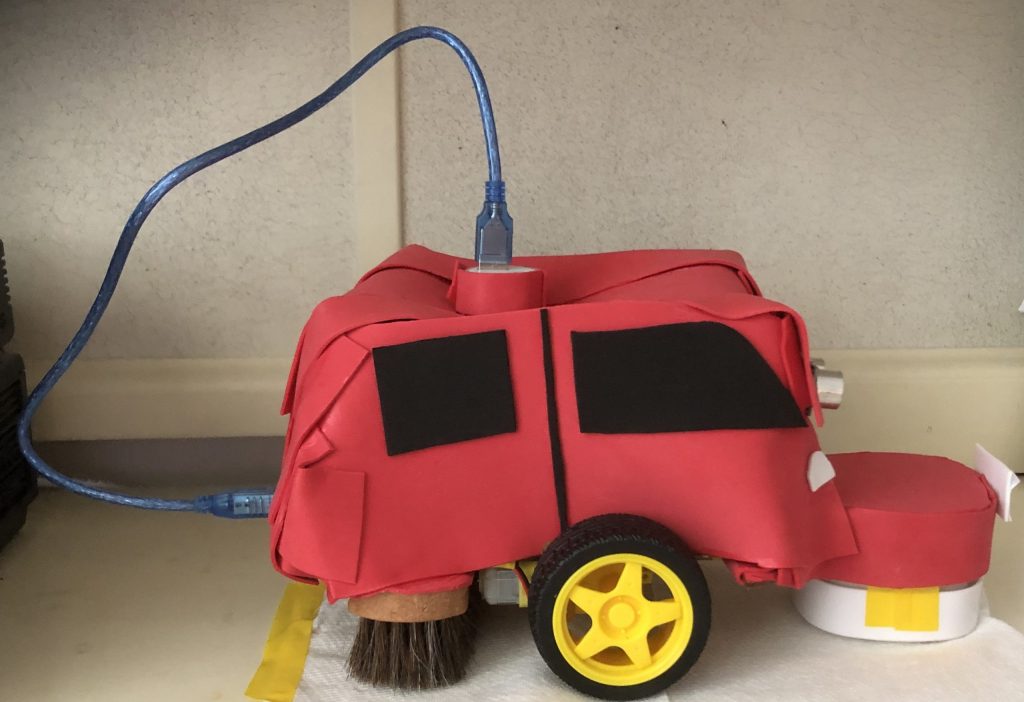
For my modification, I designed my robot as a car. I decided to do this for the car to be safer and aesthetically pleasing. One of the challenges I encountered was putting the foam standing up because I needed to make sure it’s secure. I solved this by layering the foam. Before the decoration, I drew sketches of what I envisioned it would look like. Also, this floor cleaning robot can be appealing for all ages. For example, since it seems like a toy car, kids would want to clean up with it. Furthermore, this will stand out because it’s unique, and it’s a cool decoration.

Second Milestone
For my final milestone, I added the ultrasonic sensor so my robot can move freely, and I placed cleaning supplies on my robot. One of the challenges I faced was laying the cleaning supplies on because it was a little too heavy for the robot to move. First, I attempted to put tape and then zip ties, but the vacuum weighed too much. Then I decided to glue a piece of foam to my vacuum and another piece on my robot. After, I connected both of the pieces with glue. I also concluded that I didn’t need my breadboard because it wasn’t an essential tool. Another difficulty was attaching my ultrasonic sensor on the robot because it had numerous wires connecting to different places. It was also tricky inserting the blue battery on my robot because it kept falling. Once again, I glued foam on the battery and connected it directly to the robot. For my modification, I plan to cover up my robot with foam and to design it to look like a car to be aesthetically pleasing and to make it safer so the wires won’t be exposed.
/*
Floor Cleaning Robot
Miri H
*/

int input4 = 13;
int input3 = 12;
int input2 = 8;
int input1 = 7;
void setup() {
pinMode(input4, OUTPUT); // sets the digital pin 13 as output
pinMode(input3, OUTPUT);
pinMode(input2, OUTPUT);
pinMode(input1, OUTPUT);
#define trigPin 6
#define echoPin 4
Serial.begin(9600);

}
void loop()
{

long duration, distance;
digitalWrite(trigPin, LOW);
delayMicroseconds(2);
digitalWrite(trigPin, HIGH);

delayMicroseconds(10);
digitalWrite(trigPin, LOW);
duration = pulseIn(echoPin, HIGH);
distance = (duration / 2) / 29.1;

if (distance < 9) {
digitalWrite (input4, HIGH);
digitalWrite (input3, LOW);
digitalWrite (input2, LOW);
digitalWrite (input1, LOW);
}

else {
digitalWrite (input4, LOW);
digitalWrite (input3, HIGH);
digitalWrite (input2, LOW);
digitalWrite (input1, HIGH);
}
Serial.println (distance);
delay(1000);
}

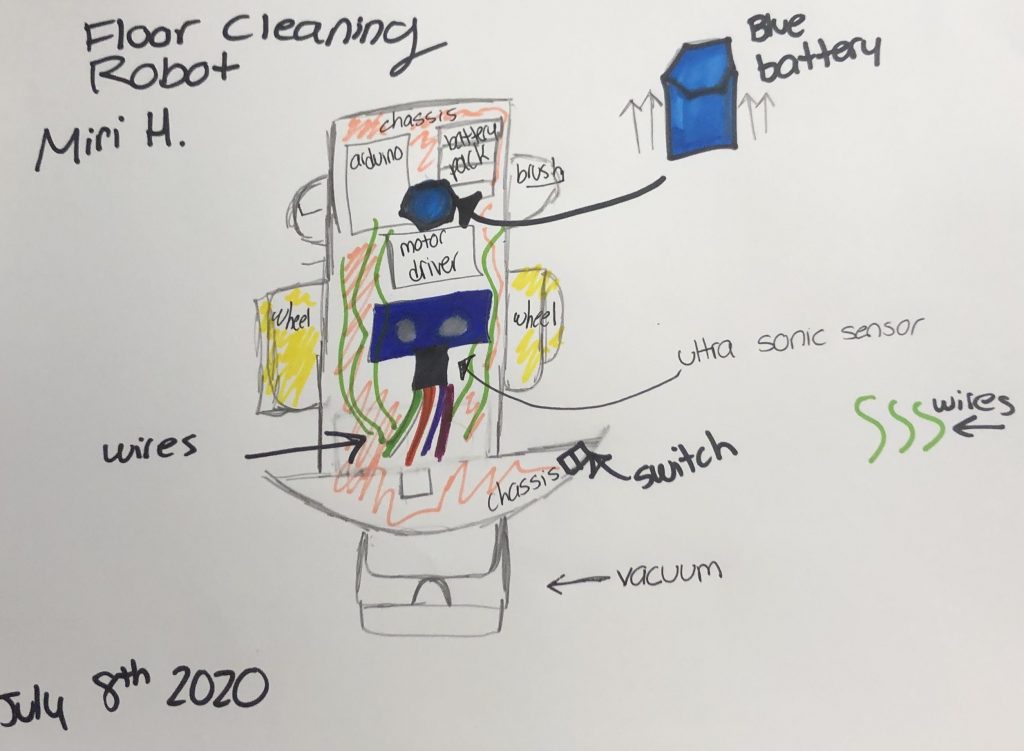
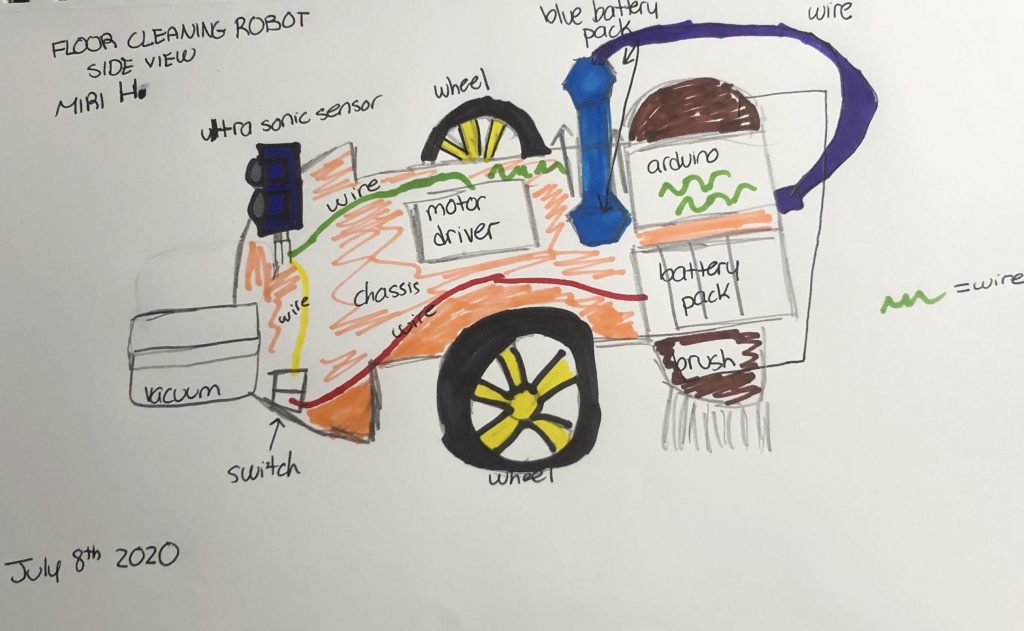
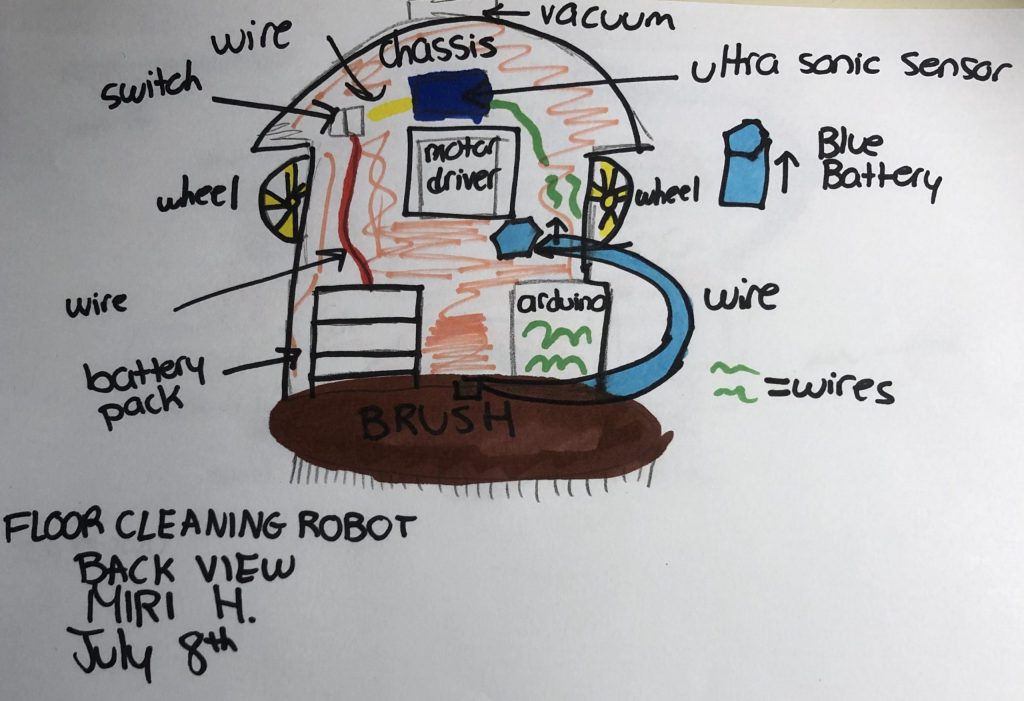
First Milestone
For my first milestone, I assembled the chassis of the robot, which has two different motors that connect two wheels. Also, there is another mini wheel in the back for support. On top of my chassis, I put a breadboard, a battery pack of 6 volts, a coded Arduino, and an L298N motor driver. One of the obstacles that I confronted was attaching the motors to the chassis with the screws. For my second milestone, I plan to insert the cleaning supplies on the robot and to use an ultrasonic sensor so my robot won’t bang into items.
