Video Game Emulator

The video game emulator is a retro gaming machine that emulates a video game console’s hardware and allows you to play a variety of games using the Raspberry Pi and RetroPie. It uses the Raspberry Pi 3 Model B+, a computer monitor, an SD card, game controllers, and a software called RetroPie. In addition, I also created my own game using Pygame, as well as a custom controller.

Engineer

Matthew L

Area of Interest

Computer Programming

School

Lynbrook High School

Grade

Incoming Junior

Reflection

Overall, I had such a great time and I learned a lot from this program. Not only did I gain a lot of knowledge about engineering, but I also learned some very important life skills. I learned that you have to go through failure to become successful and that persistence is extremely important. I also experienced a lot about software and hardware engineering. For software, I learned how to create my own game from scratch using Pygame, for this was something completely new for me. I also learned more about hardware engineering by building the video game emulator itself and assembling the Raspberry Pi. 

Final Milestone

Game Code

import pygame
import math

import random

pygame.init()

screen = pygame.display.set_mode((800,600))
pygame.display.set_caption(‘Space Invader’’)

background = pygame.image.load(‘background.png’)

playerImg = pygame.image.load(‘player.png’)
playerX = 370
playerY = 480
playerX_change = 0

enemyImg = []
enemyX = []
enemyY = []
enemyX_change = []
enemyY_change= []
num_of_enemies = 6

for i in range(num_of_enemies):
enemyImg.append(pygame.image.load(‘enemy.png’))
enemyX.append(random.randint(0,735))
enemyY.append(random.randint(50,150))
enemyX_change.append(15)
enemyY_change.append(50)

bulletImg = pygame.image.load(‘bullet.png’)
bulletX = 0
bulletY = 480
bulletX_change = 0
bulletY_change = 25
bullet_state = “ready”

score = 0
font = pygame.font.Font(‘freesansbold.ttf’, 32)
textX = 10
textY= 10

over_font = pygame.font.Font(‘freesansbold.ttf’, 64)

def game_over_text():
over_text = over_font.render(“GAME OVER”, True, (255,255,255))
screen.blit(over_text,(200, 250))

def show_score(x,y):
text = font.render(“Score: ” + str(score), True, (255,255,255))
screen.blit(text,(x, y))

def player(x,y):
screen.blit(playerImg,(x, y))

def enemy(x,y, i):
screen.blit(enemyImg[i],(x, y))

def fire(x,y):
global bullet_state
bullet_state = “fire”
screen.blit(bulletImg, (x + 16,y + 10))

def isCollision(enemyX, enemyY, bulletX, bulletY):
distance = math.sqrt((math.pow(enemyX – bulletX, 2)) + (math.pow(enemyY – bulletY, 2)))
if distance < 27:
return True
else:
return False

done = True

while done:

screen.fill((0,0,0))
screen.blit(background,(0,0))

for event in pygame.event.get():
if event.type == pygame.QUIT:
done = False

if event.type == pygame.KEYDOWN:
if event.key == pygame.K_LEFT:
playerX_change = -13
if event.key == pygame.K_RIGHT:
playerX_change = 13
if event.key == pygame.K_SPACE:
if bullet_state is “ready”:
bulletX = playerX
fire(playerX, bulletY)

if event.type == pygame.KEYUP:
if event.key == pygame.K_LEFT or event.key == pygame.K_RIGHT:
playerX_change = 0

playerX += playerX_change

if playerX <= 0: playerX = 0 elif playerX >= 736:
playerX = 736

for i in range(num_of_enemies):
if enemyY[i] > 440:
for x in range(num_of_enemies):
enemyY[x] = 2000
game_over_text()
break

enemyX[i] += enemyX_change[i]
if enemyX[i] <= 0: enemyX_change[i] = 15 enemyY[i] += enemyY_change[i] elif enemyX[i] >= 736:
enemyX_change[i] = -15
enemyY[i] += enemyY_change[i]

collision = isCollision(enemyX[i],enemyY[i],bulletX,bulletY)
if collision:
bulletY = 480
bullet_state = “ready”
score += 1
enemyX[i] = random.randint(0,735)
enemyY[i] = random.randint(50,150)

enemy(enemyX[i], enemyY[i], i)

if bulletY <= 0:
bulletY = 480
bullet_state = “ready”

if bullet_state is “fire”:
fire(bulletX,bulletY)
bulletY -= bulletY_change

player(playerX,playerY)
show_score(textX, textY)
pygame.display.update()

pygame.quit()
img_9129
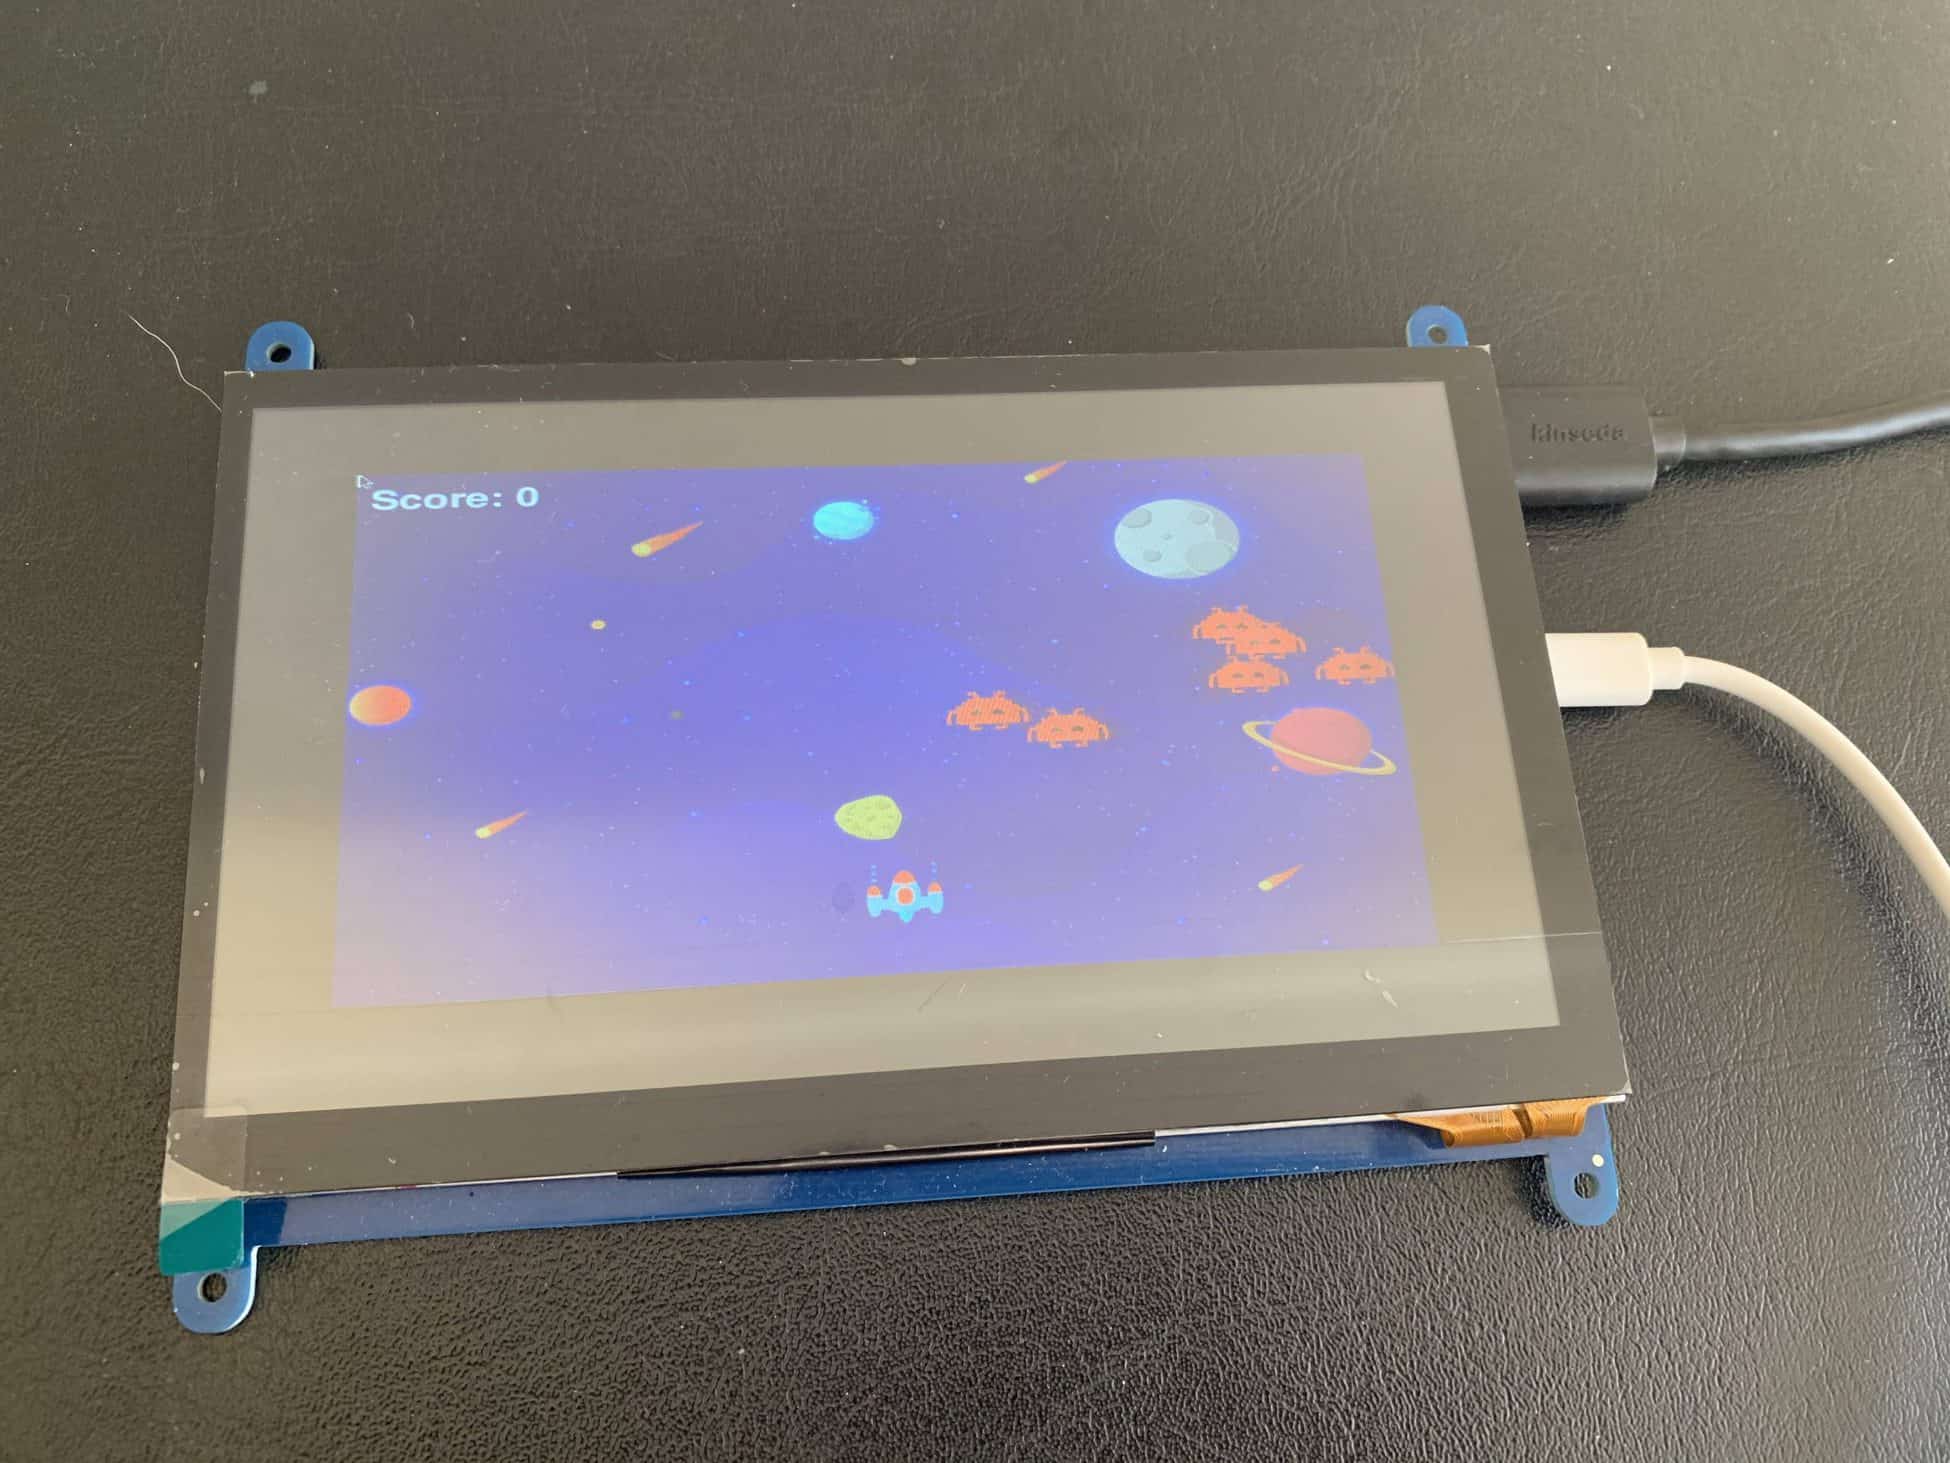
For my final milestone, I decided to create my own game and to get it running on RetroPie. I chose to use pygame because it is extremely simple and easy to use. I made a game that’s similar to Space Invaders and I followed some tutorials and guides while creating it. I wrote my code on my computer, then transferred the file onto RetroPie. I first had to install pygame and I did this by typing in commands in Terminal. I also made sure python 3 was already installed on my computer and after that, I was ready to code. It took me a couple of days to finish, but the end result was definitely worth it. I first started by creating the game window and adding custom images onto the game. I had a difficult time importing images onto the game because I didn’t know that I had to have the files in the same folder. My next step was to include game movement and keyboard input. I then created boundaries, as well as player and enemy movement. Lastly, I created collision detection and bullets. After I finished coding the game, I had to transfer the code onto Retropie and I did this by editing RetroPie’s configuration system. After playing around with it for a while and putting files in the right places, I finally got my game on RetroPie and I now had my own game that I was able to play.

Third Milestone

Matthew L.
img_1420
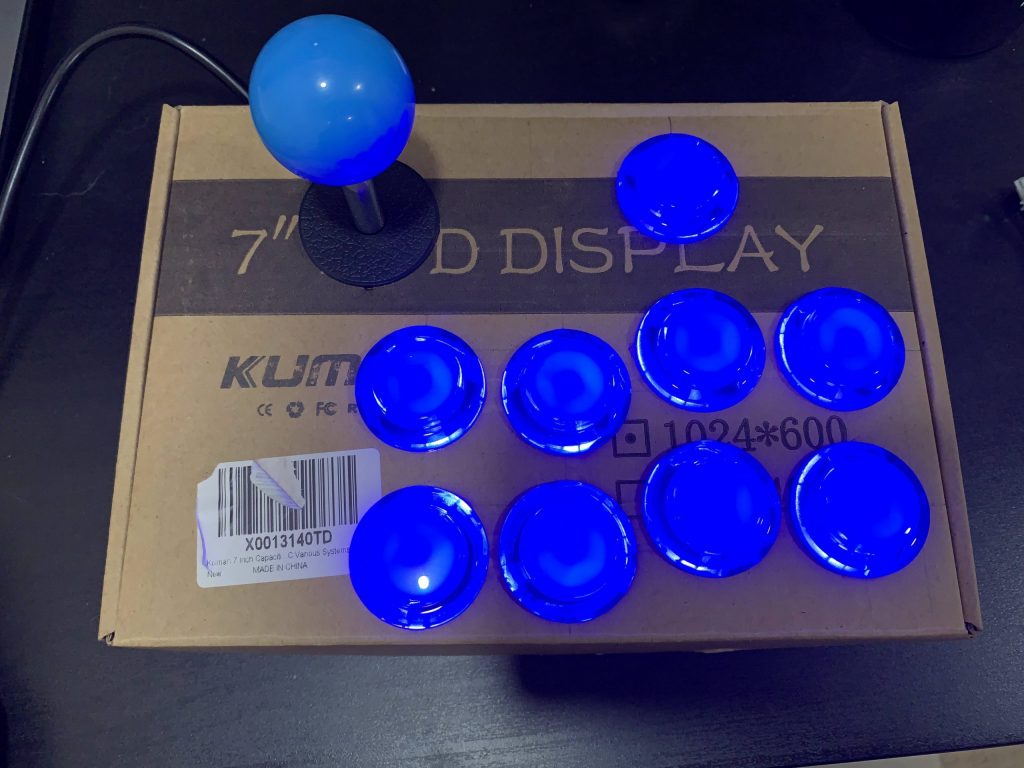
For my third milestone, I decided to make a custom controller using an arcade controller kit. I found a sturdy cardboard box and my first step was to make a layout of the holes that I was planning to cut out. For the buttons, I made holes of circles with a radius of 15mm and a smaller one for the joystick. I used an Exacto knife to cut the holes out and the buttons fitted perfectly. After setting up all the buttons and the joystick, I had to connect them. I did this by connecting a 3Pin wire for each button and plugging it in with the USB encoder board. The joystick was the same except it used a 4Pin wire. After getting all the wires set up, I made a small hole in the back of the box to connect the USB cable. I plugged in the USB cable to the Raspberry Pi and my next step was to test the controller out. The controller didn’t work at first, but I later found out that I had to reconfigure the control buttons. After reconfiguring the buttons, the controller worked perfectly and I now had my own custom controller.
[/vc_column]

Second Milestone

After I got RetroPie to start working, I configured the system’s settings and set up the wifi. After doing that, I needed to download some games and I did that by first transferring the data from ROM files onto my computer. A ROM file is basically a computer file that contains a copy of the data from a memory chip and in this case, it was from a video game cartridge. It was difficult for me to find ROMs that I was actually able to use and I also had to make sure that the sites were safe. After finding and downloading the ROMs onto my computer, I used network file sharing to copy the files onto RetroPie. I downloaded games such as Super Smash Bros and Pac Man. Since I’m using a Mac, I first selected Go from the menu and then selected Connect to Server. In that box, I typed in smb://retropie and pressed Connect afterward. Now that I’ve connected to the Pi, I dragged and dropped the ROM files into the proper folder of the Pi and after restarting my Raspberry Pi, the games showed up and I was now able to play them.
img_7010
img_7945-2

First Milestone

My first milestone for the video game emulator was setting up the Raspberry Pi and getting RetroPie to work. I first downloaded the RetroPie image onto my computer and then used an application called Raspberry Pi Imager to write the image onto my SD card. This took me a couple of tries because my computer’s security system wouldn’t let me open Raspberry Pi Imager so I had to write a command into Terminal to bypass it. After I copied the image onto my SD card, I started to assemble the Raspberry Pi and plug everything in. After plugging in the power source for the Raspberry Pi and the HDMI cable for the monitor, the RetroPie software showed up and it was now fully functional to run games.
img_6061
img_6950

Leave a Comment

Start typing and press Enter to search

Bluestamp Engineering