
Video Game Emulator
The video game emulator was made possible by RetroPie, which is an operating system made specifically for the Raspberry Pi. It has many different video game emulators, which means it can run games from many different video game consoles and platforms. All the user has to do is download ROM files for the games they want to play, and then load them on the Raspberry Pi.
Engineer
Mason Valentine
Video Games
Dublin, California
Bay Area
Incoming sophomore
Dublin High School
RetroPie
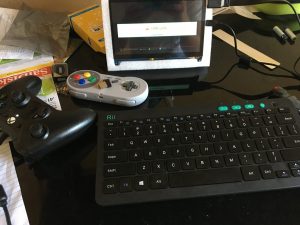
I set up my Raspberry Pi. I connected my mouse, keyboard, and 7-inch display to the Pi, and flashed RetroPie on my SD card. This allowed my Pi to run emulators and play many different games in the form of ROM files.
Super Nintendo Entertainment System
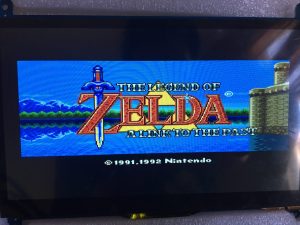
Using my RetroPie, I mainly run SNES (Super Nintendo Entertainment System) games. The Pi can flawlessly run SNES ROM game files using the SNES emulator.


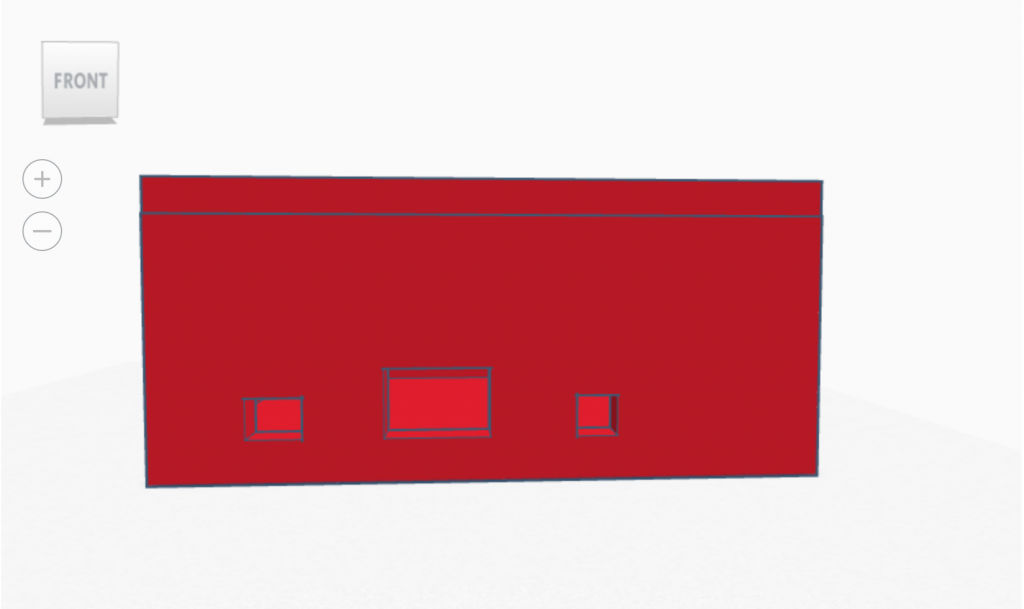
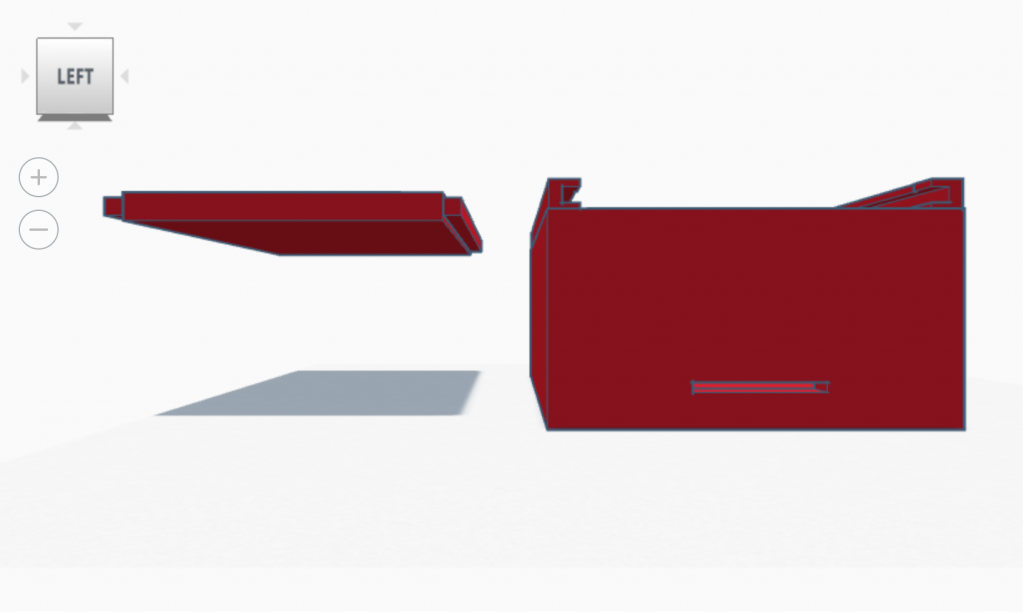
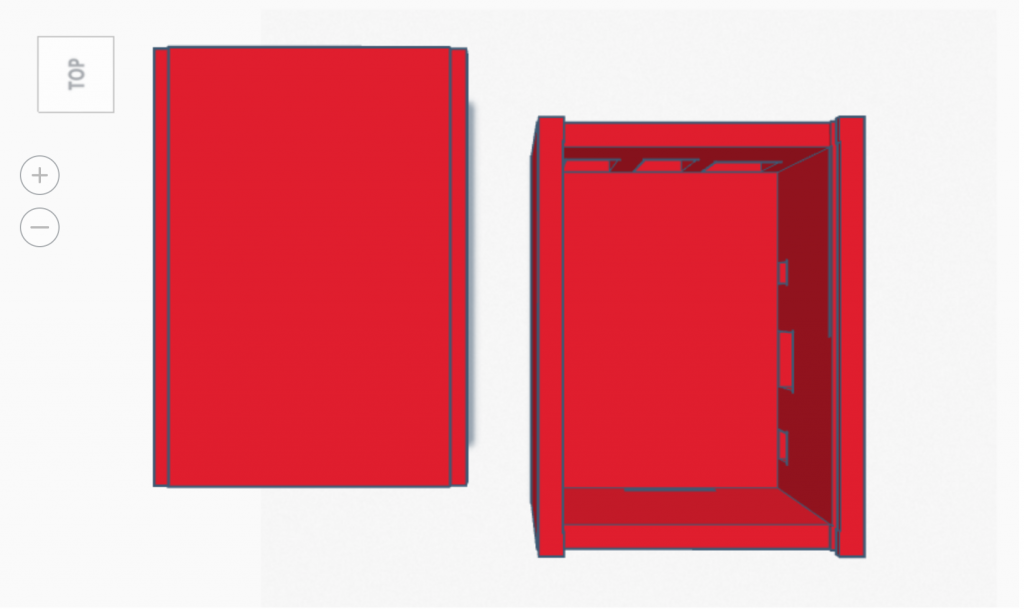
Parts of the Pi
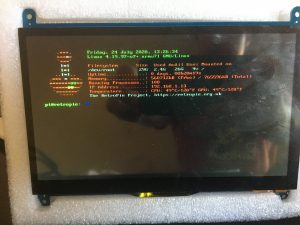
When I received the Pi, I simply connected the HDMI cord and the monitor power cable to the 7-inch display. This connects the monitor to the Pi and supplies it with power.
Next, I had to download the RetroPie operating system to my microSD card. I did this by inserting my SD card into a card reader, and then using the Raspberry Pi imager to download RetroPie on the card. When I inserted this into the Pi, RetroPie was all ready to boot up.
Problems & How to Fix Them
WiFi
There were several issues with the Pi. First, my WiFi took lots of work to set up. First, I tried to connect my device using Raspi-Config, but it did not work. After some time, I found a much simpler way to connect to WiFi. I selected “WiFi” in the RetroPie menu, and this allowed me to connect to my home network.
Keyboard
Next, I had to fix my keyboard. Since the Raspberry Pi is made by a British company, my American keyboard was incompatible with the Pi. Most notably, I couldn’t type double quotation marks, which are necessary to navigate through all the file paths. To make the Pi use the American keyboard instead of the British keyboard, I went to Raspi-Config and selected interfacing options. There was a long list of keyboard options, and among those I selected US. After this, my keyboard functions properly.
Domain Name Server
Finally, I had to fix my DNS (Domain Name Server). The DNS is necessary for computers to understand words, as computers work well with numbers and not letters. Through multiple commands in the command shell, I managed to fix the DNS. To test both the DNS and the WiFi, I ran the command ping google.com. Since this command prompted the correct outputs, this meant my WiFi and DNS were both working properly.
Downloading Additional Emulators
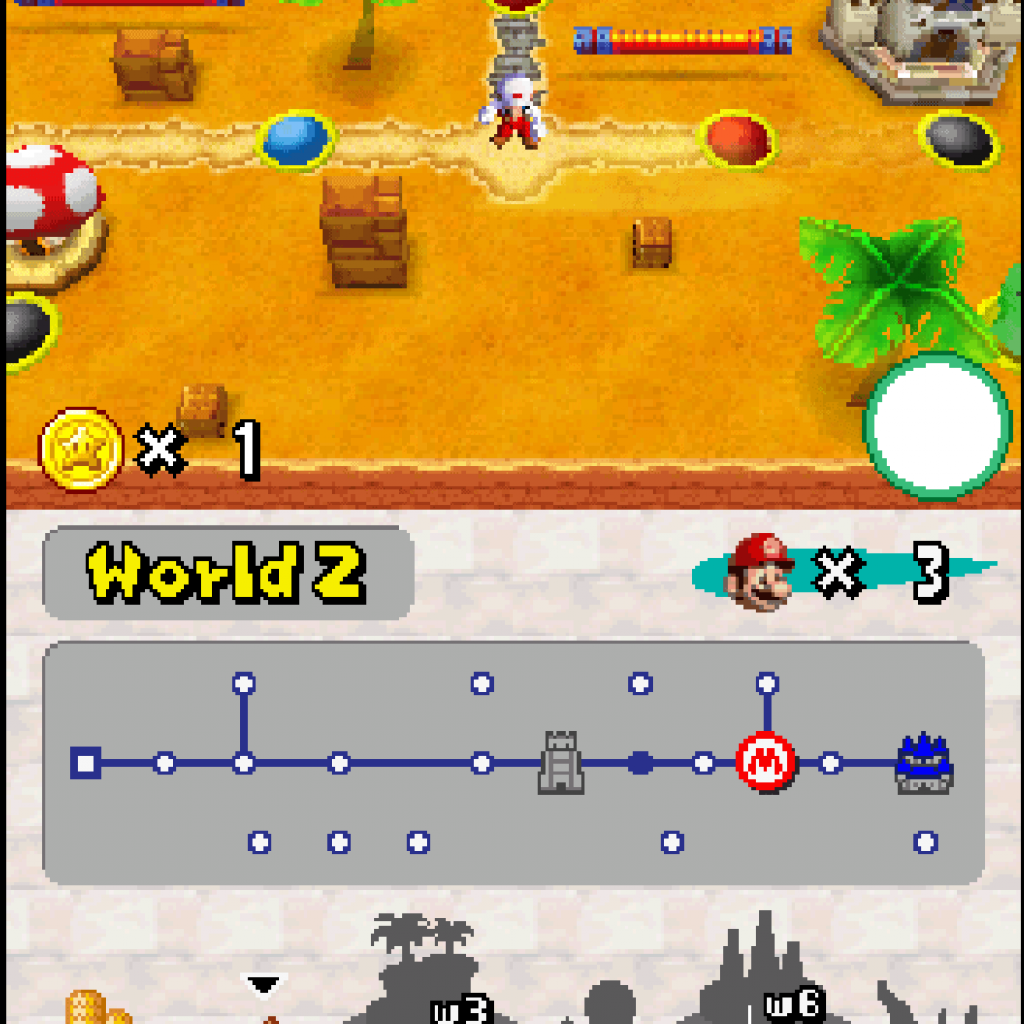
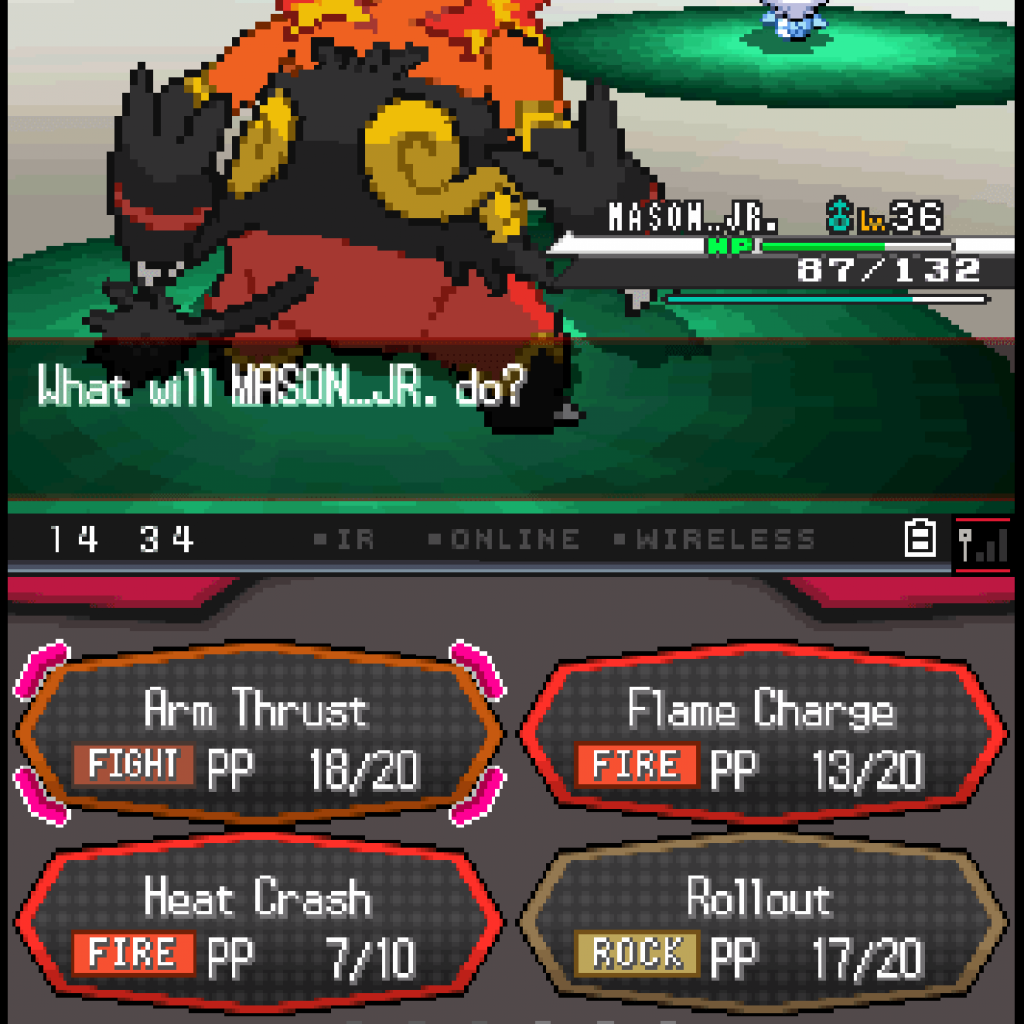
To play DS Games, I had to download the DS emulator. I simply headed over to the RetroPie options, and selected RetroPie setup. This allowed me to access all the emulators that aren’t already downloaded on RetroPie. I selected Experimental, and downloaded the DS emulator.
Other emulators can also be downloaded from RetroPie setup.
Downloading & Playing Games
The process of downloading ROM files (video game files) is very straightforward. The easiest way to do this is to search up your favorite games on Google, and look for a ROM file download link. Click this link, and after a few minutes, your game should be ready to go.
To download the games on the Raspberry Pi, first copy the ROM files to a USB drive. After this is done, plug in the USB drive into the Pi. After this, go to the command shell and use the cd command to navigate through the paths. The user should also use the lsblk command to find the path of the USB drive with the ROM files. Use the ls -l command to list all the files inside a path. After finding the path that contains the ROM file the user wishes to download, use the cp command to copy the ROM to the emulator file. After this, exit the command shell. The game should be ready to play in the main RetroPie menu.