Hello, I’m Mario, and I am a rising junior at KIPP Denver Collegiate High School. For my main project I decided to make the voice controlled robot. The reason I chose this project was because I was always fascinated by robots, especially the ones that obey your command. When I heard that I could build a voice controlled robot, I just knew I had to choose this project.
Final Project: Voice Controlled Robot
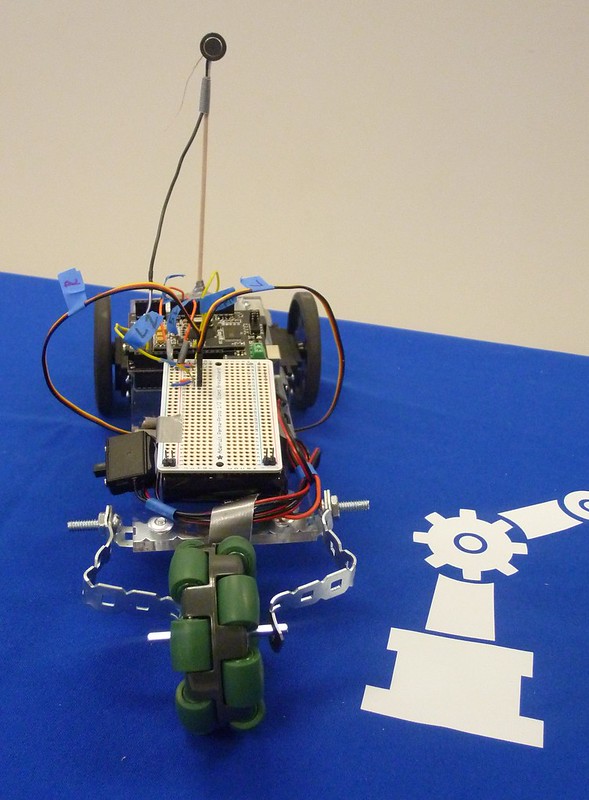
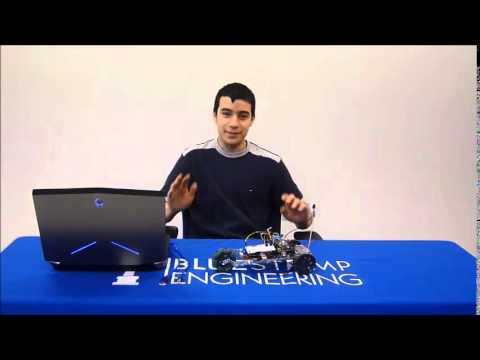
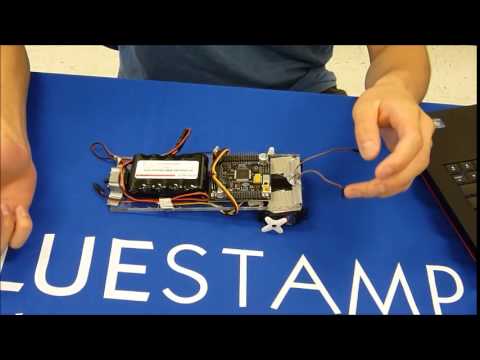
Final Milestone: Finished Product
Hello, in this video I give a brief over view of my robot. It was very stressful making this project and I constantly ran into problems, mainly hardware problems and broken parts. I learned how to code in C using Arduino libraries and how to use if statements, for loops, and function calls. This program really helped me learn how to be an engineer. Before this program I didn’t know how to code or solder. I also didn’t know the different types of engineering that there are, and a possible field that I want to go into is bio engineering because I want to help people with their medical problems.
I made a voice controlled robot using an easyVR shield and a Arduino UNO. You speak into the mic and the easyVR tries to recognize what command you are telling. The code then converts the command into a number, then I used if statements to determine what direction to go in.
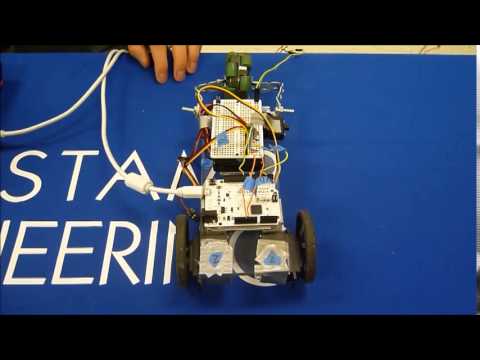
Second Milestone: The Moving Robot
hello, I’ll be talking about some of my struggles I went through in my second milestone. First, my servos were one of the main source of problems. My first servos wouldn’t go backwards, so I had to get new ones. After I got my new servos I modified them, so that they could spin 360 degrees. After that I added them to my robot, but I discovered that one was going much faster that the other one. The reason for this was because one was receiving more power than the other. A solution to this was applying functions to my code where the servo receiving more power would receive much less, to match the other servo’s speed. In the video I briefly talked about the next steps I am going to take to get my project finished.
First Milestone: Voice Controlled Robot
I’ll be discussing the achievements and struggles I went through while making this project. First, I found the coding process fairly easy up until I got to the point where I needed to upload the code to the microcontroller. Everything was working okay, but then the unfortunate happened, I ran into a ton of problems. First, some of my drivers weren’t working so I had to carefully follow the tutorial to get them to work properly. Once I uploaded the code nothing happened. I later discovered that the servos were in the wrong pins and they were not connected the right way. After discovering the pin layout for the servos and the right orentation, the servos started to move, but I later discovered that the code I was using wasn’t corect and the the voice recognition module I had wasn’t correct as well. At first I thought that I wasn’t connecting the correct wires to the correct pins. I later discovered that the voice recognition module wasn’t compatible with the program needed to upload the commands. While waiting for the new voice recognition module to arrive I started to create my robot base by designing a model in a progam called sketchup. Then a piece of plexiglass was cut to my specific dimensions by using a band saw. In conclusion my first milestone was getting the code to move my servos and building the robot body.
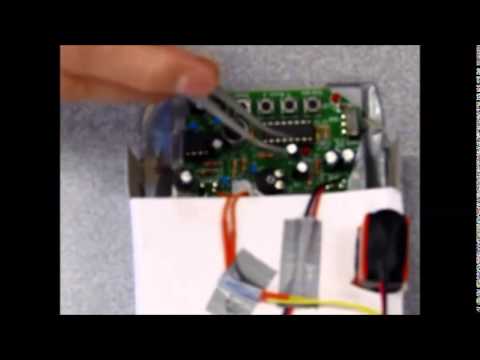
Starter Project: Voice Changer
Hi I am Mario and I am a junior at KIPP Denver Collegiate High School. For my starter project I decided to make a voice changer. Although this project brought me joy it did not start that way. When I was in the process of building it I was very confused and stressed out mainly because I did not know what the components in the voice changer were used for and what they were. Once I knew what each component was and what it was used for I got an overwhelming sence of joy because I knew what I was doing and I understood how each component functioned at a deeper level. The voice changer contains some of the most common componets such as: electrolytic capacitors, capacitors, resistors, and some LEDs. I’m going to talk about some of the most common pieces found. For example, resistors are one of the most common; they are very essential in electrical circuit boards and the purpose of them is to regulate the electrical energy entering a device. Electolytic capacitors and ceramic capacitors are very similar because they both store power. The main difference between them is the material used; Electrolytic capacitors have two plates with a material between them to keep them from creating a spark. Ceramic capacitors release the energy much faser than the eletrolytic capacitor.