
Intro
Hi, my name is Marilyn and I’m a rising sophomore at DSST: Cole High School. Ever since I took my first engineering class in 7th grade, I was fascinated with what I could do and what I could achieve in this class. So when Dave, the co-founder of BlueStamp Engineering, came and presented at my school, I instantly jumped in and applied to get into the program. When I arrived at BlueStamp I had very little knowledge in the many engineering topics, but through my 6 weeks here, I got to expand my skills and knowledge on many aspects of engineering. My starter project was the Minty Boost which mostly taught me about basic parts, like circuits, in electrical engineering. Later on, in my intensive project, a RC Hovercraft, I gained both mechanical skills and some simple electronic skills.
Reflection
My experience with building my project was amazing and I would definitely recommend it to any students interested in any type of engineering. From my time working on it, I became even more passionate about mechanical engineering and the skills involved with it. Since I had chosen a main project with mostly a view on the mechanical side of engineering, I wasn’t too involved with electrical engineering. With the few electronics in my RC hovercraft, I eventually found out that electrical engineering wasn’t really for me. Although, I still took in basic skills in electrical engineering, like the basic formula for voltage, current, and resistance. In the future, I’m confident that mechanical engineering will be for me but I’ll still be willing to take on an electrical engineering challenge or any other type of engineering!

Resources
Layers and Model of Hovercraft (zip file)  (jpg file)

Intensive Project: RC Hovercraft
Final Milestone
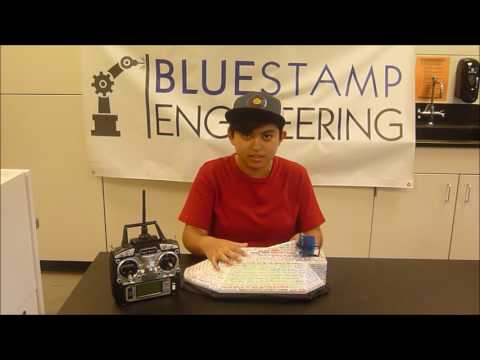
My final milestone of my hovercraft was making a better skirt and finishing my final product. The skirt was hard to design because it had to be the right length and size to let just enough air down to make a cushion of air. Once I was finally finished with the skirt I just created a language design on my project. I used the quote, “Reality is for people who lack imagination” by Hayao Miyazaki and repeated the quote but in different languages. I specifically chose this quote because I thought that my hovercraft was a project that involves a lot of creativity and imagination to understand and build. I think overall the hardest part of this hovercraft was getting it to balance because I had to move a lot around and even add some dead weight to make it perfectly balanced. This project was absolutely amazing!


Milestone 3
My third milestone of my hovercraft was assembling the electronics and improving on the skirt. When I was assembling the electronics, I ran into a lot of challenges especially in putting in the motors and wiring them to the ESC’s. For the thrust motor, I attached it to the servo with a screw but that wasn’t enough to keep it in place so I hot glued it onto the servo after using the screw. For the thrust ESC I added an extra wire length so that I could place it in the front for balance. For the hover motor I attached it to the hole I made in the 4th layer of my hovercraft, and it’s ESC is also hidden in the front of the hovercraft for balance. My skirt was alright but I would still like to improve it more because my hovercraft still isn’t gliding like I want it to. To improve it I’ll make the skirt have a larger hole on the bottom so more air can escape. For my final milestone video I will show the final version of my hovercraft and a final demonstration of a hovercraft flight.


Milestone 2
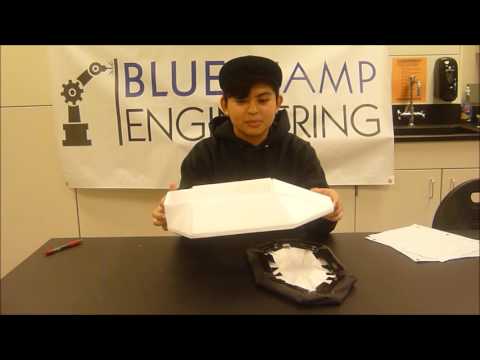
My second milestone was mostly cutting out my mechanical design of my hovercraft and making the skirt. At first I sketched out my design on graph paper to scale so that I could have a copy of the design in hand for when I was ready to build. Then after I figured out how to use a program called SketchUp, I made a digital copy of my same design and the layers that it will have. On SketchUp I didn’t make all the separate pieces of the hovercraft, like the ribs and the cut-outs for the outer shell, because it would take too much of my time to figure all of that out. This was much easier to figure out when I was actually building the mechanical design. For now, I haven’t made the top cover because I want to be able to put in my electrical parts easily and making sure all the wiring fits before creating a top that might not fit the necessities of the electronics. For the skirt, I duct taped it onto the first three glued layers and cut out a bottom. I cut out a bottom so that when the hover motor inflates the skirt it could also push the whole hovercraft up to make actual hovering effect. My next milestone will be about putting in all the electronics and creating a top for the hovercraft.


Milestone 1
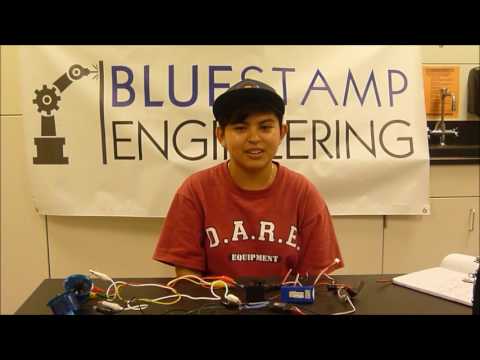
My first milestone of building my hovercraft was to connect all the electrical parts of my hovercraft before I even started building my mechanical design. All of my electrical parts are connected to the receiver in different places. In the first channel of the receiver the servo is connected so that on the transmitter when the right nob turns left/right the servo will do the same thing. The two motors are attached to two brushless speed controllers which ultimately go in channels two and three. The nob on the left will control the hover motor and when moving the nob on the right up/down the thrust motor will start. The last object I connected to the receiver was the battery and that goes in channel six. I added a switch on the red wire on the battery so that I wouldn’t have to constantly remove the battery from the receiver. This milestone was definitely really challenging because there weren’t really any instructions on how you should attach the electrical parts but ultimately I figured it out with past BlueStamp students and video help. My next milestone will be about the body of the hovercraft before I put in any electrical parts.
Starter Project
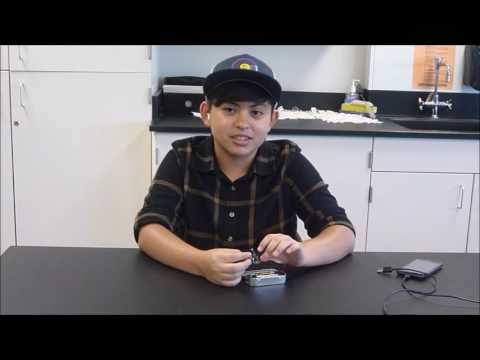
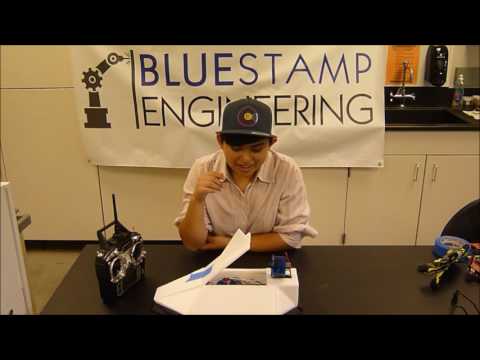
My starter project was the MintyBoost Kit, a portable USB charger powered with AA batteries. When building this, I was taught and exposed to how to solder and what it was used for. Soldering was a big part in attaching everything onto the circuit board. On the circuit board there are 5 resistors that are kind of shaped like peanuts, that all regulate the flow of the electrical current. There are also 4 capacitors, 2 bypass capacitors and 2 power supply capacitors, that all work together to regulate the voltage and make a pure DC signal. A Schottky Diode is also in place to allow the current to go in one direction. Also, there is an Inductor that is very useful because it smooth’s out the current. Lastly, there is an IC right in the middle that is programmed to boost your phone so it charges. With these working together, I created a boost converter which is basically an electrical device that changes the direct current from one voltage level to another. Overall, this was a great project to start with because it introduced me to the simplest version of electrical engineering.