Futuristic Mirror (aka Smart Mirror)
What differentiates this mirror from the regular mirror is its ability to display texts and images. A Raspberry Pi monitor was used as a backdrop for our two-way mirror, giving it the illusion of a mirror with texts. Some of the features of this mirror include a touch screen, hourly weather updates, a clock, and more.
Engineer
Mai D
Area of Interest
Computer engineering and Business
Links and contact info:
School
Galileo Highschool
Grade
Incoming Senior
LinkIn:
Github:
Third Milestone
Making and Putting Together the Frame
With the addition of the frame which was made out of cardboard, I finally completed my mirror. I first measured the monitor and card board, cutting multiple card board pieces per side so I can later stack them. I then used a hot glue gun to glue the pieces interchangeably for extra durability.
Second Milestone
After my second milestone...
Setting Up the Display
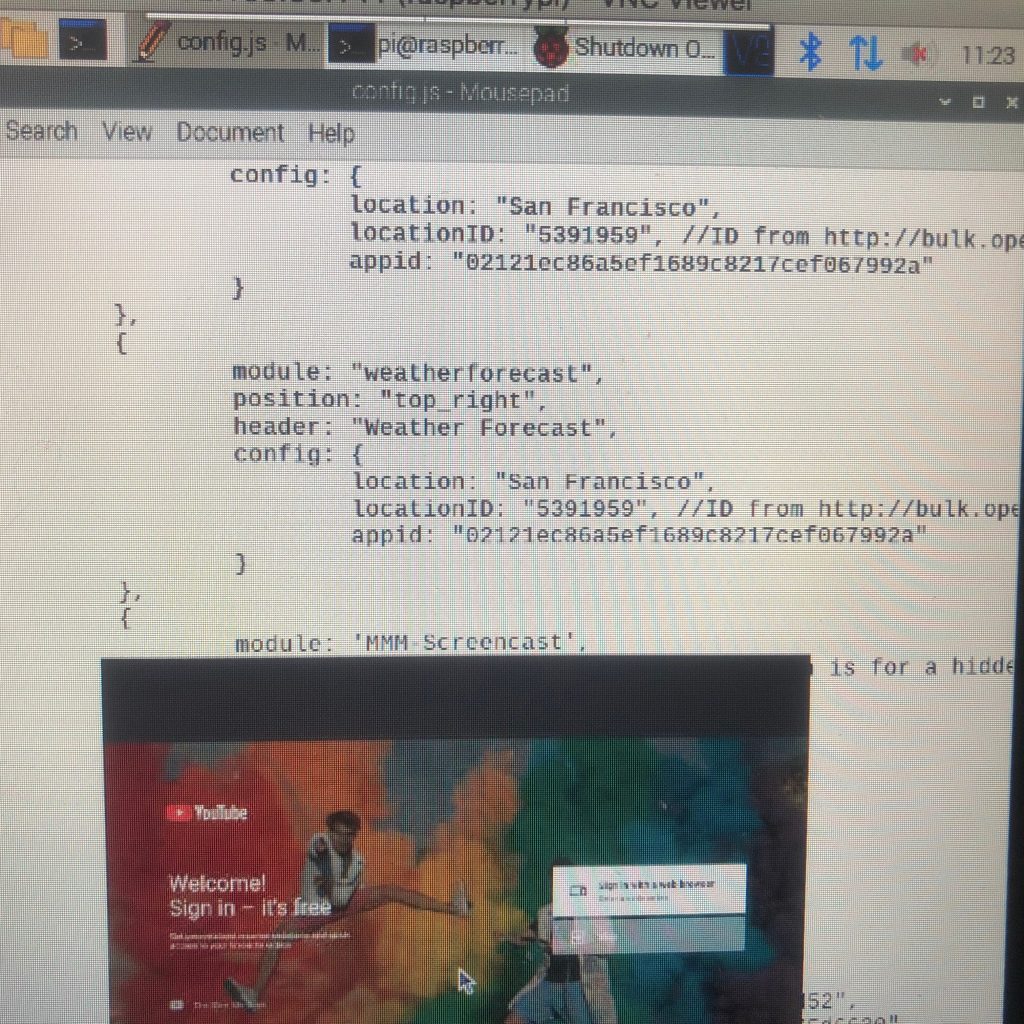
The display is made out of a series of javascript files run by the terminal. To import these files, I had to search up the code for the Magic Mirror on GitHub and then git clone the repository in the terminal. Now that the files are installed, I entered the config file inside the magic mirror folder. This file allowed me manually set the weather to my location – by using a api and my location ID found in JSON – and import new modules.
Importing New Modules
All I had to do for this step was to search up the modules I wanted to add ( most of the code should be available as links to GitHub ). Then I followed the instructions located in the GitHub read me files and run the commands in my terminal. The modules I added/modified include the Spotify, Screen Casting( YouTube only ) and the weather module.
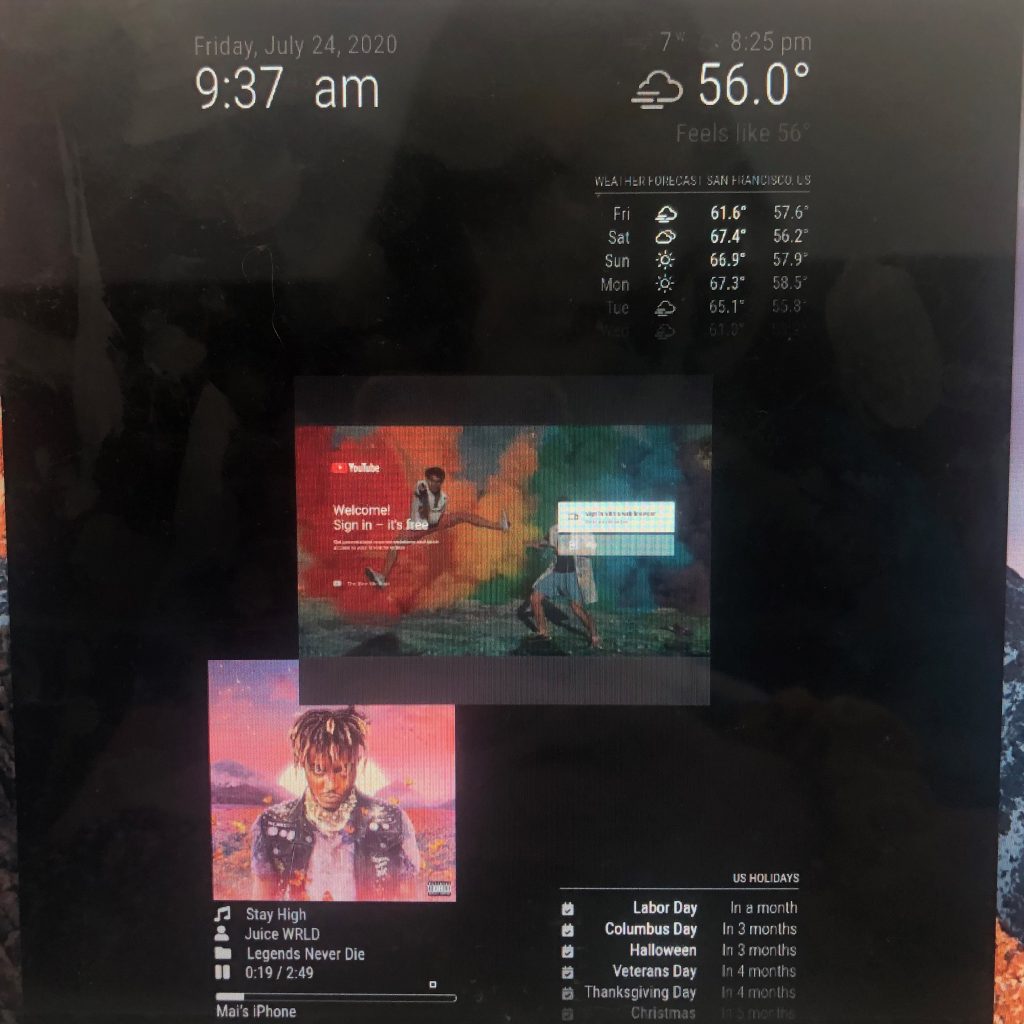
-Spotify Module: It displays the album cover of the song I’m playing on my Spotify account
-Weather Module: Modified the code so it would show a forecast of the next four days instead of just two
Setting Up the Display
The display is made out of a series of javascript files run by the terminal. To import these files, I had to search up the code for the Magic Mirror on GitHub and then git clone the repository in the terminal. Now that the files are installed, I entered the config file inside the magic mirror folder. This file allowed me manually set the weather to my location – by using a api and my location ID found in JSON – and import new modules.
Importing New Modules
All I had to do for this step was to search up the modules I wanted to add ( most of the code should be available as links to GitHub ). Then I followed the instructions located in the GitHub read me files and run the commands in my terminal. The modules I added/modified include the Spotify, Screen Casting( YouTube only ) and the weather module.
-Spotify Module: It displays the album cover of the song I’m playing on my Spotify account
-Weather Module: Modified the code so it would show a forecast of the next four days instead of just two
First Milestone
Getting the Raspberry Pi to Work:
The Raspberry Pi is one of the most important component of this project since it’s necessary for computing the display.
In order for this to be possible, I had to download the Raspberry Pi os into an SD card using a card reader and then insert it into the Raspberry Pi. I later took a HDMI cable and connect it to both the monitor and the Pi. For extra precaution, I placed the Pi into a case that came with it so it would be protected against my clumsy self.
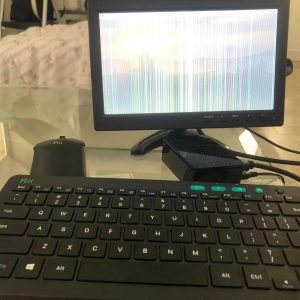
Connecting the Wireless Keyboard:
I removed the USB that came with the mouse and connected it to one of the USB receiver on the Pi. The keyboard worked after I turned on the switch on the keyboard to power it on.
This was my setup after completing the first milestone