Voice-Controlled Robot
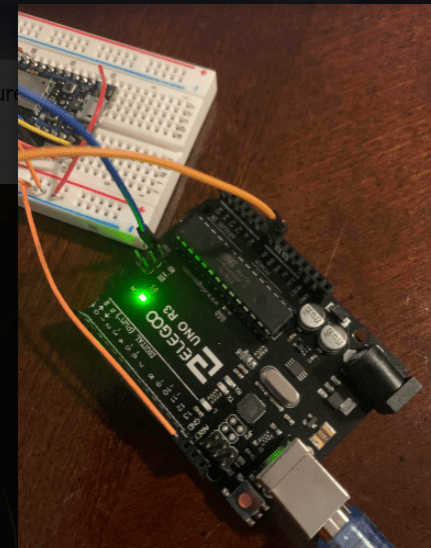
My project is a voice-controlled robot that does whatever command I say by recognizing my voice. In order to make my robot follow the commands my voice is saying I used a EasyVR3 shield for arduino which is a multi-purpose speech recognition module. Another component of this project is a Rasberry Pi I had to set up in order to use the arduino software.
Engineer
Laisha K
Area of Interest
Computer Science
School
Success Academy High School of Liberal Arts
Grade
Incoming Junior
Demo Night/Overall Reflection
My experience in Bluestamp has been challenging but also very fun and eye-opening. Starting Bluestamp I only had experience in coding but not engineering so by building a project such as a voice-controlled robot I learned that there is so many more compenents that go into building a project. I had to do a lot of wiring which for me was the most difficult part as it was the first time I had to do something something like that and learn how everything is electrically connected. But I was also able to learn new skills such as soldering. Doing Bluestamp I learned problem-solving skills as at the beginning I had many issues surrounding my arduino but by being able to find substitutes for my arduino allowing me to continue my project.
Third Milestone
For my third milestone I tie everything together as the EasyVr3 shield for arduino now follows whatever command I tell it. The shield already has built in commands so what I had to do was train the shield to recognize my voice and what it is saying.
Github Code name – Final-Command
Second Milestone
For my second milestone I wanted to have the EasyVR 3 Shield to first recognize my voice so later on I would be able to tell it commands. The shield has a built in trigger word such as robot that when you say it the serial monitor will print robot=0. Once I say the trigger word the LED light on the shield turns on revealing that the shield is listening to what I have to say.
Github Code name – TestEasyVR shield
First Milestone
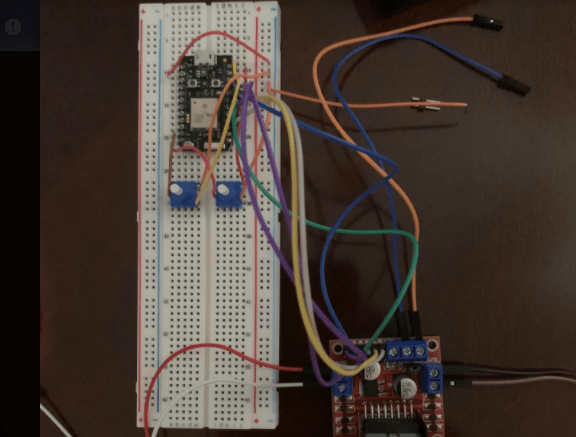
My first milestone for the voice-controlled robot was getting the motors power so the wheels can move. Since I had technical issues with Arduino I turned to another option which was a particle photon I put on the breadboard to than wire it to a L298N(motor driver).
Github Code name – Powering Motor
Pin Connection:
- ENA to Pin 2
- ENB to pin 3
- IN1 to pin 4
- IN2 to pin 5
- IN3 to pin 6
- IN4 to pin 7


