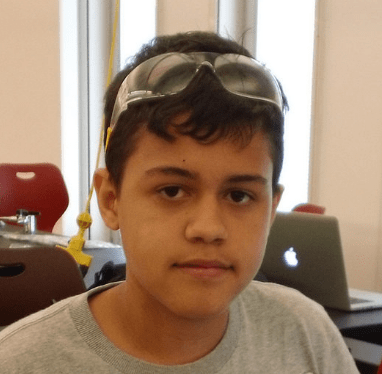
Hello my name is Josue and I am a rising sophomore at KIPP NYC High school. I decide to go to the Field of Engineering because I love Math,science and using my hands to craft. In the future I would like to become a mechanical engineer and work for a big company such as IROBOT or Google. Afterward I would like to start my own company and hopefully become as big as Google and Microsoft. For my starter project I constructed the TV-B-Gone.The TV-B-Gone purpose is to turn off a Television and it works with nearly all Televisions. The TV-B-Gone works by shining a pulsing invisible light at a TV. The shining pulsing invisible light is called Infra Red (abbreviated as IR). For my intensive project I would like to build a R/C robot. I would like the robot to transport objects from one place to another. I hope the robot would be useful for bringing food to people or giving someone an item from a far distance.
Mechanical and Electrical Steps for R/C Tank
For the mechanical parts of my robot tank I have inserted 2 tracks and wheels to the chassis. I also have assembled a double gearbox which contains two 130 type motors. I have attach the gearbox to the back of the chassis and it is also connected to the wheels of tracks. Then I moved on to the software component of the project. First I soldered pins to the motor shield. Then I installed the ps2 library and Adafruit motor shield library to the Arduino. sketch_jul15g.ino
Intensive Project Challenges Part 1
My first Intensive Project challenge I faced when programing the PS2 controller to the Arduino was the Arduino was not able to recognize signals from the PS2 controller. I solved this problem by making sure all the brackets in the Arduino code were closed and pressing the analog button in the controller to sync the controller to the PS2 receiver. After making these changes the Arduino was able to recognize signals from the PS2 controller but I came across a new obstacle. The new obstacle was when I controlled the tank with the PS2 controller: the wheels would move very slow and eventually come to a complete stop. My first inference was that the problem occurred inside the PS2 controller since many students had a similar problem to mine. To attack this problem I added a 16k resistor between pin 8(data) and the PS2 receiver. Later on I found out that a cause to this problem could be that the PS2 controller has weak signals with the PS2 receiver.
Mechanical and Electrical Steps for Butler Bot
I decided to move my robot tank to a new chassis because the R/C tank had a low capacity for carrying objects. So for the Mechanics of this new robot I designed a new chassis and a mount for the motors from scratch on Onshape. Onshape is a Computer Aid Design software.


Once I finish designing my new chassis and mount,I laser cut the new parts. Afterwards I remove the Arduino and battery from the robot tank and transferred it over to the new chassis. Then I used thread rods and nuts to attach the motors to the chassis.Once the Arduino and motors were secured to the chassis, I had some remaining thread rods. I used these thread rods as a stand for my robot. Subsequently I constructed a basket to hold objects for my Butler Bot. Later on while constructing my bot I found out that I required more power so I acquired a new battery pack with 12 volts. Then I modified my Arduino code so it could conform with my Butler Bot.
Arduino Code sketch_jul15g.ino
Schematics for Butler Bot science-sketch-fzz
Intensive Project Challenge Part 2
A challenge I faced while constructing this project was ensuring that the copper wires don’t meet.If two copper wires meet they could create a short circuit which can initially fry my motor shield.What I did to overcome this problem was I soldered the copper wires and cut the wires shorter so they don’t get untangled.


i’m so happy that the Foundation was able to support to you in this process.