
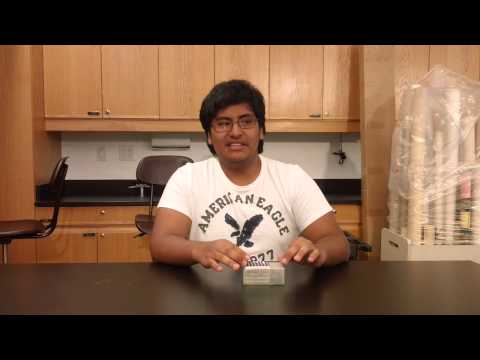
I am Jose, I am a rising Senior at Manhattan Business Academy. My starter project was a Mini piano Keyboard and my main project is a Snake game controlled by gravity. I was following instructions from instructables I chose these projects because of my interests and what I wanted to learn. I know how to play piano so I chose the mini piano keyboard as a starter project. I was also interested in coding and making games so I chose the snake game. I got a lot of experience from this project that made me want to learn more things by myself. I will start to learn more about different types of coding and different projects I can do by myself.

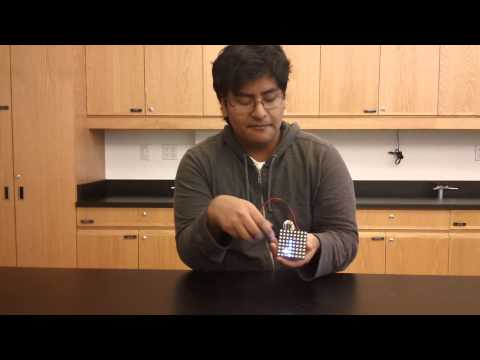
At the final stage, the snake game controlled by gravity is ready. The snake game runs on an 8x8 LED matrix that is controlled by a Rainbowduino board that is coded in Arduino. The current is supplied by a 7.4v lithium ion rechargeable battery. It has an accelerometer that detects the way its being tilted. It then gives the Rainbowduino an input that changes with motion. The case is 3D printed and I designed it to fit all of the parts.
I had to do some troubleshooting on several occasions. At one point the Rainbowduino was not responding to the accelerometers readings. On another occasion, the Rainbowduino was not responding to the accelerometers code. Another problem I had was that the accelerometer was heating up. All of the problems mentioned above were fixed by replacing the accelerometer and the Rainbowduino. The 3D printed case also had a problem. It was too tight and most of the parts couldn’t fit into the encasing. Therefore, I had to use the dremel to make the whole project fit into it. Overall I surpassed all of the problems I faced and made solutions to those problems. I will still be adding more code to make this project even more interesting.
Files:


2nd Milestone
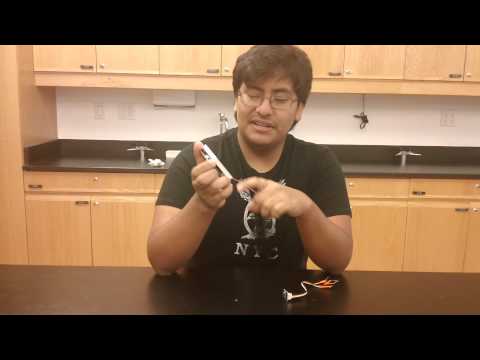
I’ve reached my second milestone and the accelerometer, like the Rainbowduino, works properly! I did some troubleshooting within the code and the hardware. One problem I saw was that the base code was not responding to the accelerometer. I had thought that it was caused by the accelerometer I was given because it was more sensitive than the one specified in the instructions I was using. I thought that the difference in sensitivity would affect the input but it was the code itself causing the problem. After only 5 days of intensive coding did I make the Rainbowduino respond to the accelerometer. The coding was the least of my problems.The connections between the accelerometer and the Rainbowduino were constantly breaking. I replaced and soldered wires every now and then to re-establish the connections. It took some time, but I finally found an aesthetically pleasing yet responsive system of wires that did not require soldering. It instead uses jumper wires that are directly connected to the sockets. The next milestone for this project is to make the 3D printed case that fits all of the parts and make the code more responsive than it currently is.
1st Milestone
My main project is a motion based game that works with a Rainbowduino, a 3-axis accelerometer and an 8x8 LED matrix. All of my current problems are coding based. I had trouble with the main code because the code was made in a different version of Arduino. When I was changed the code I had a variety of errors before uploading. I was using an Arduino UNO at that time to communicate with the Rainbowduino. Some files in the Arduino IDE were giving me problems so I changed those too. When I finally got to upload both firmwares to the respective Arduinos, the source code from instructables was giving me problems that I couldn’t understand so I instead used a program that communicated directly with the Rainbowduino as opposed to using code as an input. The next step is to upload the snake game code into the Rainbowduino.
Starter Project
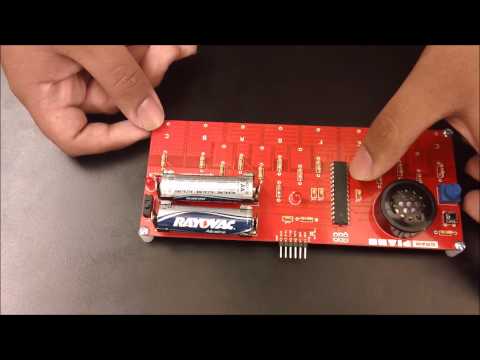
For my starter project, I had decided to make a Mini Electronic Piano Keyboard. It runs on an Arduino firmware that can be managed through an FTDI cable. It mainly consists of soldering parts such as resistors, a microprocessor, a potentiometer, a few switches, and of course the speaker to a PCB. Energy is provided by two AA batteries that are held by four battery clips. The capacitors hold energy and the resistors distribute that energy to the keys in a smaller form so that they don’t overload them. The switch turns on the device and is indicated by the LED labeled PWR . The second LED gives an okay to when it is able to play the keys. It plays an octaves worth of notes and goes up in scale depending on where the potentiometer is facing. The button on the top left hand corner of the board plays a tune that is pre-coded into the board.